(after starting this blog post, I decided this cant be done in just one post, so this is part 1)
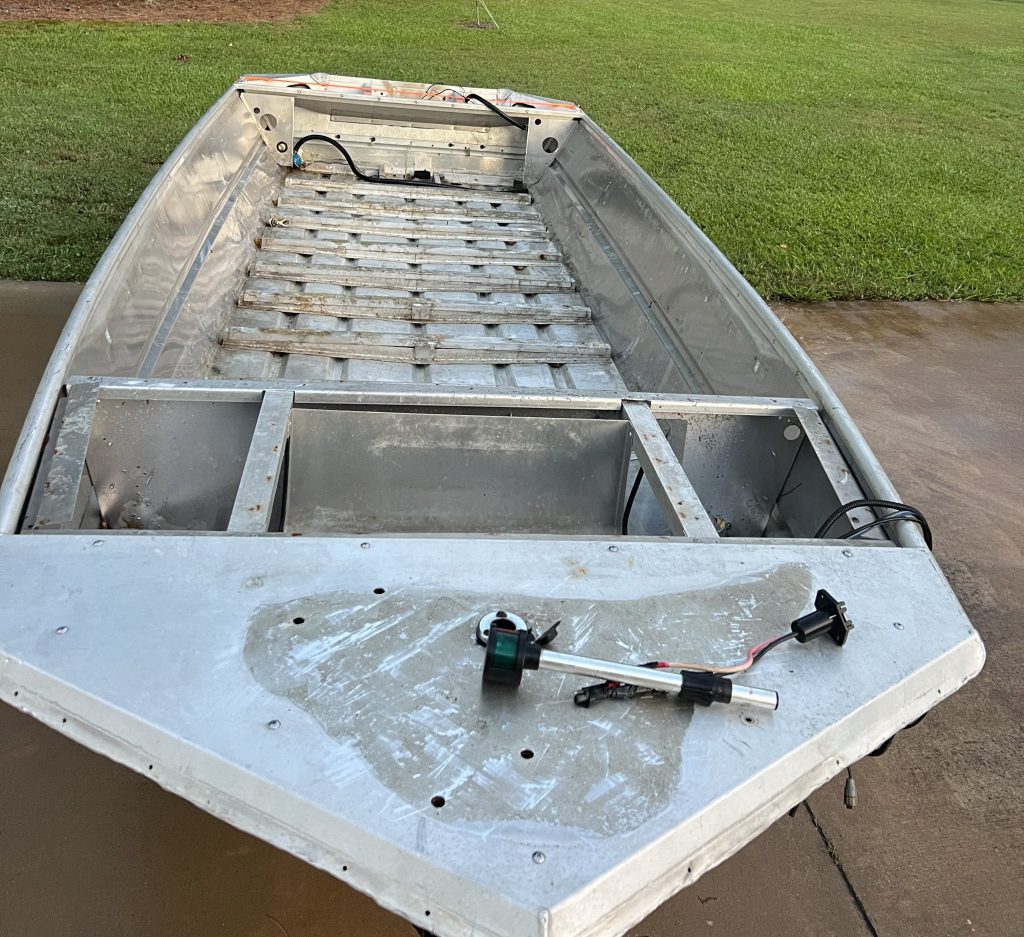
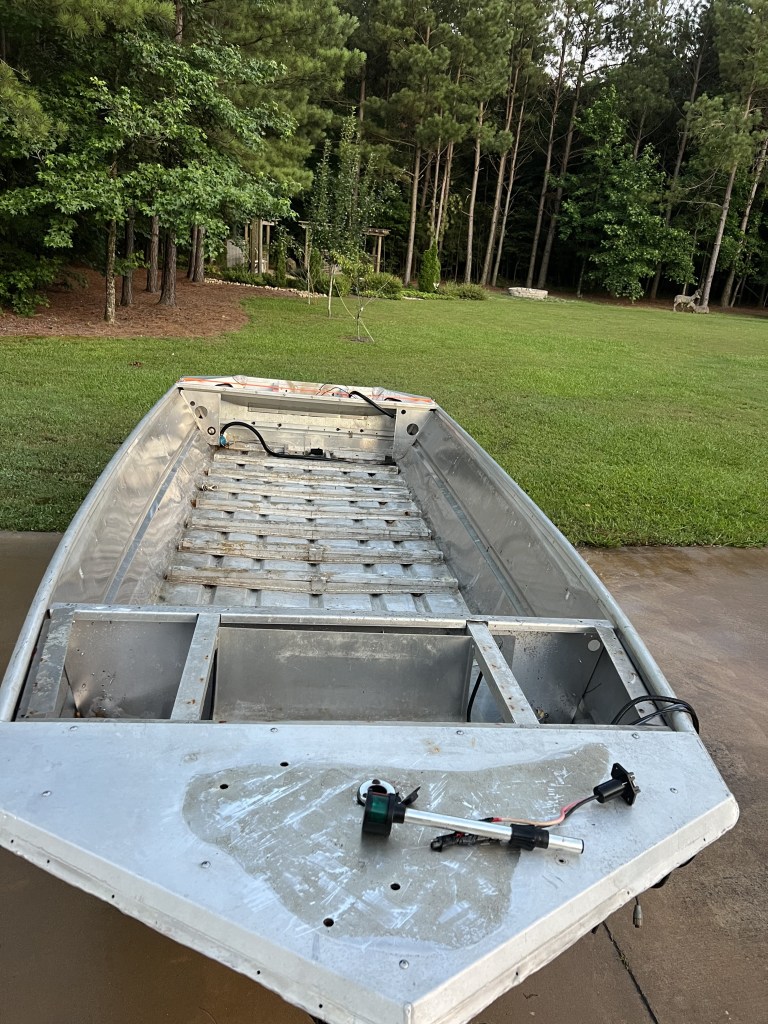
After hunting in Arkansas flooded timber years ago, I wanted a duck hunting boat. I watched all these videos and reels of amazing, cool, decked out, duck boats. I wanted a cool one too, but didn’t have the $15k-20k+ money to get one (At least the wife wouldn’t let me). So I decided to do build. Buy a fixer-upper hull and trailer and then put my ability to create and manufacture to use. The thought was to spread out the lessened total money amount over several (turned into many) months. I bought a 1996 Bass Tracker and trailer combo in June 2025 for $1,600. AND then got to work….
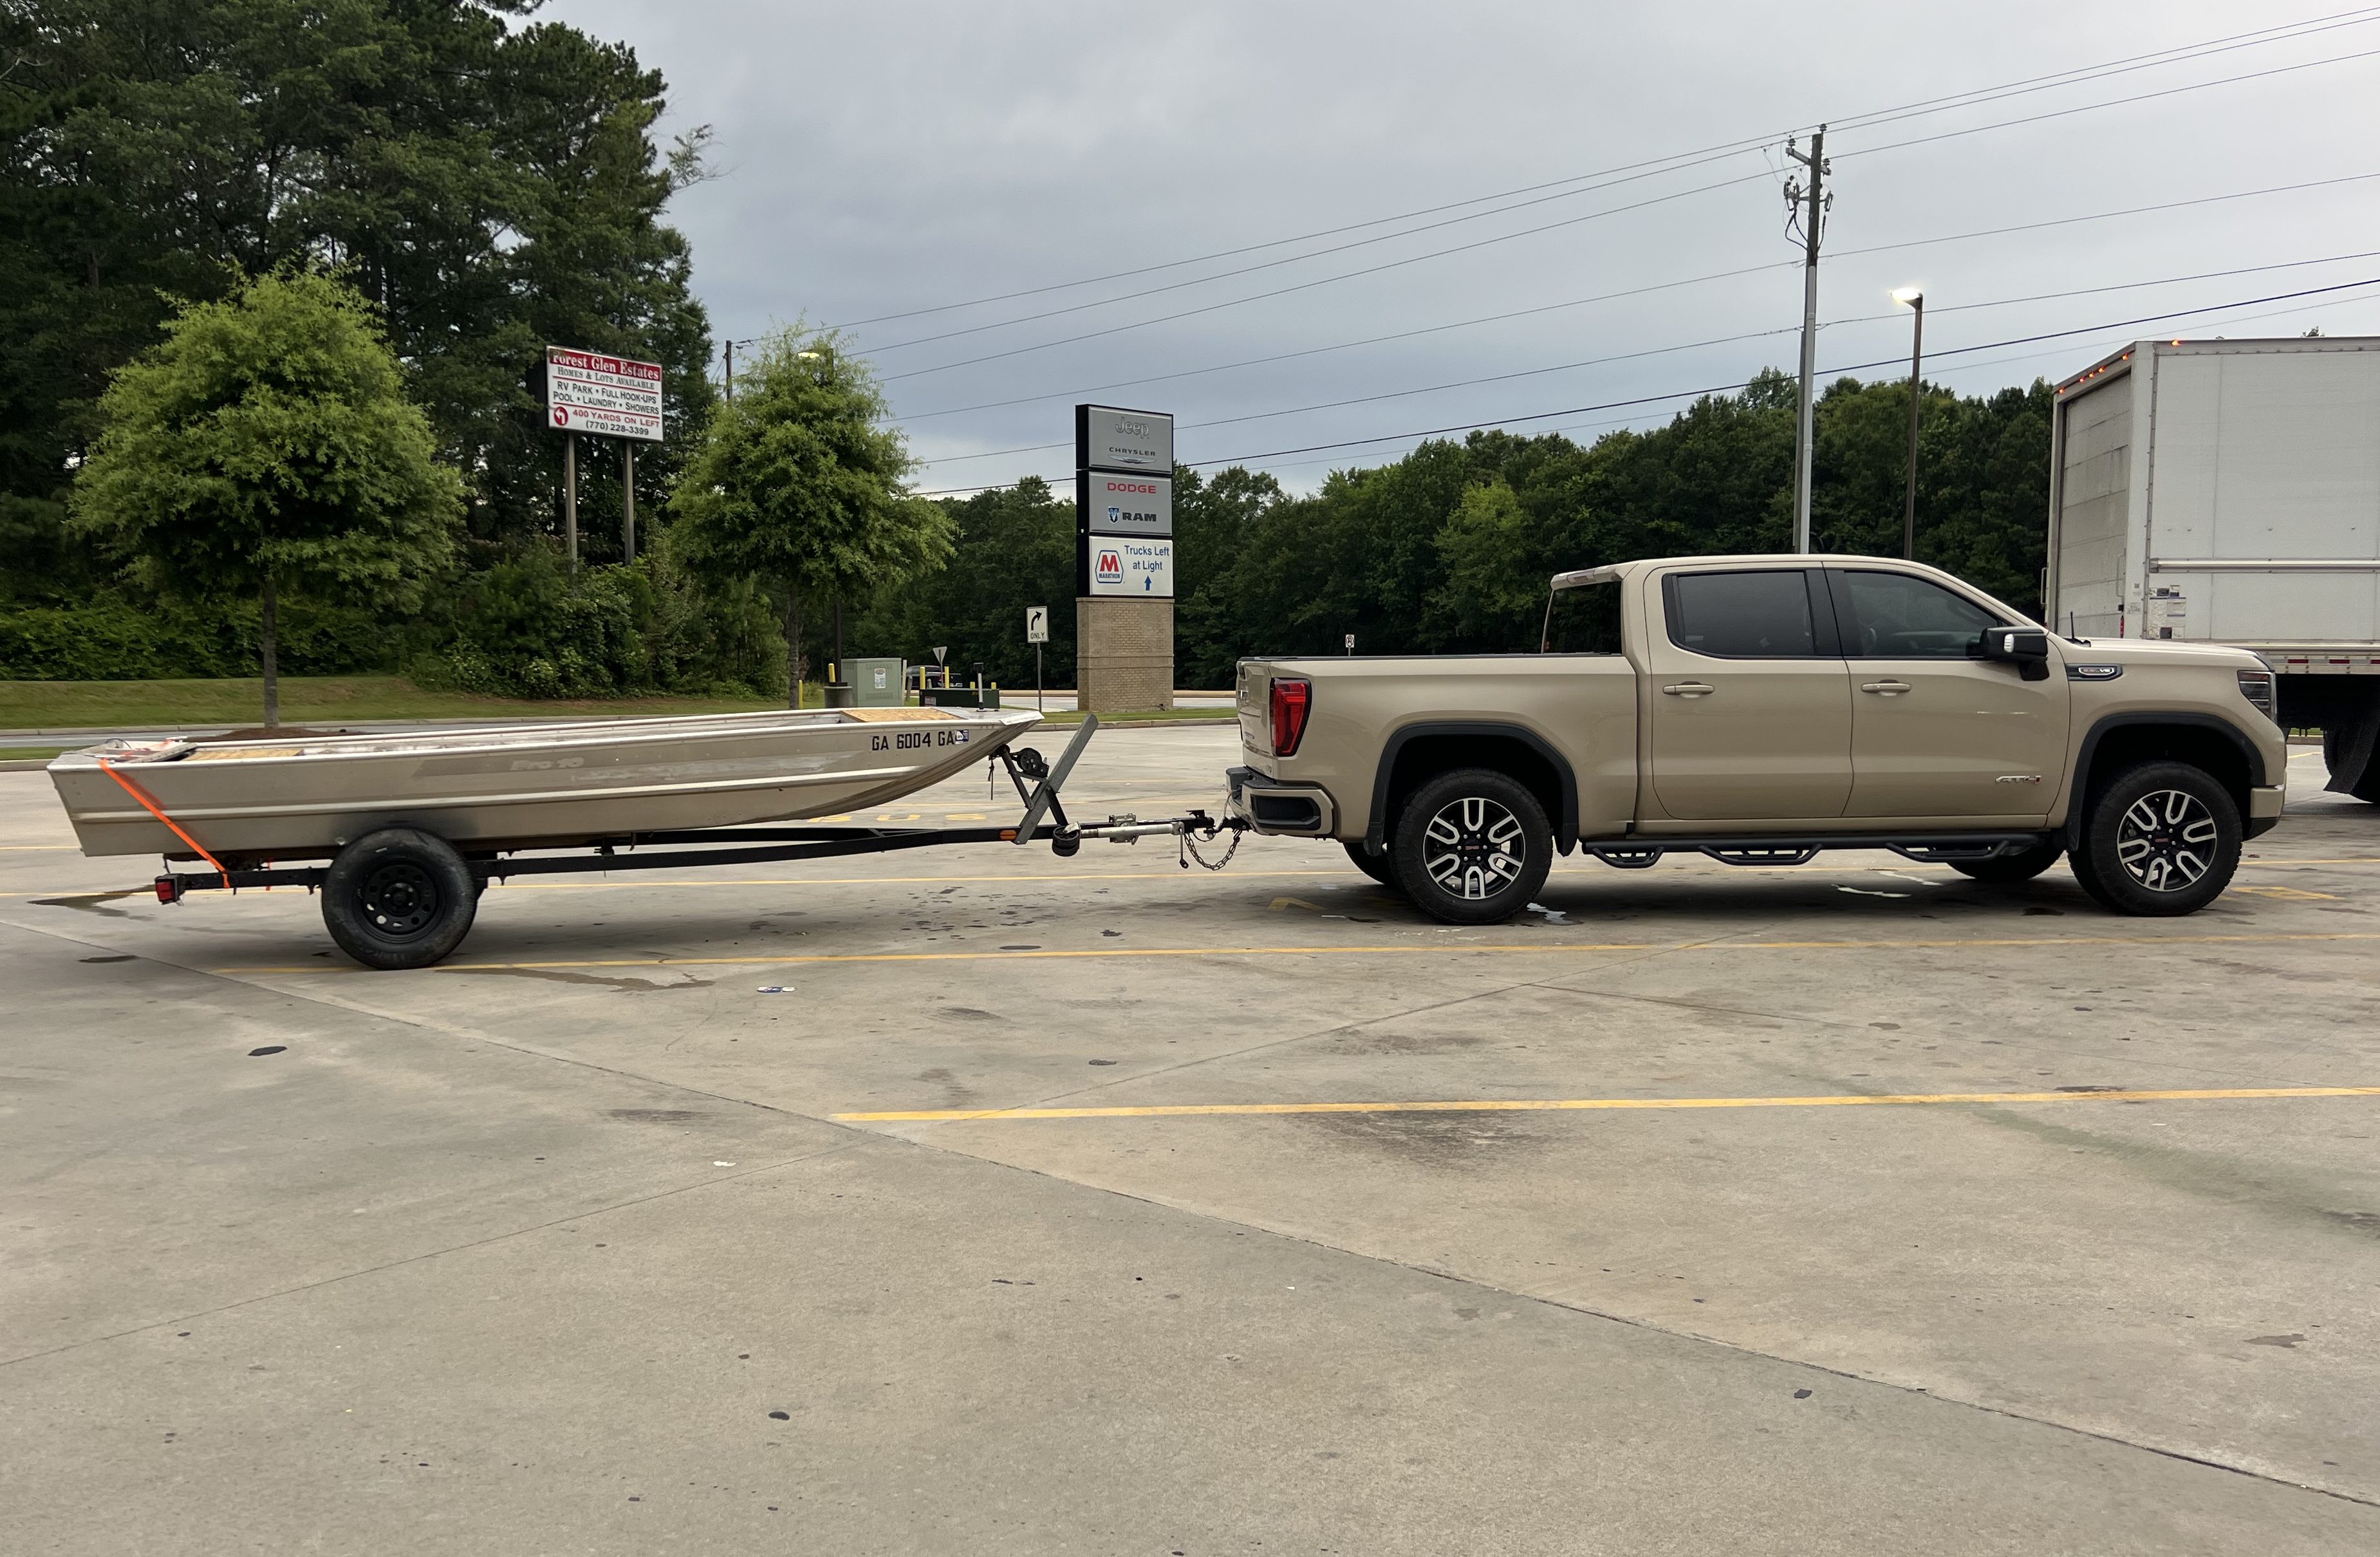
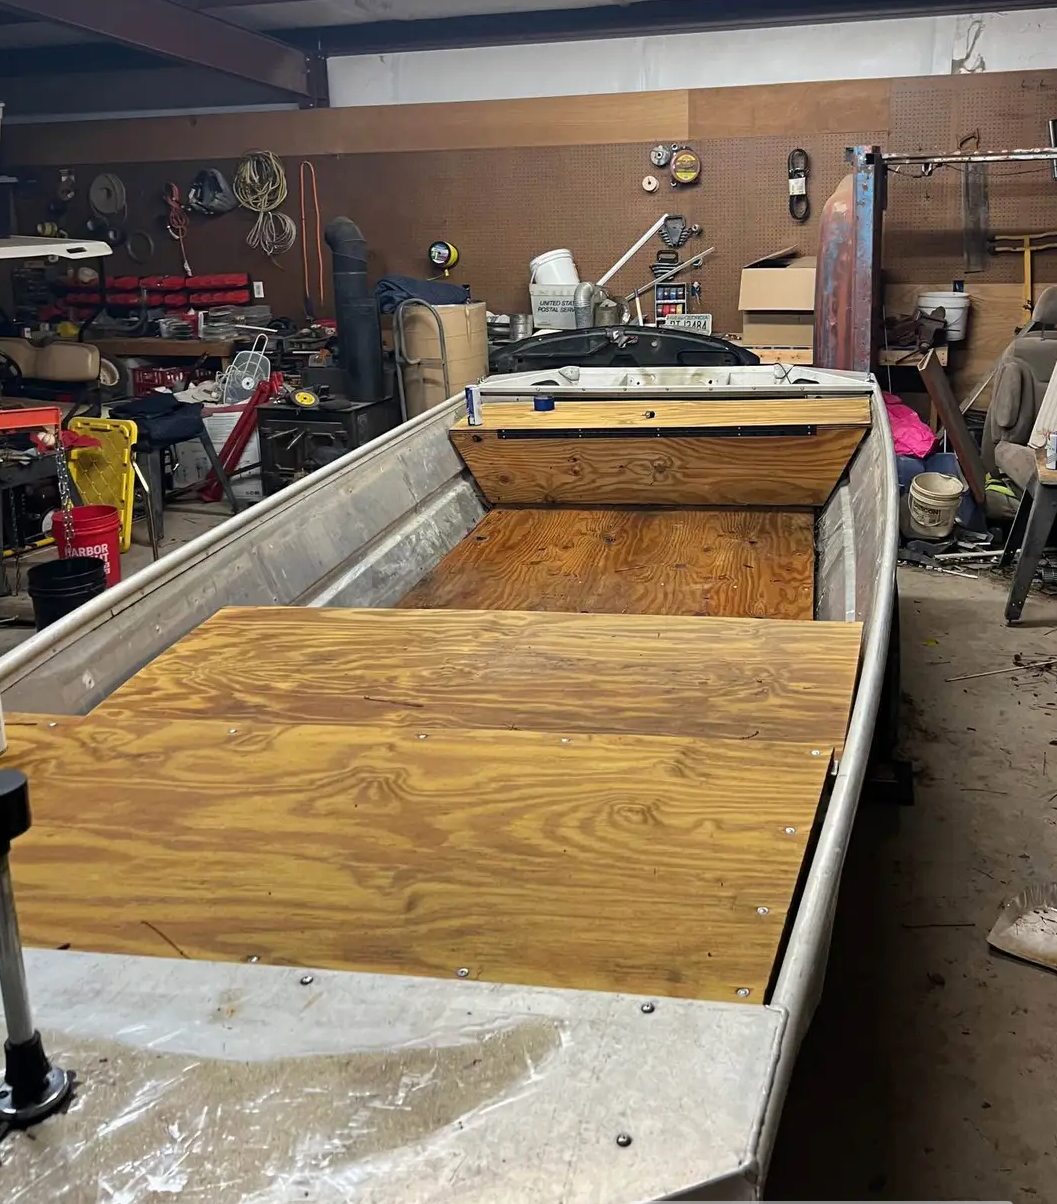
The first thing to do was to remove all the wood from the interior of the boat. Get it down to bare bones so I could build it back up with all aluminum framing and sheeting.
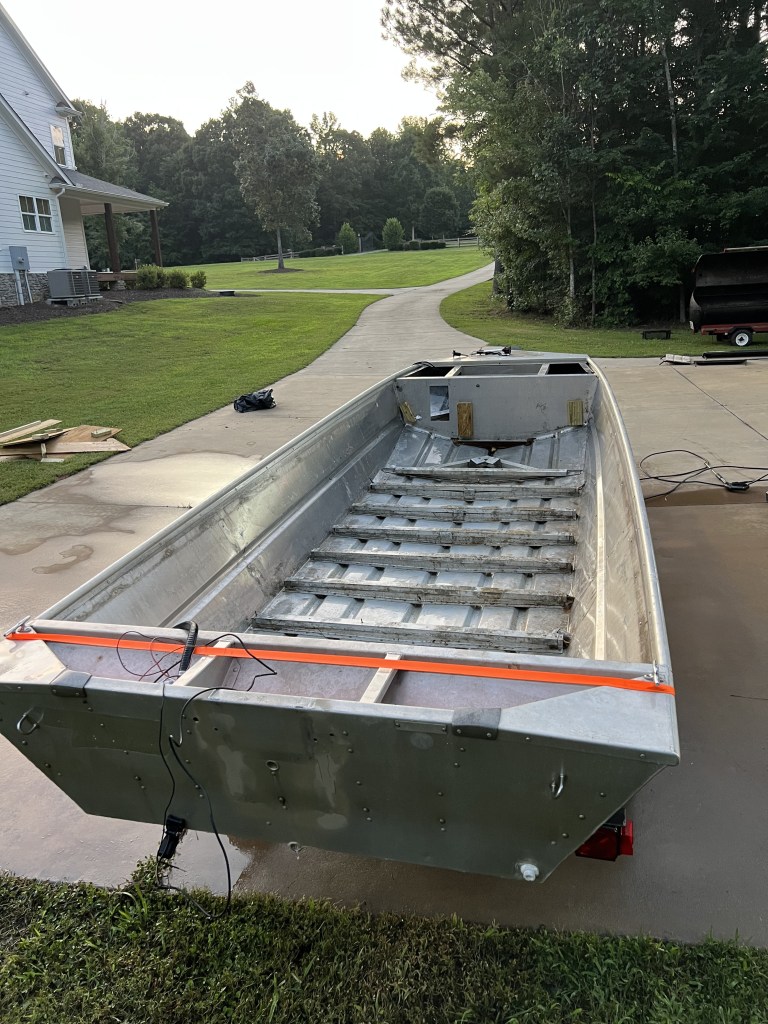
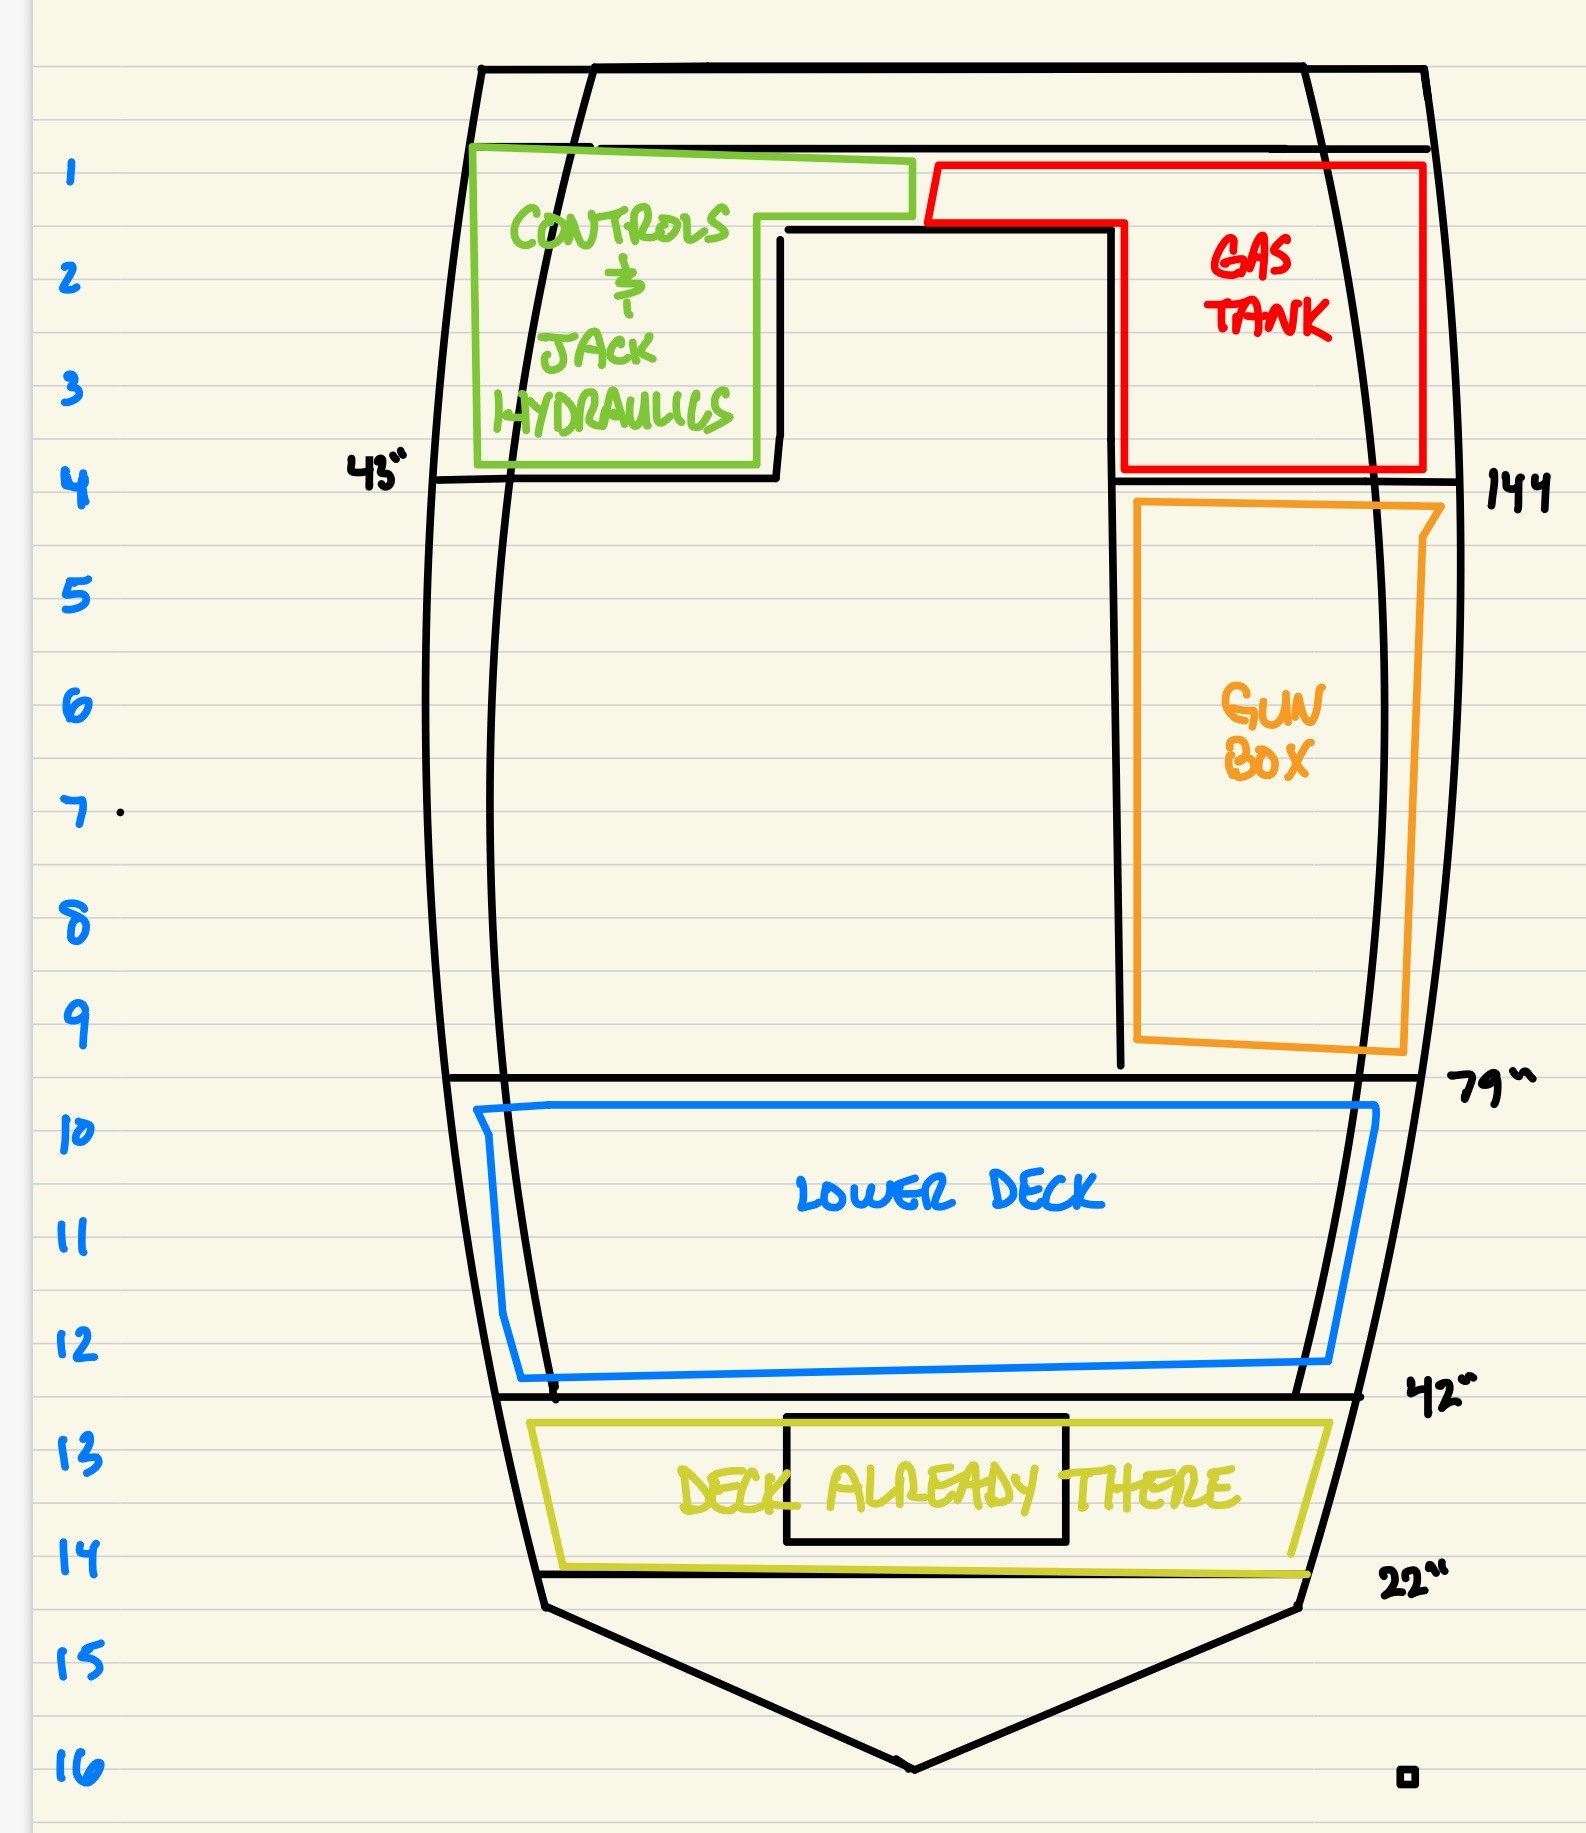
Next was to start planning out the interior boxes and decks. I wanted a standing deck that was lower in the front than what was already there, and could create some storage underneath for the batteries. The batteries I wanted upfront in the center for weight balancing. A gun box on the Left side of the boat. On the back left a vented box to house a gas tank. On the back right a box for the Tilt and Jack solenoids/hydraulics, and the boat controls.
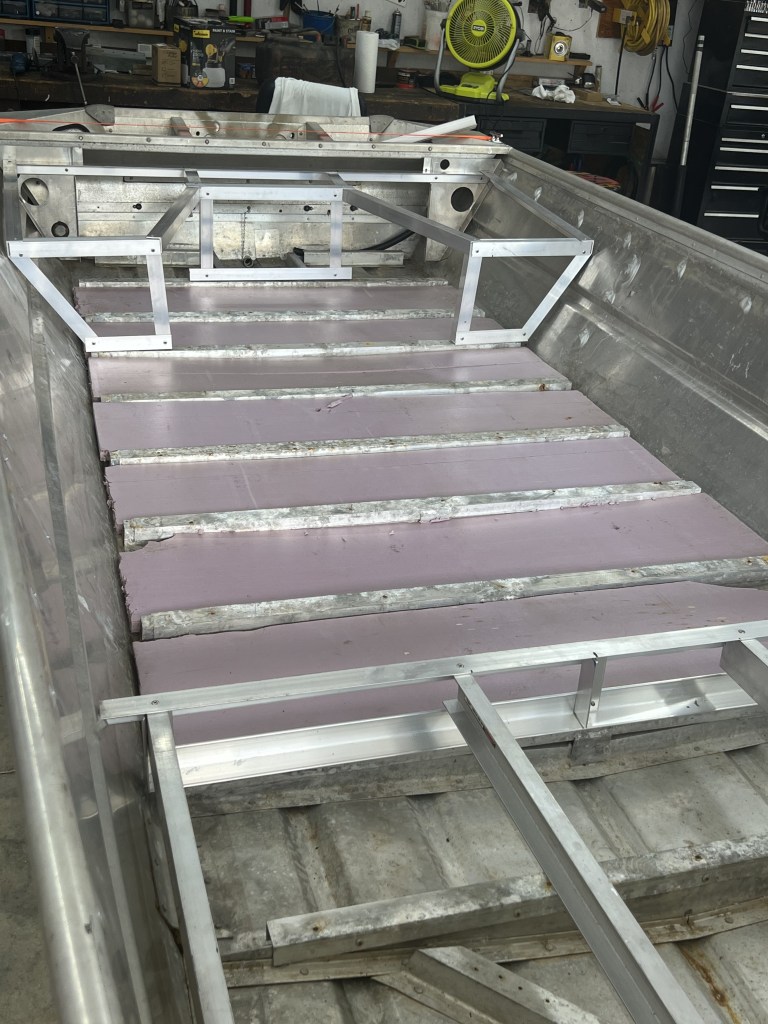
The first thing to do was to redo the floor and floor insulation (or lack there of). There was so much pine straw and leaves that I had to scrap, push, dig out of crevices to allow for proper water drainage under the floor. I started with foam board insulation to fill in between the floor joist members. You can see some of the box framing in the picture but that was just fit up and trying to figure out what would work.
Next was to install the metal diamond plate floor. I purchased a polished aluminum diamond plate sheet and actually went and had it sand blasted. I wanted it sand blasted so that the painting process I did later was much easier and the paint would actually stick.
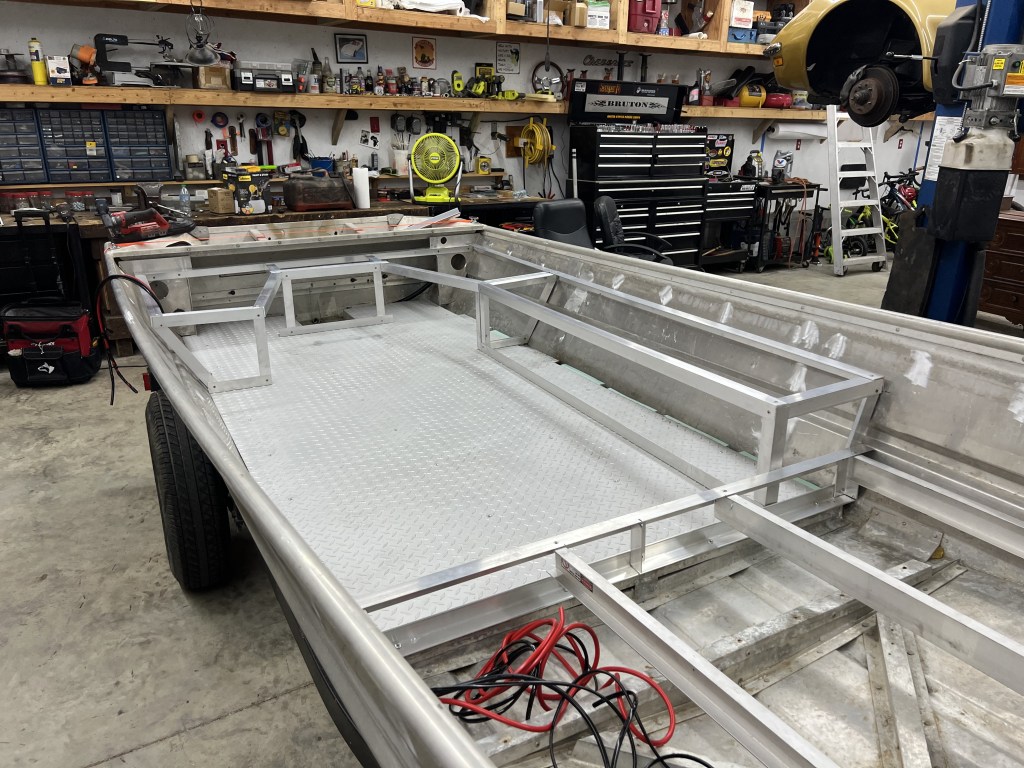
Ah, one thing I forgot to mention. Before placing the metal sheeting on the floor, I ran some flexible conduit from the front to the back with large gauge battery cable and some runs of 16 gauge wire for LED lights.
I bought ALOT of 1.5″ aluminum angle and went to work starting with the deck in the front and making my way to the back. I started with just using aluminum rivets and riveting the deck framing in place and then eventually stich welded them. Once the framing for the deck was complete, I attached a piano hinge at the front of the deck and then riveted aluminum sheet to the hinge to create a large acting lid on the lower deck. On the upper deck I replaced the metal decking and installed a new access lid.
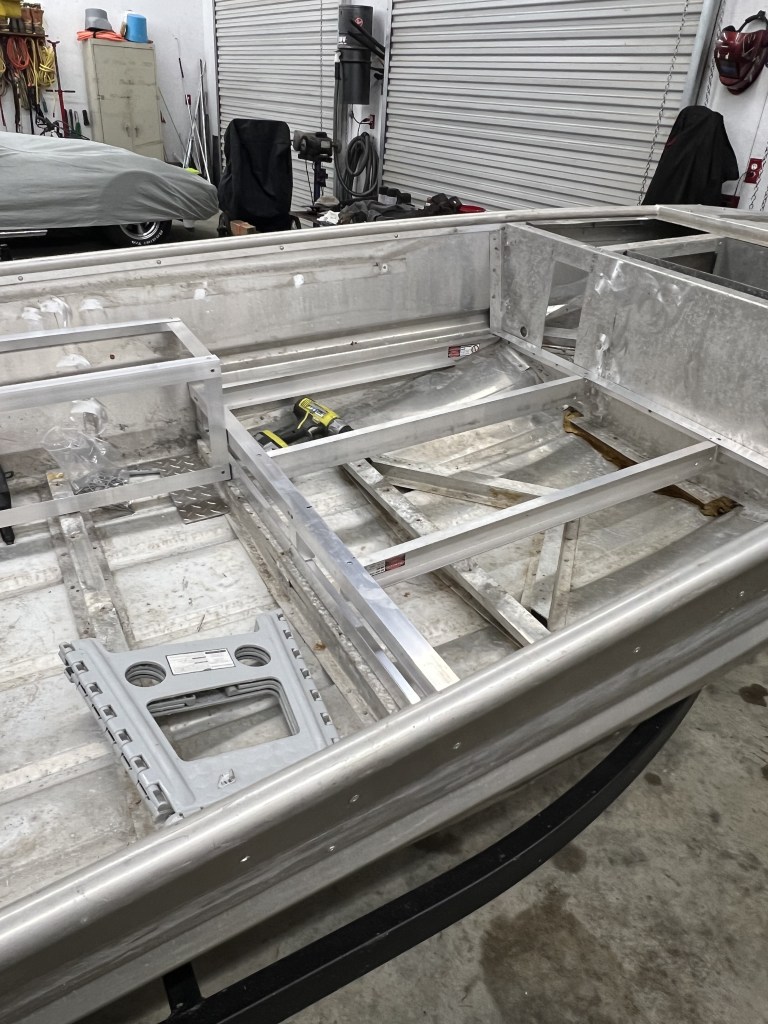
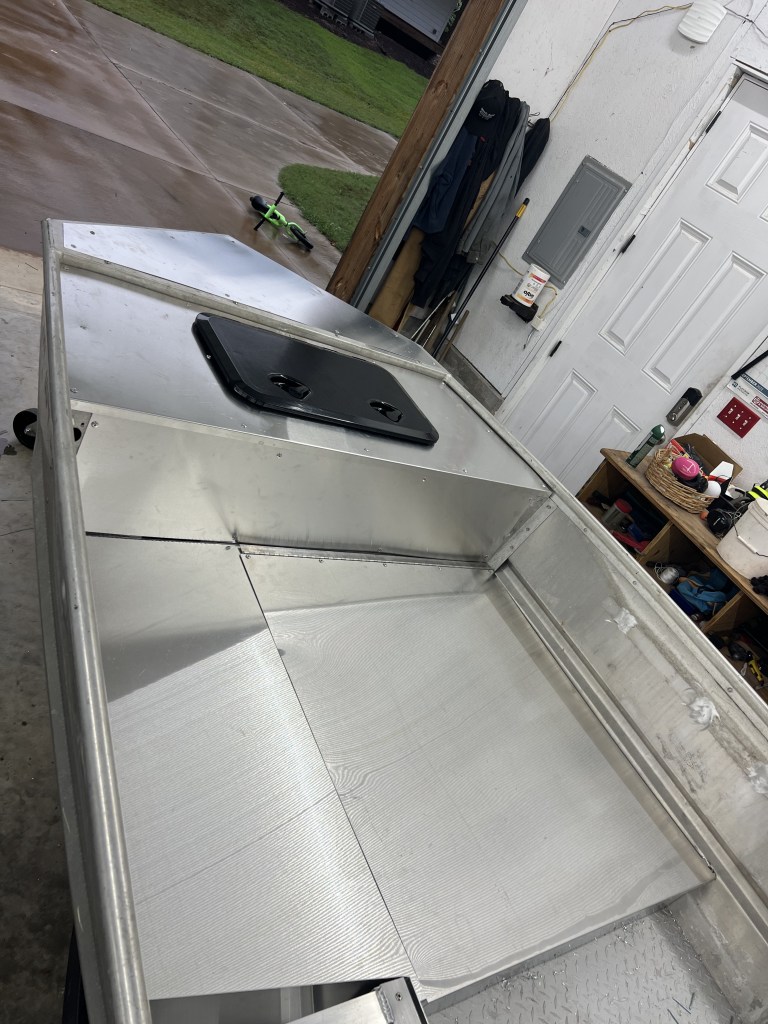
The framing continued from the lower deck around to the rear “U” shaped boxes that would hold the gas tank and hydraulic motor, solenoids, and hoses.
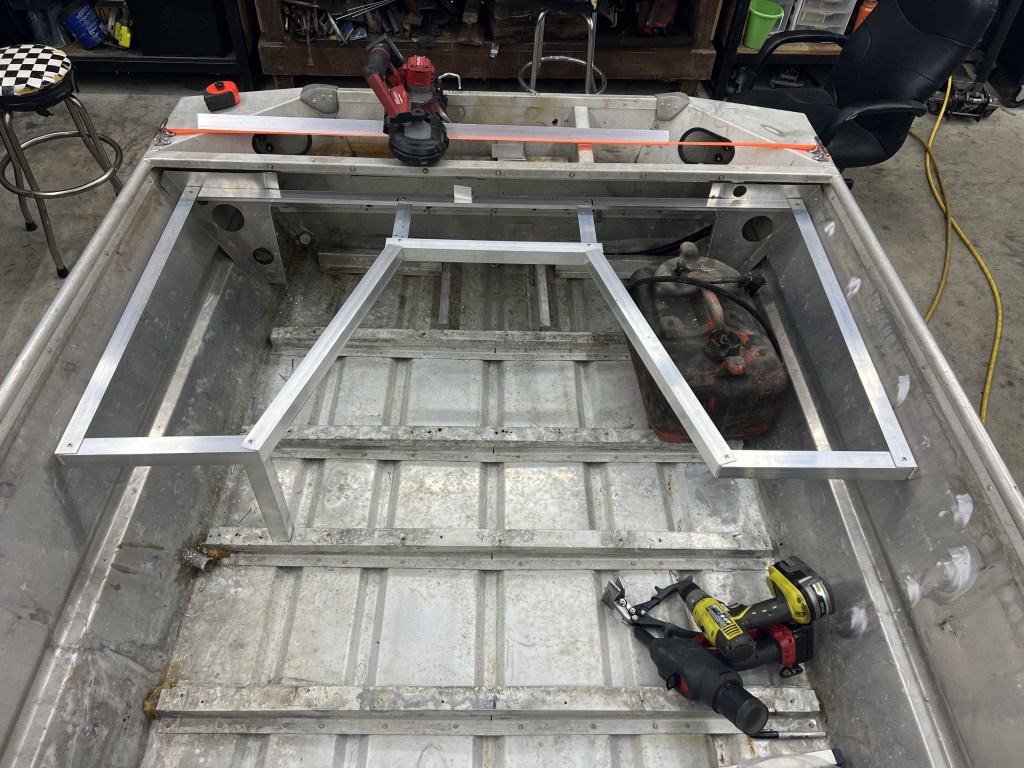
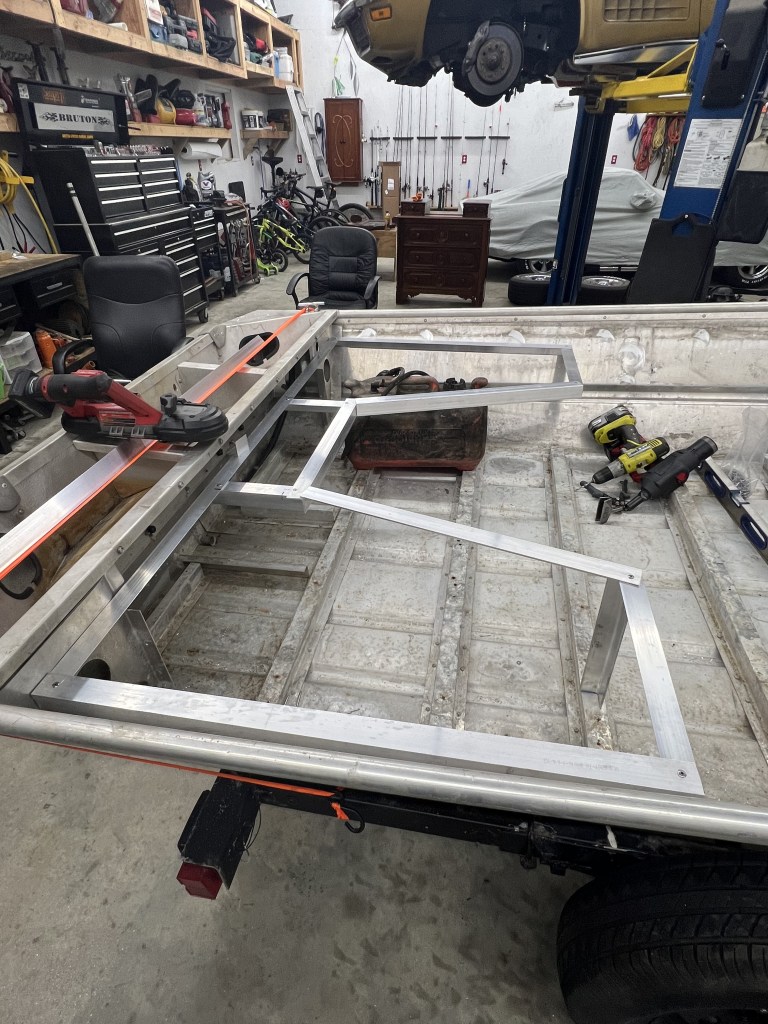
The final box to mock up was the gun box that runs down the left side of the hull. After creating the lower deck and the back “U” shaped boxes, it was just to fill in the space between. I did make sure that a shotgun would fit in length wise.
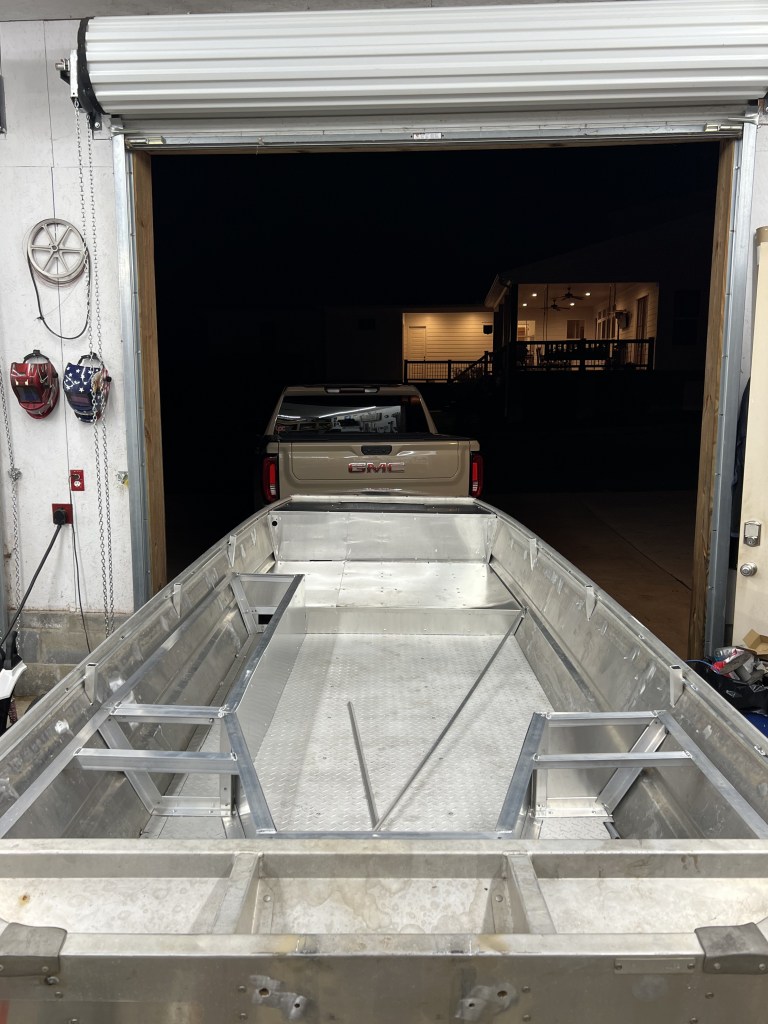
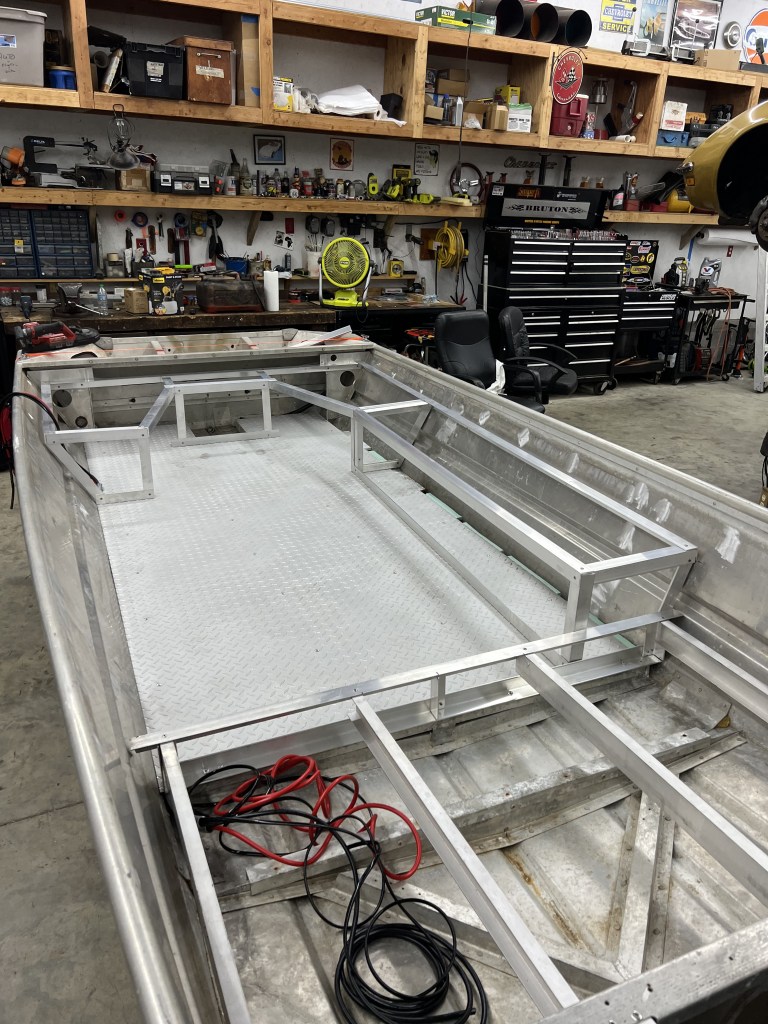
Once all the boxes were rivet together, I had the box framework stitch welded together to help solidify the “bone structure of the boat (Thanks to Reid and Landon for the TIG welding help). It framework was also riveted and stich welded to the hull side walls and the to the floor. Once all of this was completed, the boat was very rigid and sturdy.
Next thing to do, was to rivet aluminum sheet to the box framework, to close in the all boxes.
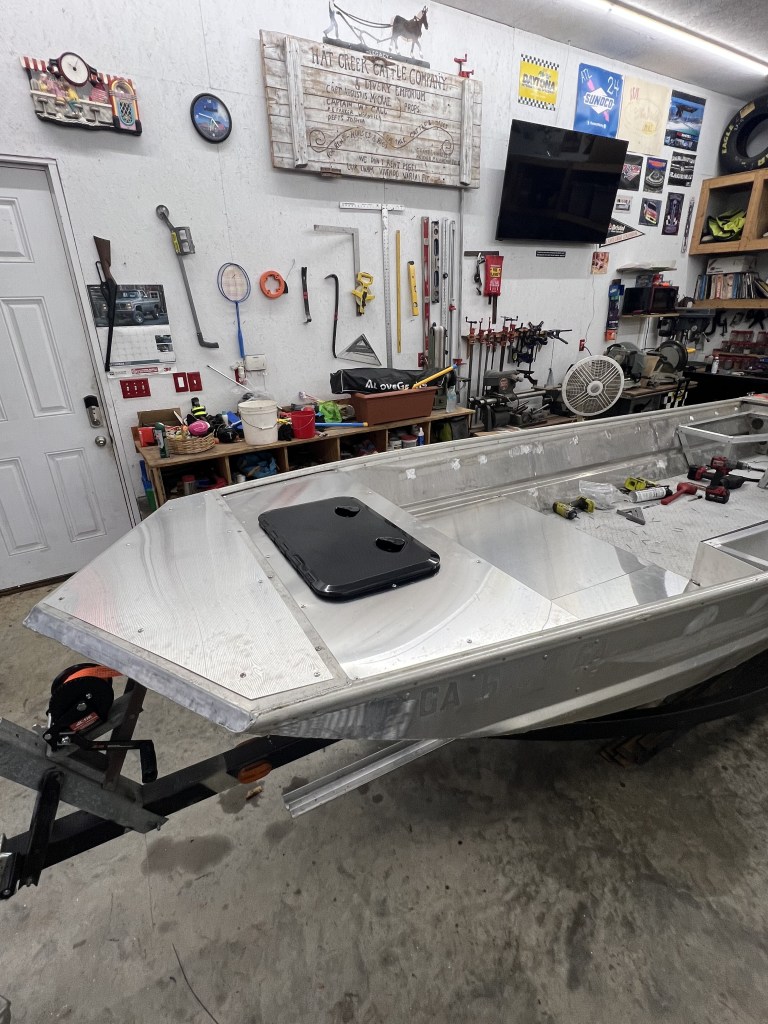
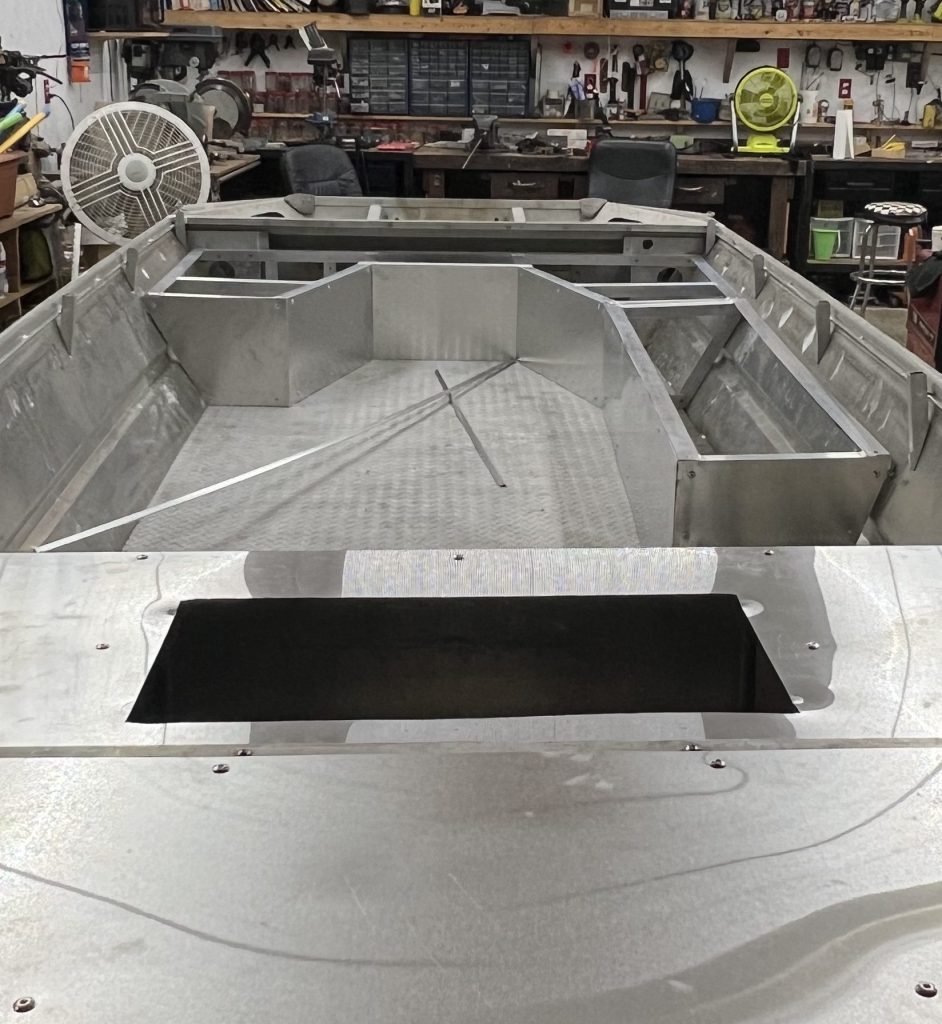
The next part in the process was difficult. Making the “Lids” to all the storage boxes. I did have to purchase some 1″ square aluminum tube to make the Lids more ridged. I once again used long piano hinges to hold the Lids in place. I purchased some simple latches (color coordinated of course) to help keep lids closed while going down the road or on the water.
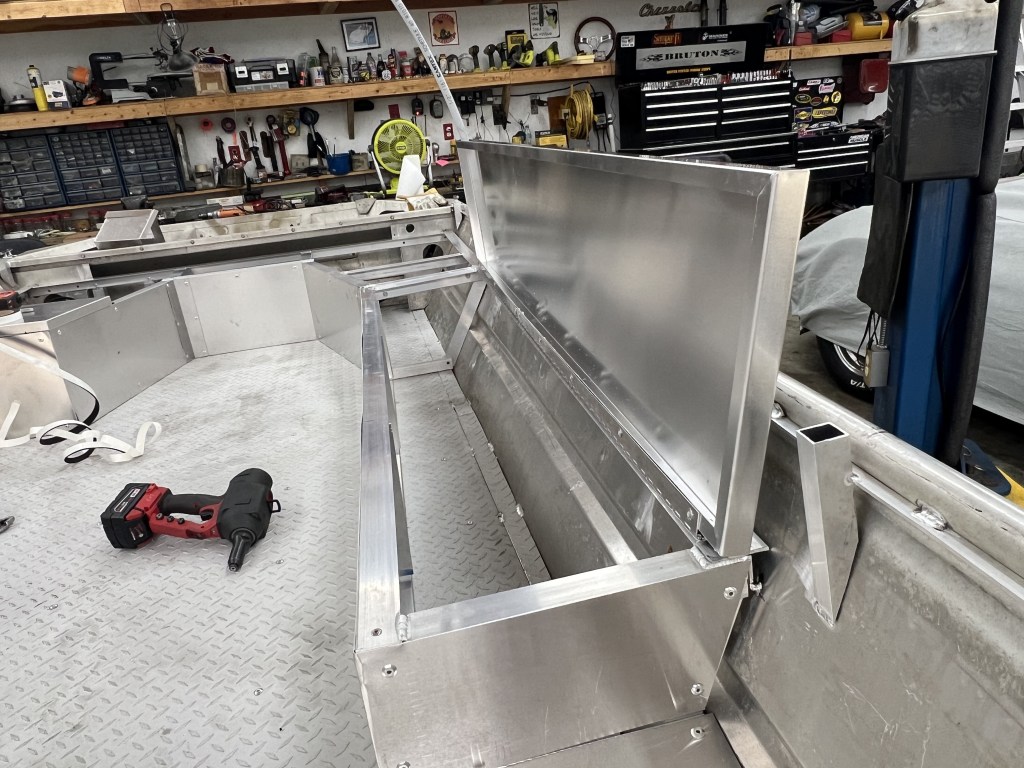
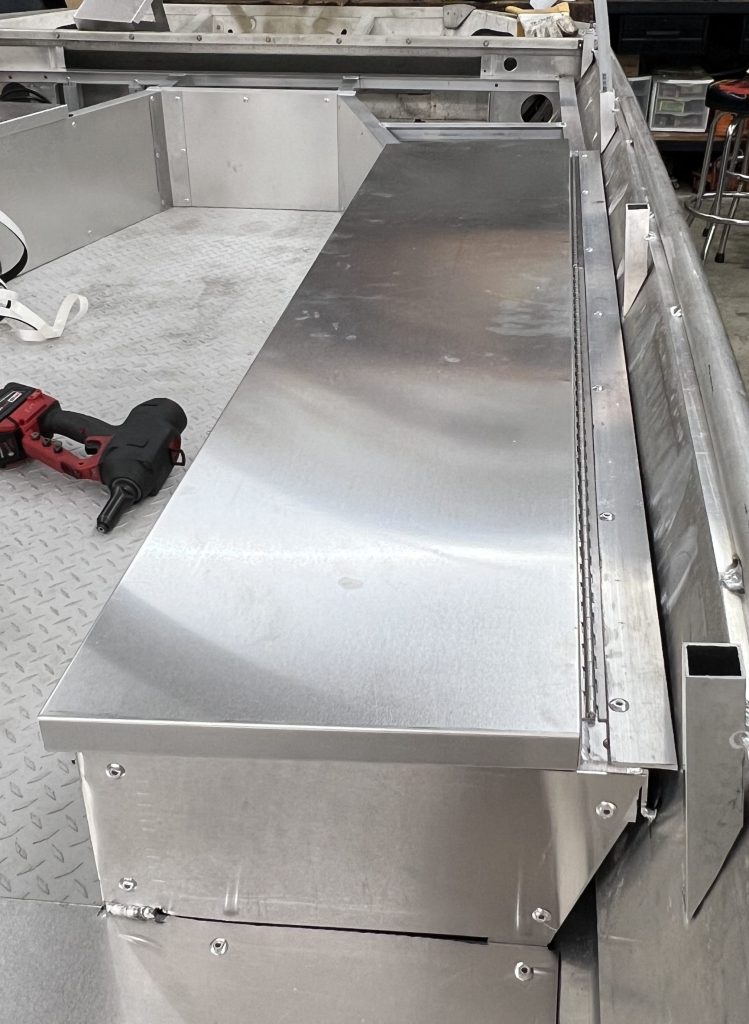
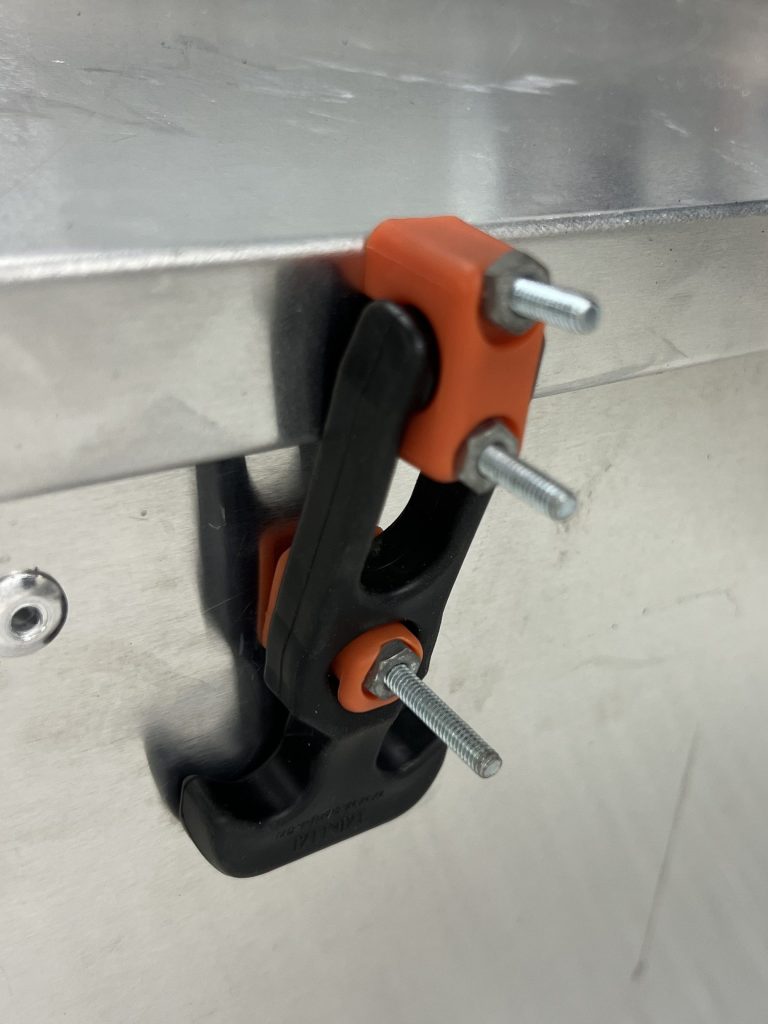
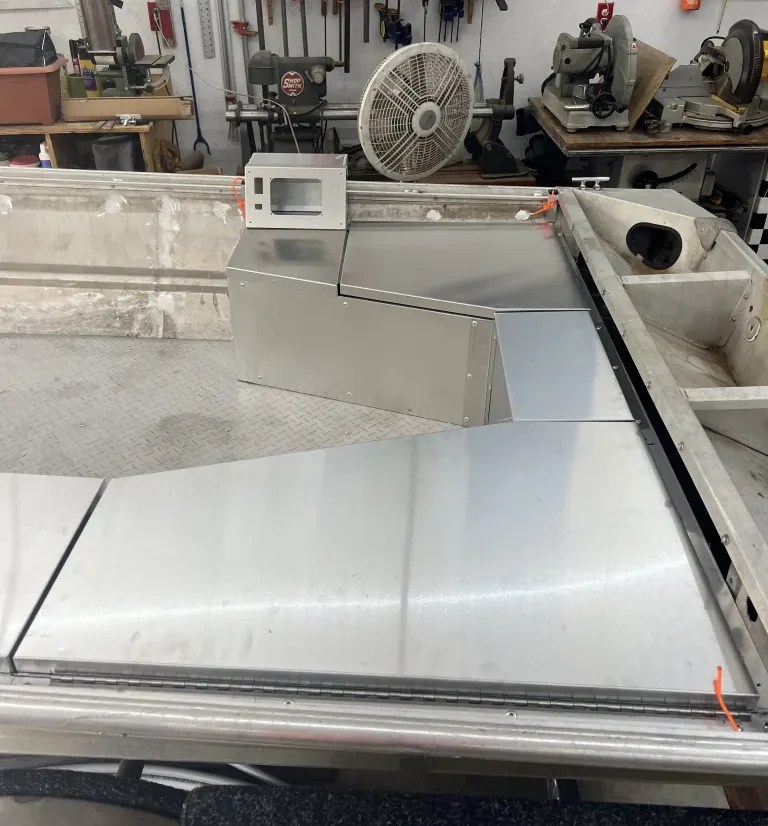
In the picture above you can see the instrument panel as well. I located the instrument panel on the right side of the boat. The boat has a tiller outboard motor, so sitting on the right side of the boat, controlling the throttle and steering with my left hand, allows me to use my right on the instrument panel while I drive.
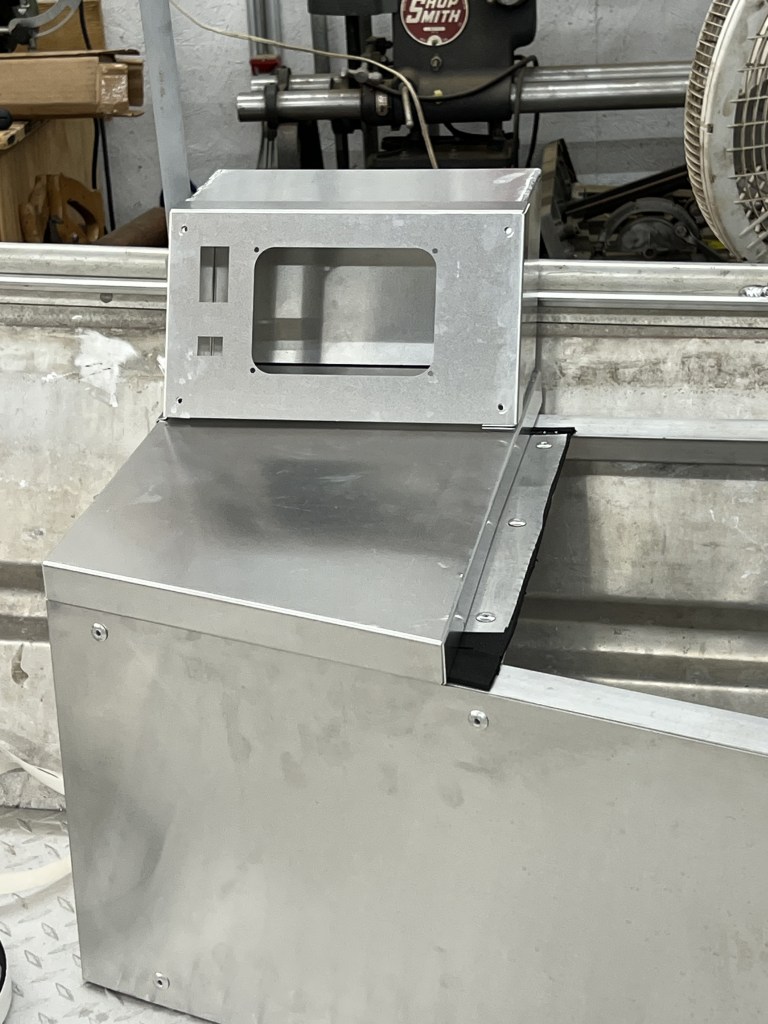
The sheet metal in all took SEVERAL weeks to cut and bend and get to fit up right. It got frustrating at times for sure but in the end I was super happy with the look and functionality.
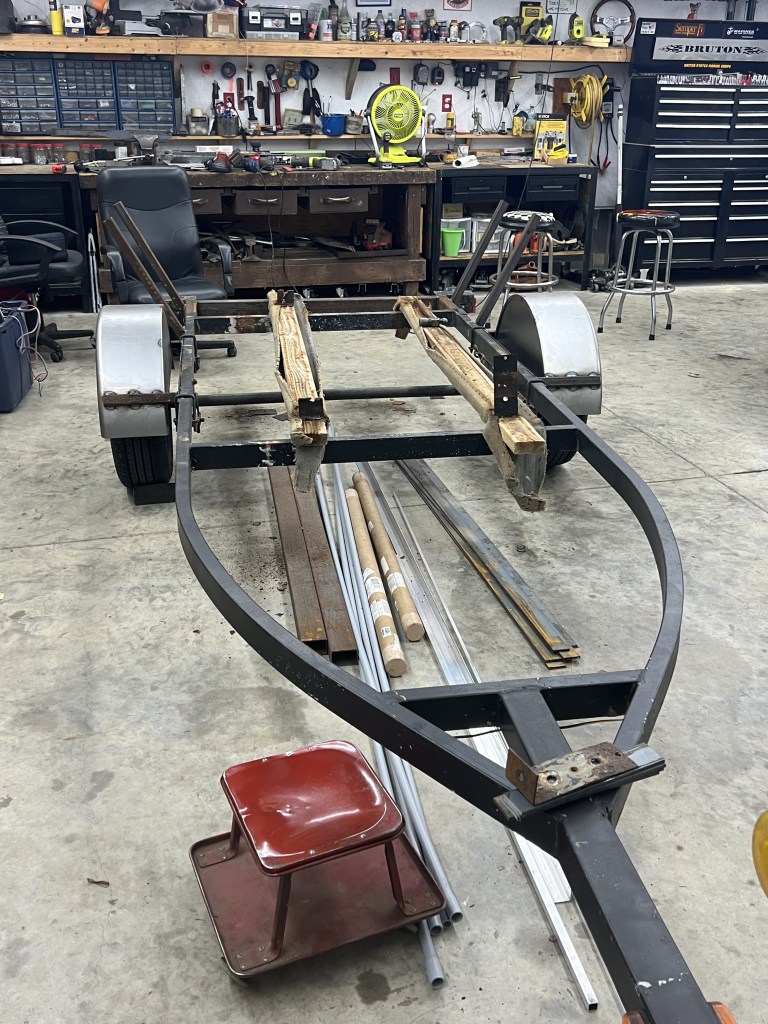
Unfortunately the next thing to do was to focus on the trailer. The trailer did not match the boat. The tires and rims had been swapped out and the trailer was not long enough. First order of business was to fix all of the rusting and broken welds. Then I extended the trailer frame. I reused the light brackets and welded them onto the end.
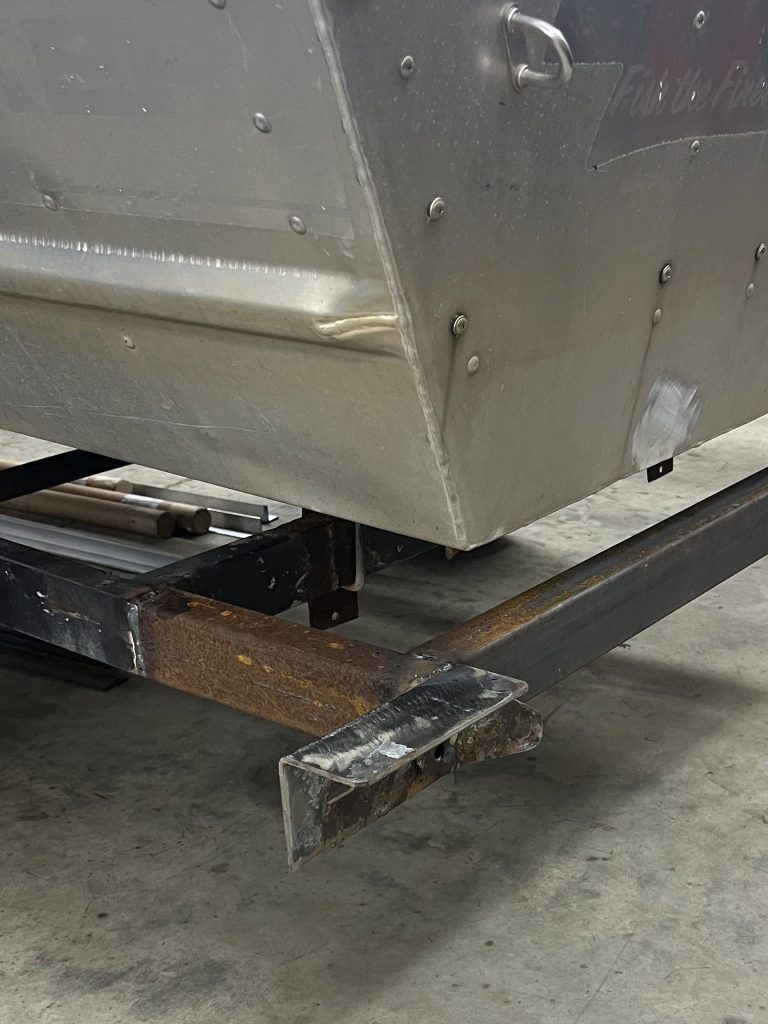
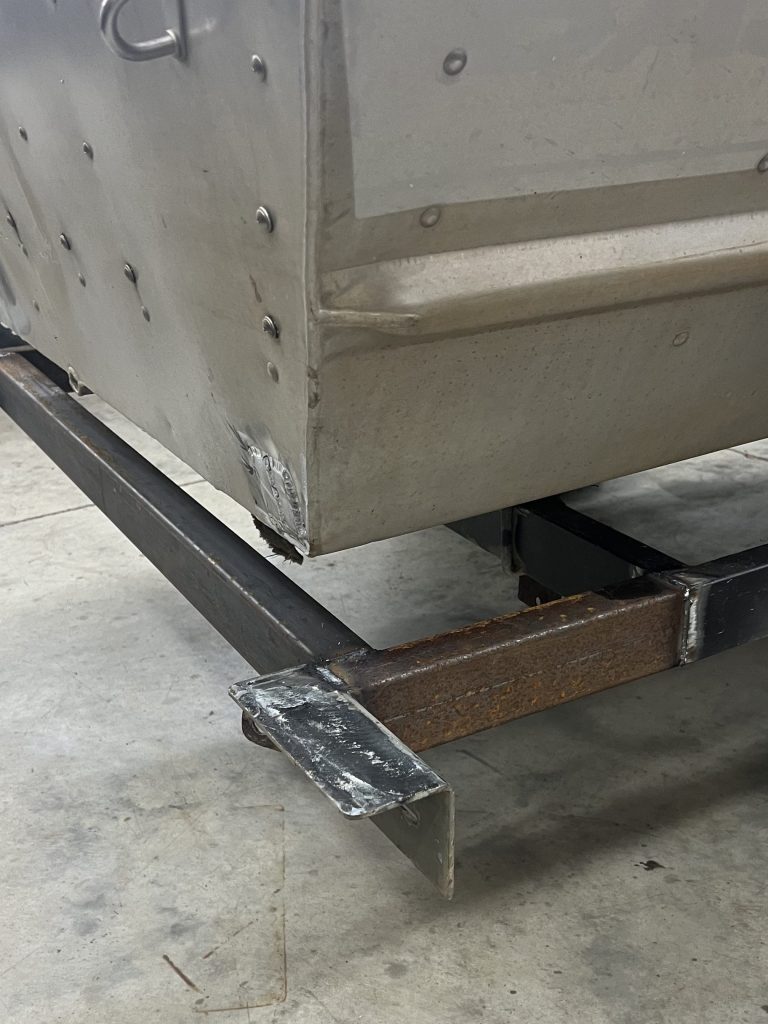
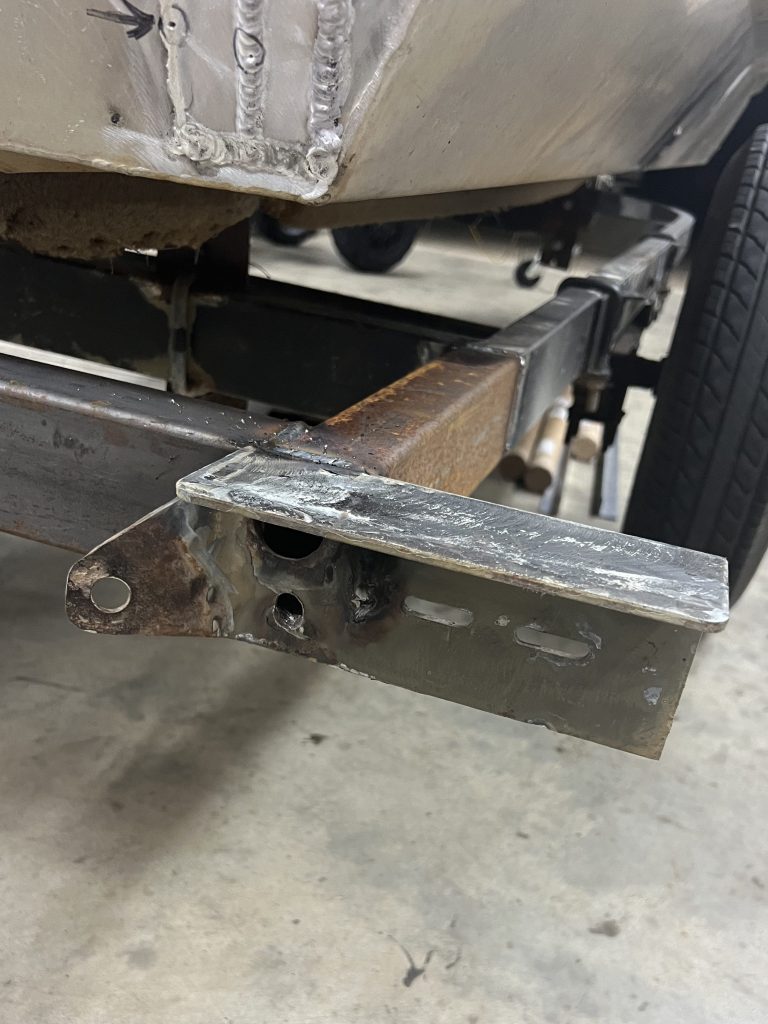
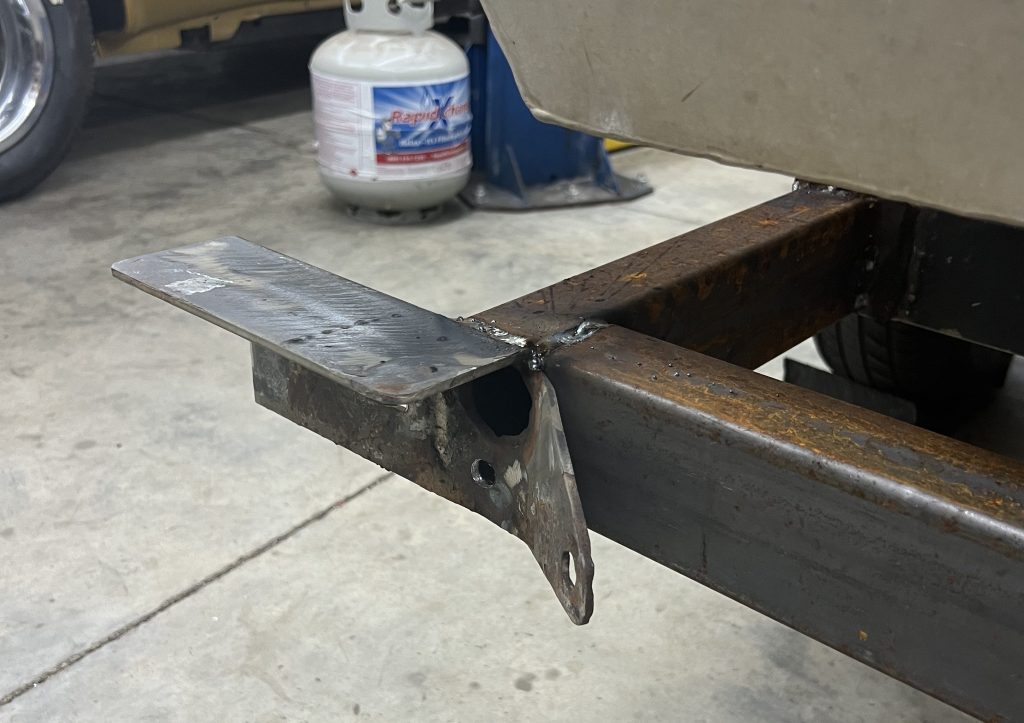
With all the work I had already put into the boat, and my ideas about painting and the final look, I talked myself into adding fender wells on the trailer to protect my boat from gravel roads and loose debris on the highways. I purchased some simple fender wells online and then welded and screwed them into place.
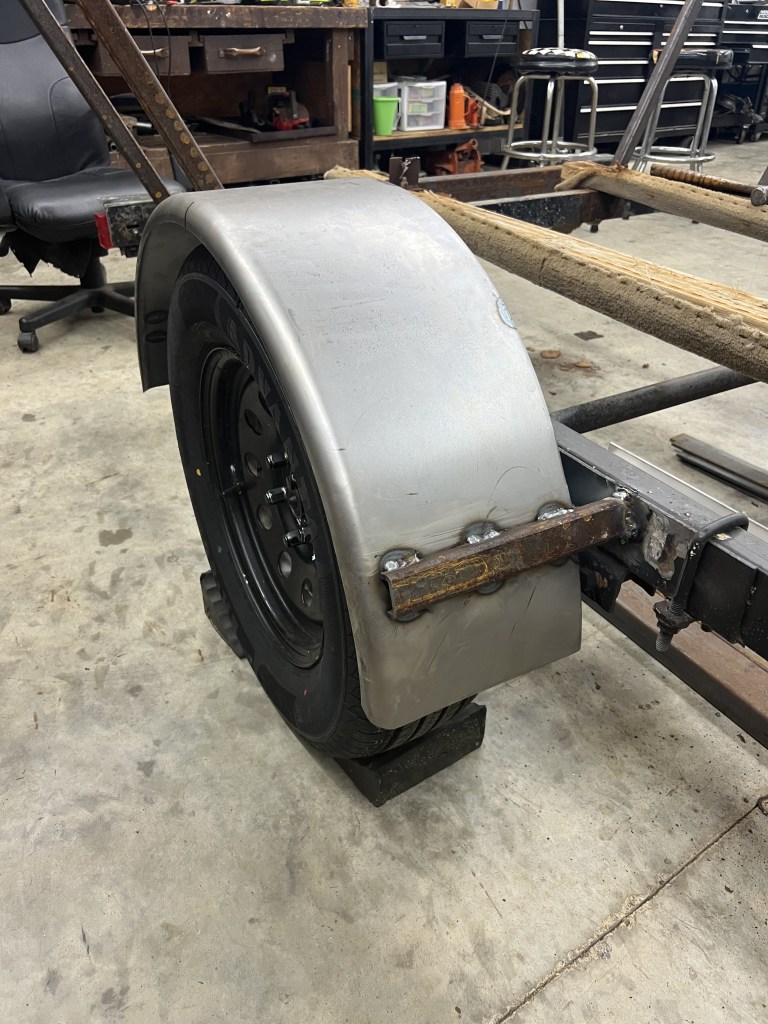
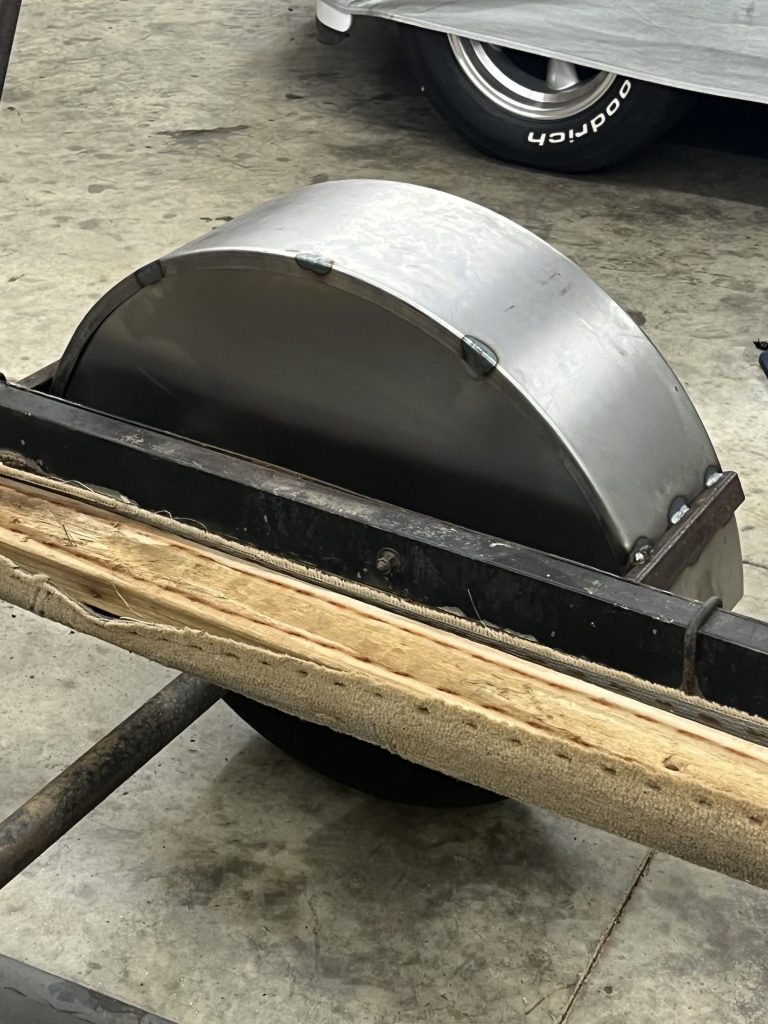
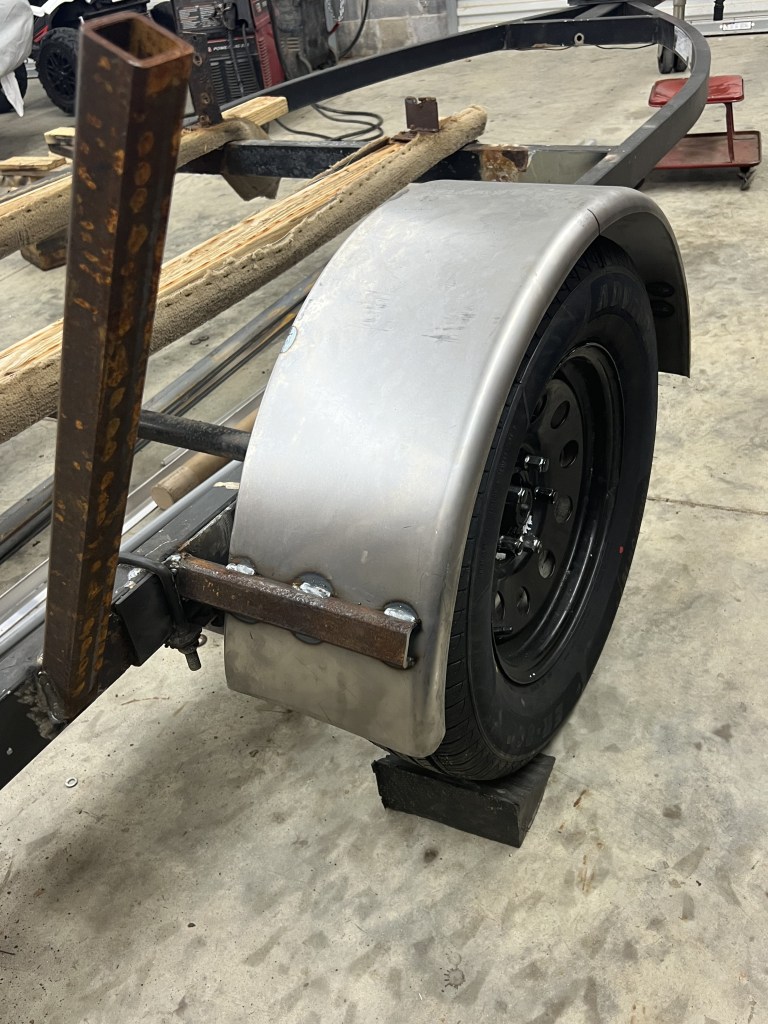
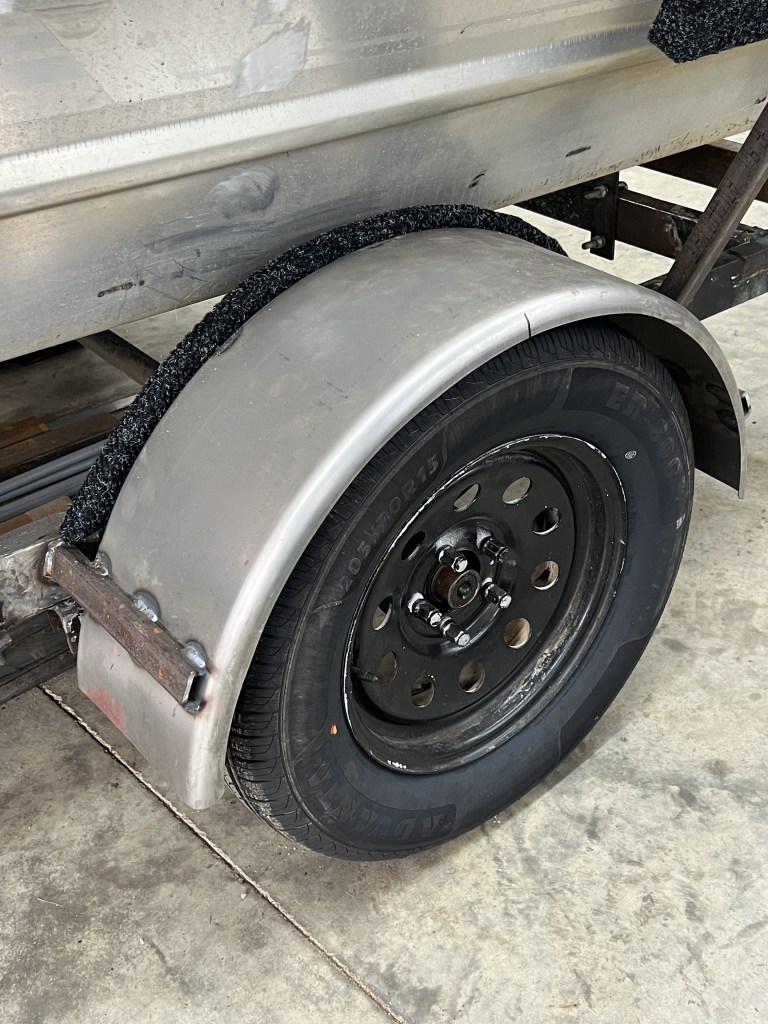
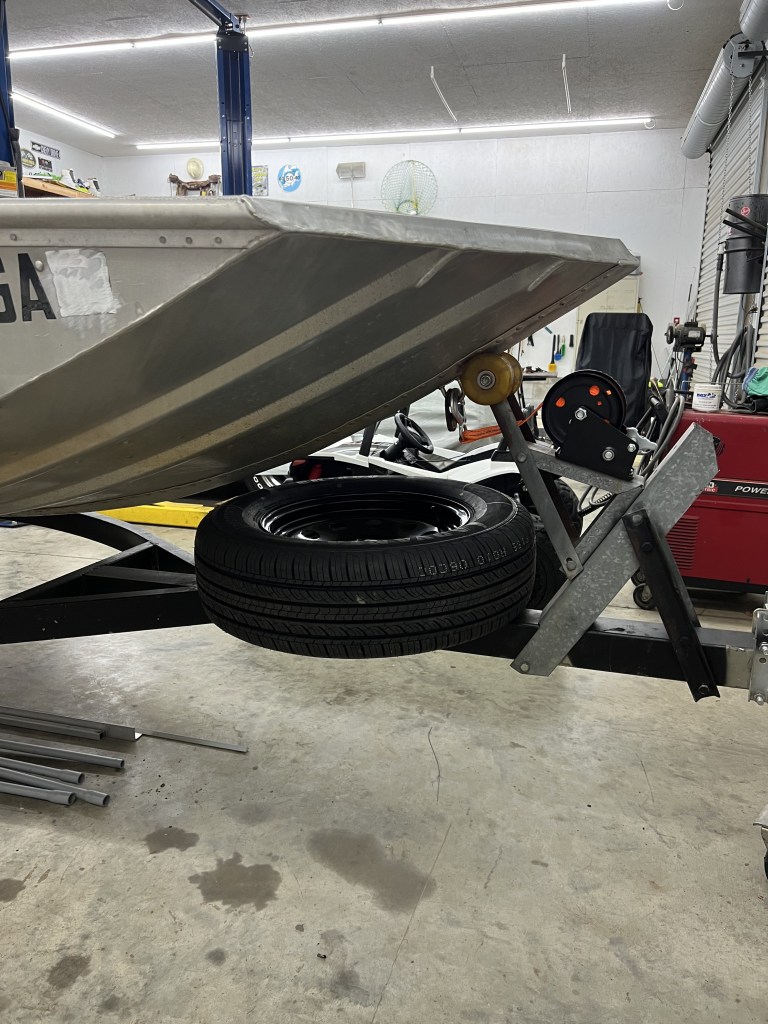
I purchased generic new trailer wheel and tire combos. And an additional one for a spare. I ended up mounting the spare tire under the front nose of the boat.
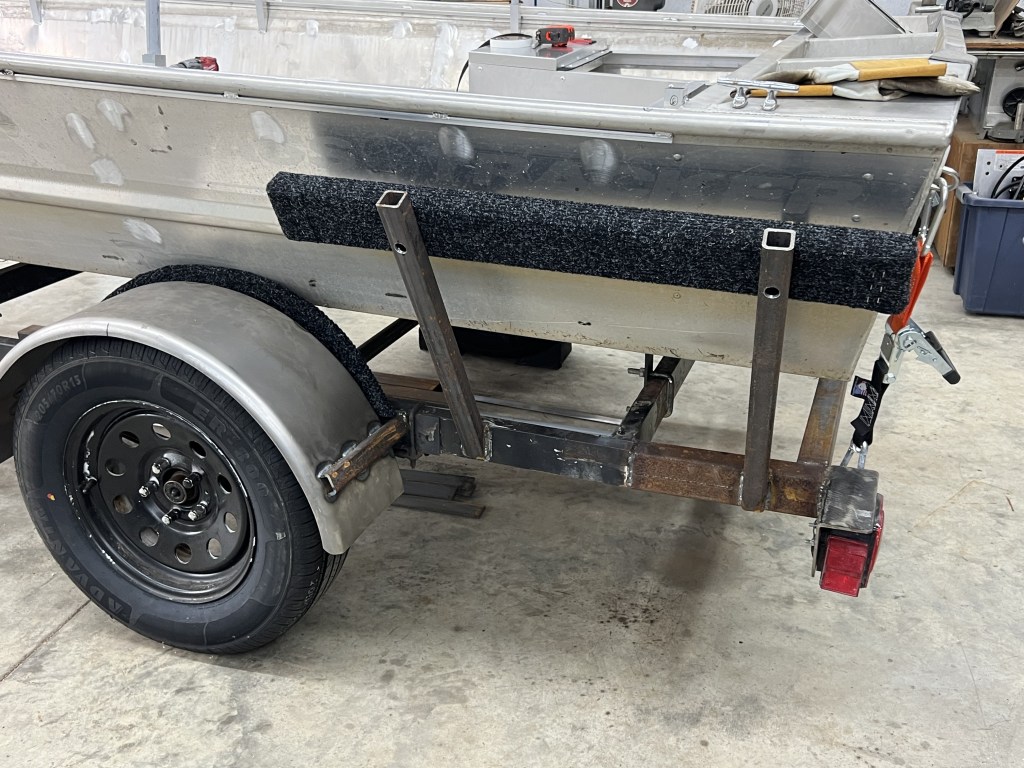
Next was the bumper rails for the sides of the boat. I figured that if I was taking the boat on and off the trailer in the wee hours of the morning in the dark, then it would help to have some bumper rails to keep the boat lined up on the trailer. I also thought it would be a good idea to put a bumper plate on the inside of the fender wells too because there is not much clearance between the fender wells and the sides of the boat. The bumper rails were just simple pressure treated wood and a “high traffic” carpet. Even the runners under the boat had to be completely redone along with their mounting brackets.
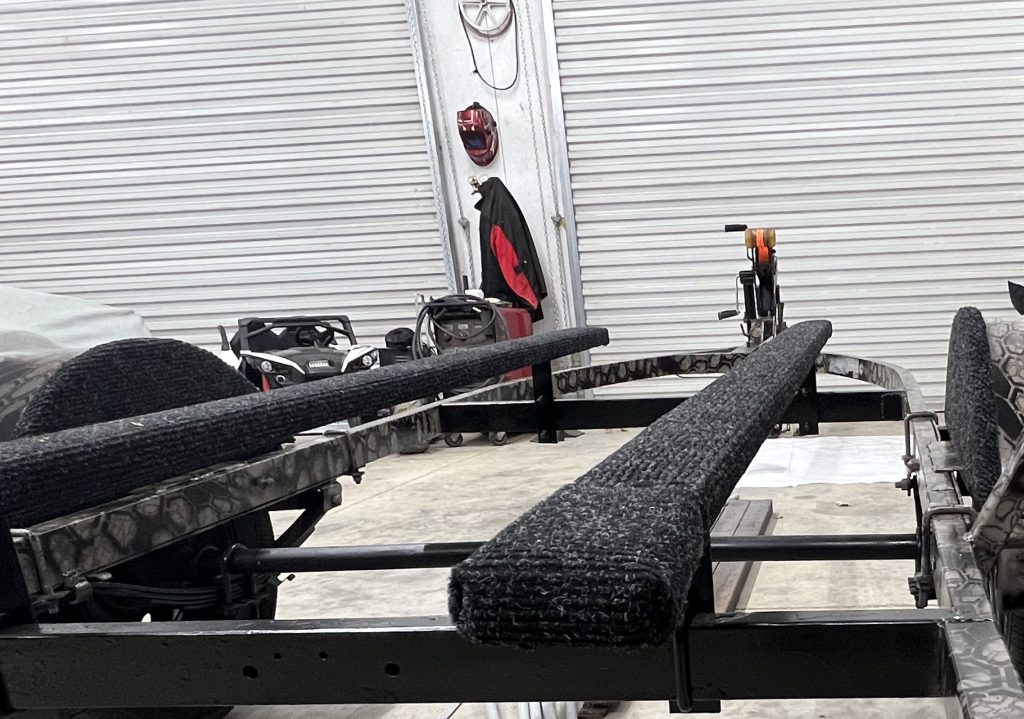
At this point in time I had the interior of the boat done, I replaced and repacked the bearings in the axle of the trailer, I finished the rebuild of the trailer. During the many many many late nights and weekends thus far I had been picturing and researching boat accessories for aluminum boats and more specifically duck boats. I know I wanted at least a 30HP outboard tiller motor. I thought 40 HP would just be a little much, and 25 HP would not be enough once the boat was weighted down with gear. After limitless scrolling through blogs, pictures, and websites at all the duck boats, I came to the conclusion that I didn’t want a larger motor on the back of my boat and it pushing the front of my boat out of the water! I did not want a “Carolina Lean” duck boat!
So, I went looking again and found “pods”. I figured out what size I needed and purchased them online. Had I had more time, i would have made them myself, but the price was good enough that I just purchased and then had them welded on (thanks again to Reid and Landon). What I read was that with the two pods on the back of my boat, it will add 200lbs of buoyancy to the back. Which did balance out my boat really nicely. There was a little fabrication that I had to do to them. Because of the offset and the angle that they are designed to go off of the back of the boat, I had to cut some “filler pieces” to take up the gap between the pod and the back of the boat. It was just more welding needed.
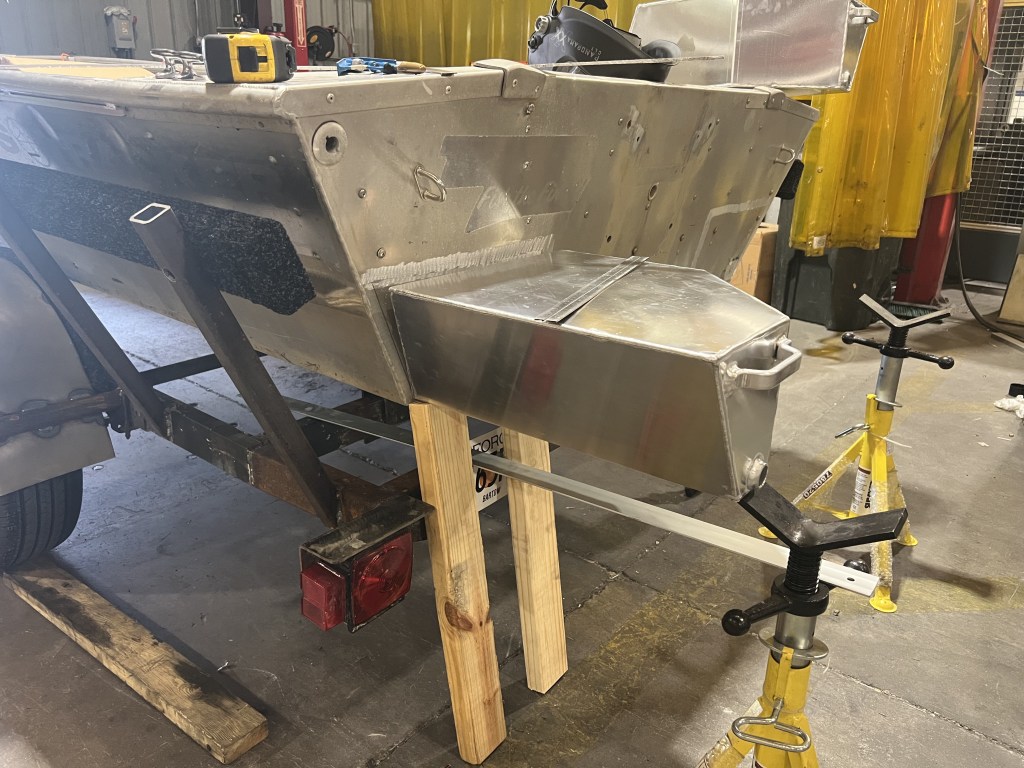
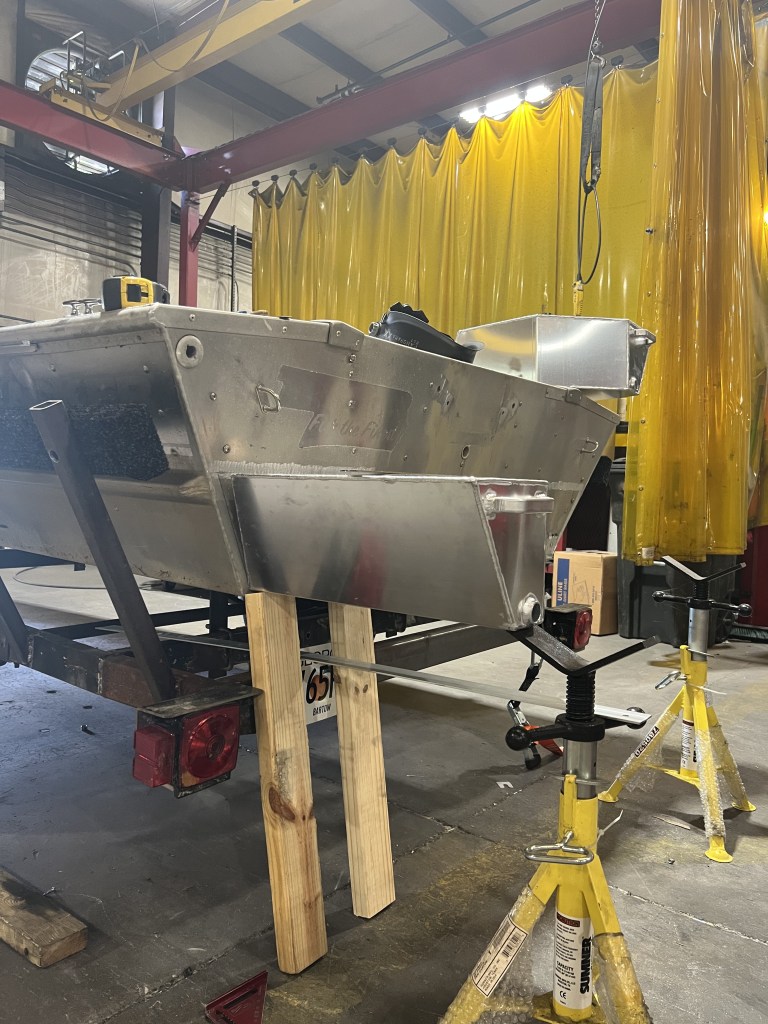
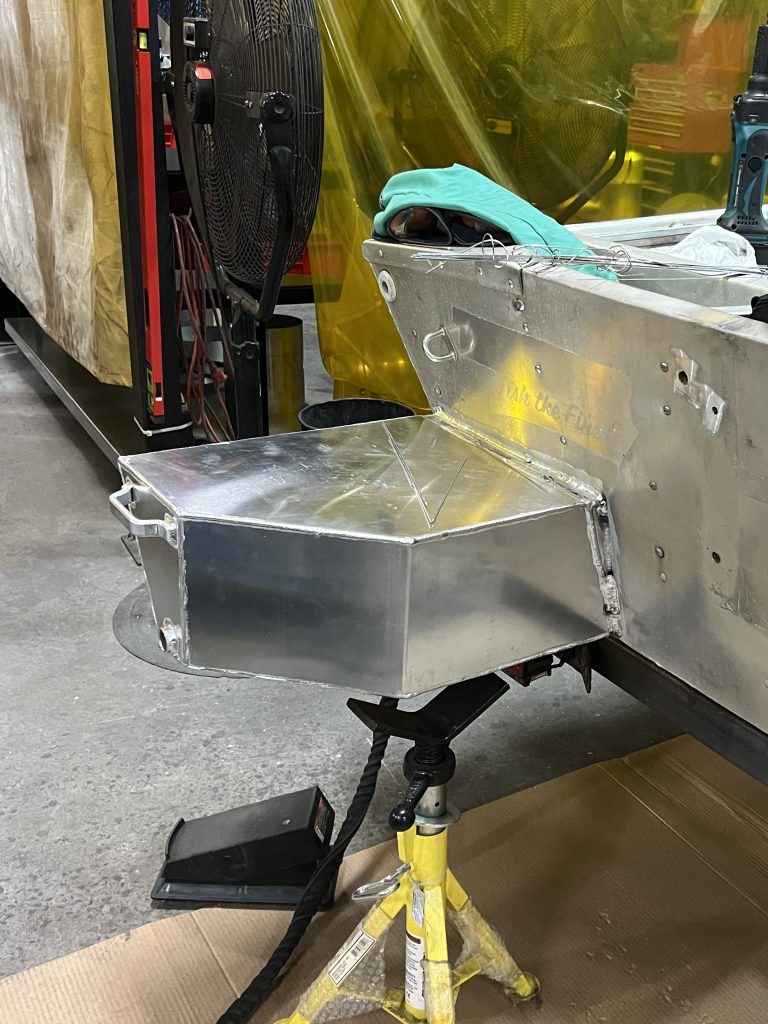
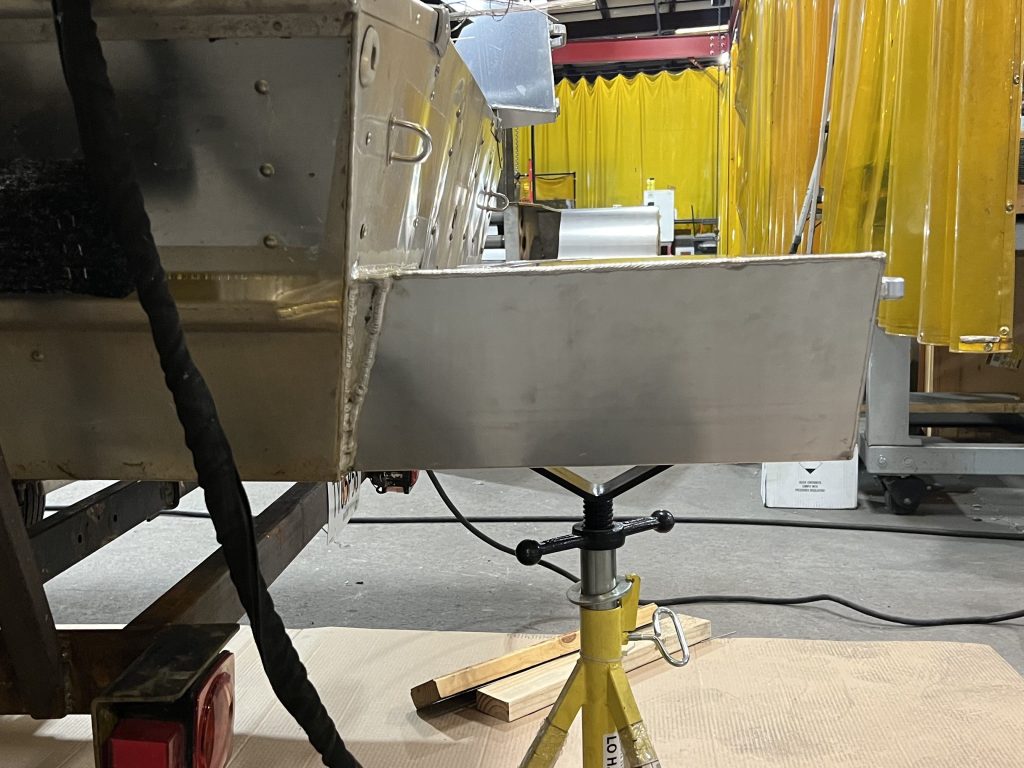
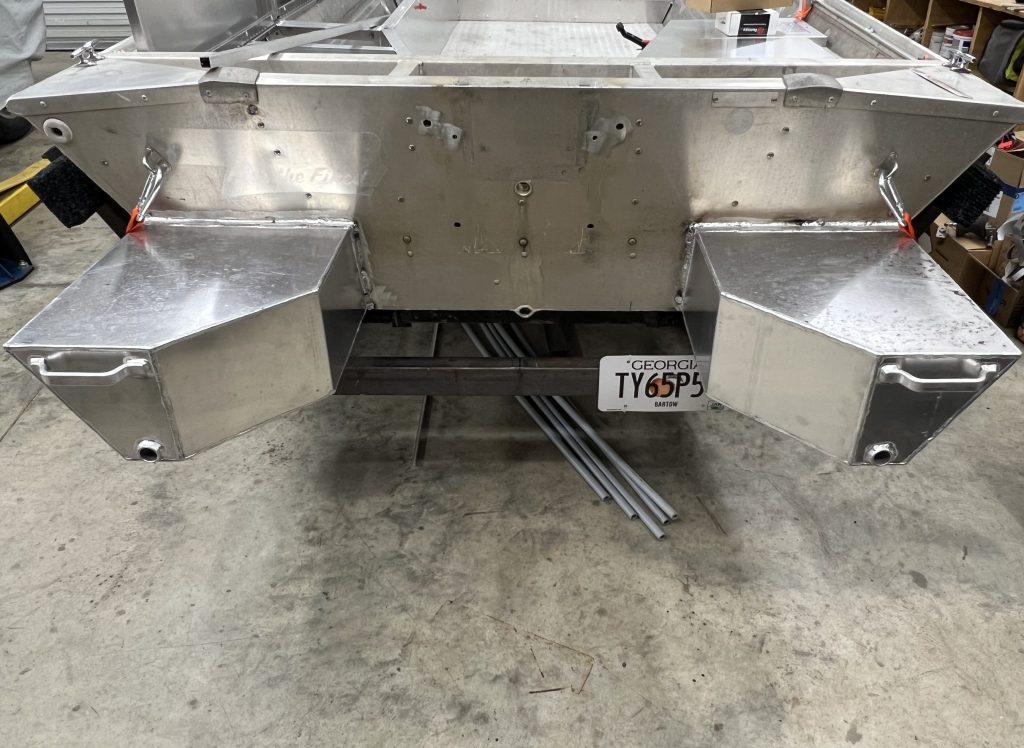
There were also some “holes” I had to get welded up and patched. Since this was a Bass Tracker boat, there was a drain for the live well about 2/3 of the way down on the right side of the boat. The live well was long gone, and the hole was plugged with a piece of PVC pipe and a lot of silicone. So with a small piece of aluminum sheet and some welding, and the hole was no more. Other screw holes from where a speedometer cable was mounted, and rivet holes where the interior decking used to be were welded up.
One of the last things I had to figure out was what to do about a blind. Before painting or mounting accessories, I had to figure our what I wanted to do. I could have just bought some boat blind kit and mounted it, but whats the fun in that? Also, they typically just fold down and overlap the side of the boat, which when going down the road, who like the look of that? I don’t. I wanted something i could sit in, in the rain, and not really get wet. Once I had the concept (which will generally be part 3 or 4 of this blogging story, I had to mount some brackets to accept some cvpc pipe.
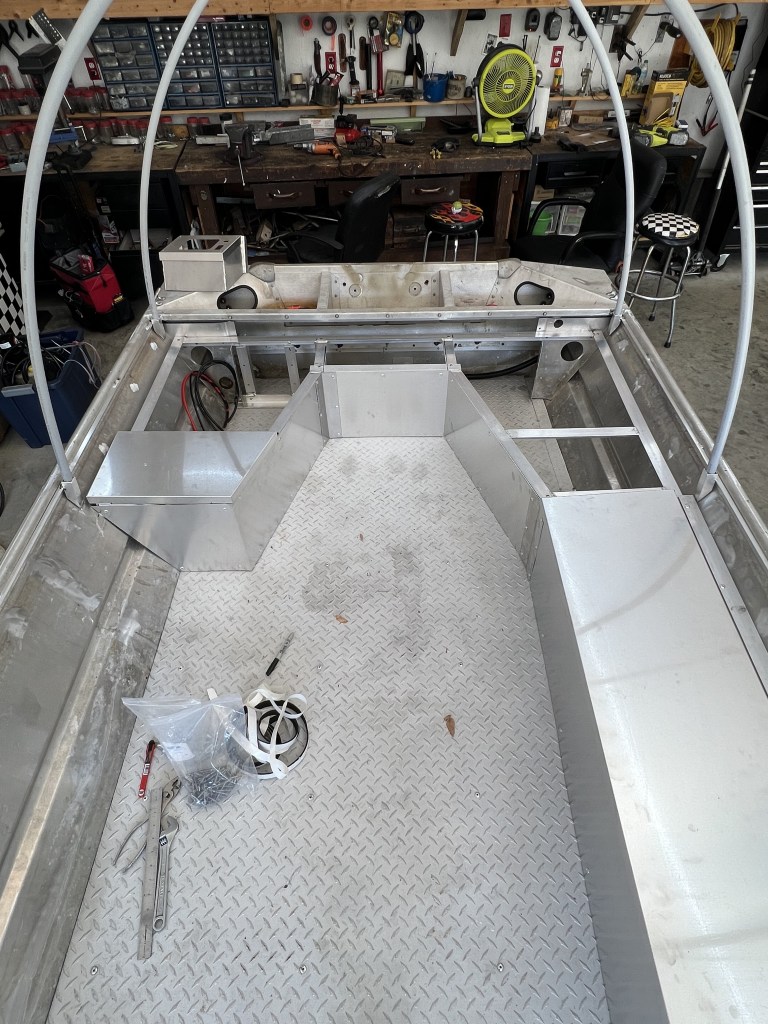
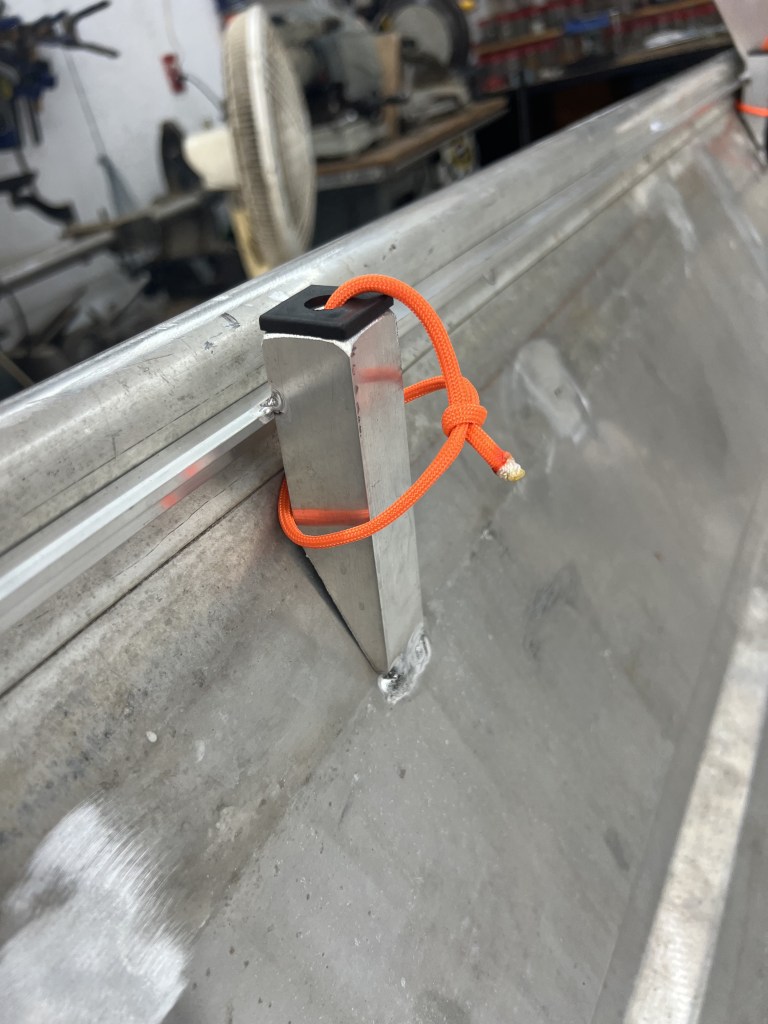
This really wrapped up the fabrication aspect of The Build. I did end up stich welding some 1/2″ aluminum angle on the inside and outside of the side lips of the boat to eventually house some LED strips. At this point I had a shiny aluminum boat and unfinished but working trailer. There was still a ton to be done with wiring, mounting the jack and motor, installing lights, and also painting. Stay tuned for part 2 of The Build!

