Welcome back! This blog post starts with the motor. I went with a 4-stroke outboard tiller motor, mainly because the guys i hunted with and rode in their boat recommended it after having a few different ones. Seeing that the boat was going to be used for spring time crappy fishing on a North Georgia Lake as well, it seemed like the right choice.
Since I was doing this on a budget and purchases overtime of the build, I started looking early and found a used 30HP Tohatsu 4-stroke tiller motor on Facebook marketplace. It ended up having a one issue with fuel pressure, but a good bulb and tank later, and its all good. I bought the motor for $2,400.
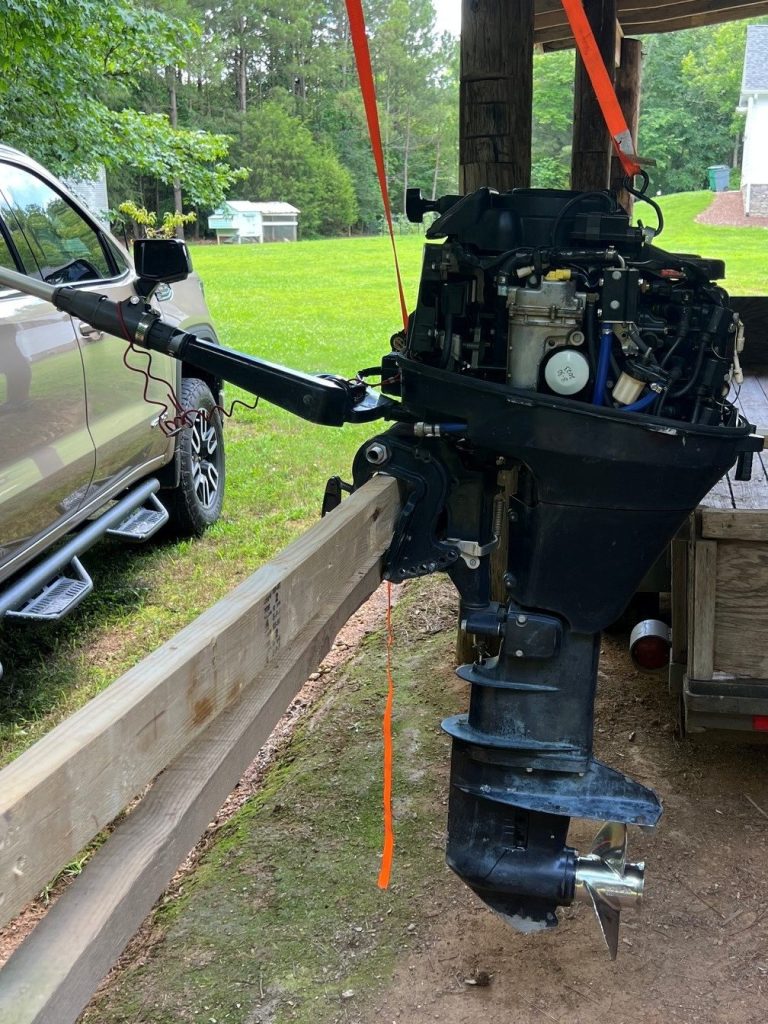
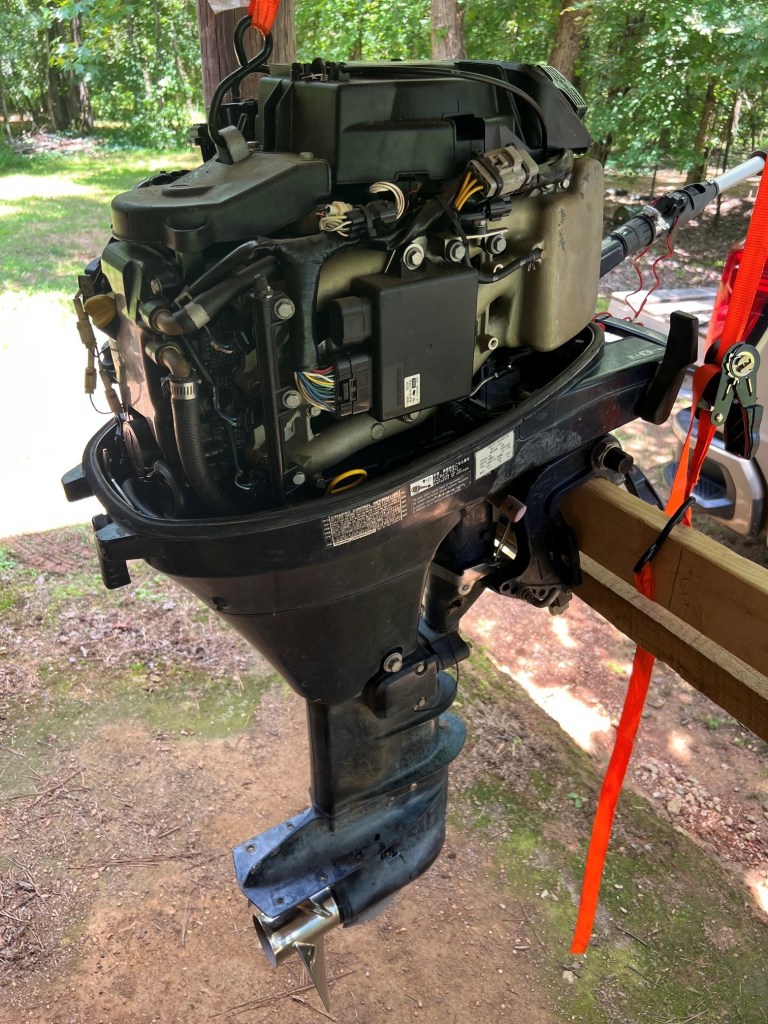
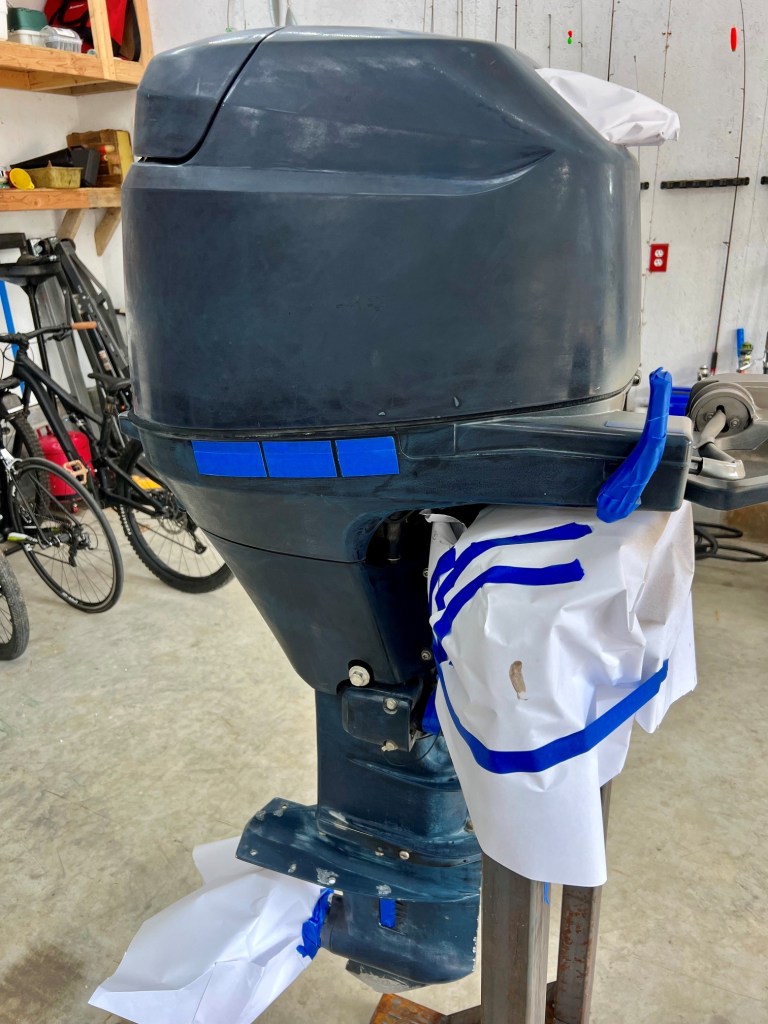
I went through the motor, changed all the fluids, etc. I ended up adding a spring on the throttle cable, to help pull the throttle back to idle if my hand slipped off the tiller handle. Before, if you took your hand off, the engine would stay at increased RPMs.
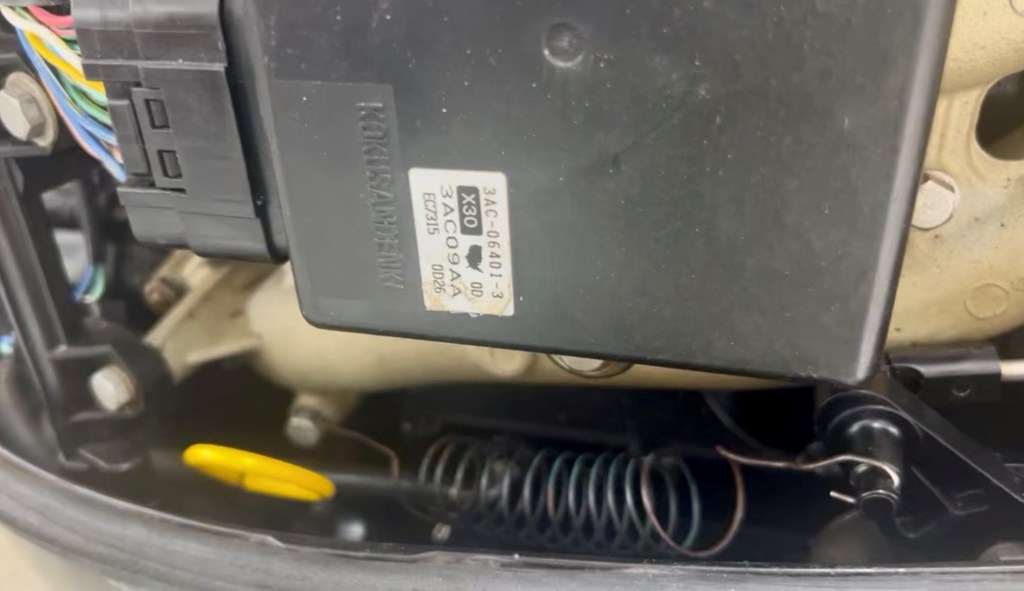
The Spring in the bottom of the picture is attached to the engine body on the left, and is pulling back tension on the throttle arm throttle arm.
Next was pretty time consuming. It was to mount the Bob’s Machine “Tilt and Jack”. I got the tilt and jack because the motor was all manual with no tilt. So I got lucky and purchased the tilt and jack off of Facebook marketplace for about $1,500. When I broke it down with what I could find at the time, it was a wash either way if I got a motor with tilt, or just paid extra for the “tilt” operation on the jack plate. With the tilt and jack, I can raise the foot of the motor way out of the water. I had to mount the motor, hydraulic tank, solenoid, controls, and route all of the hoses. It was a lot to fit it all in the back of the boat all nice and neat, but ended up turning out fantastic.
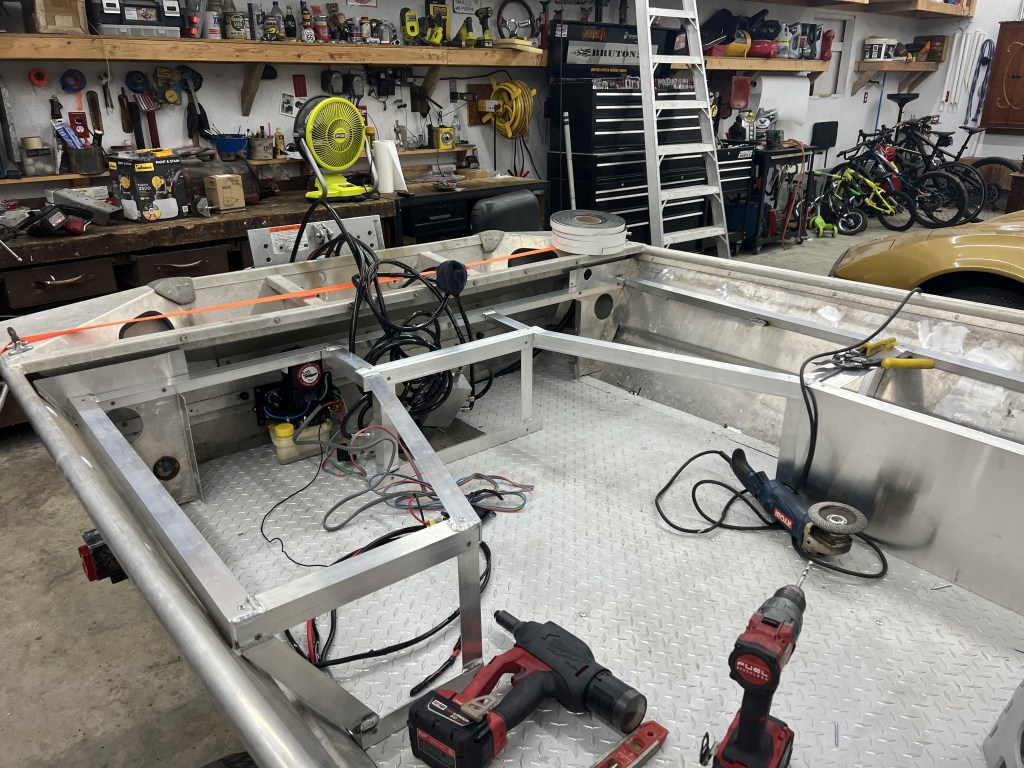
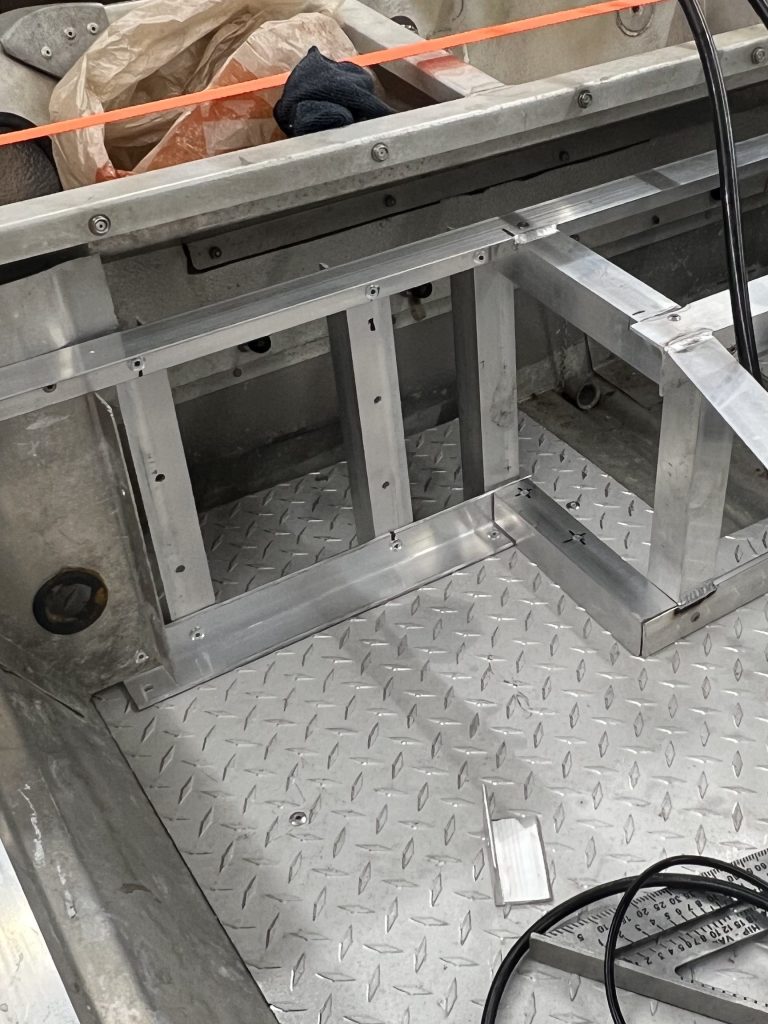
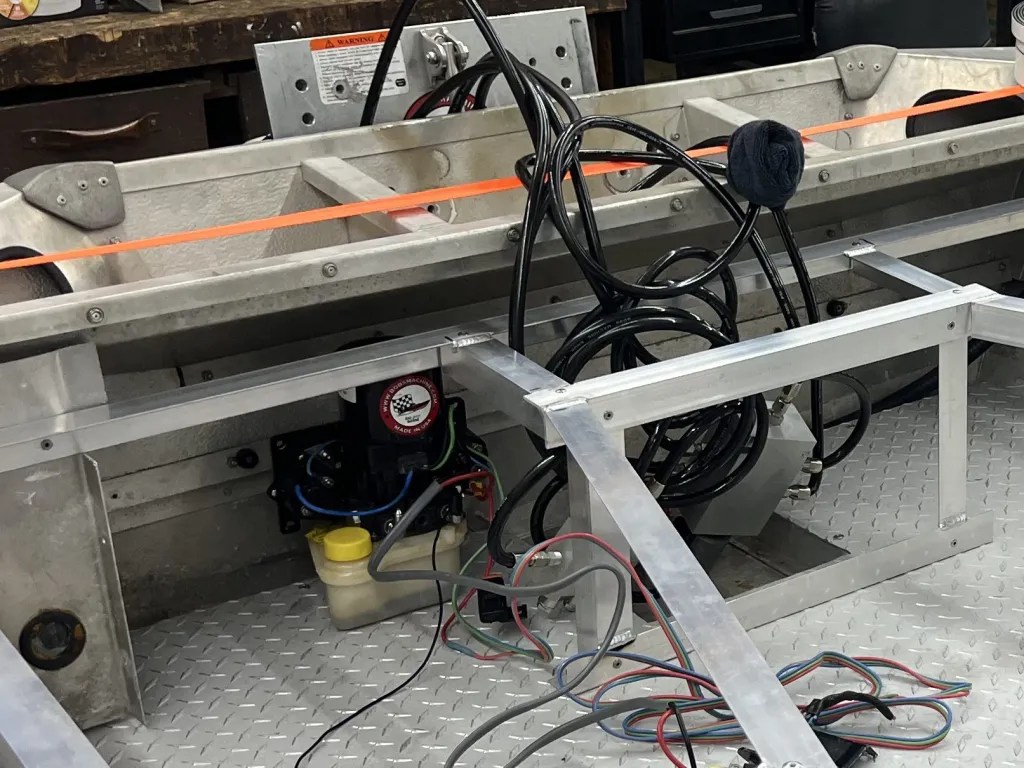
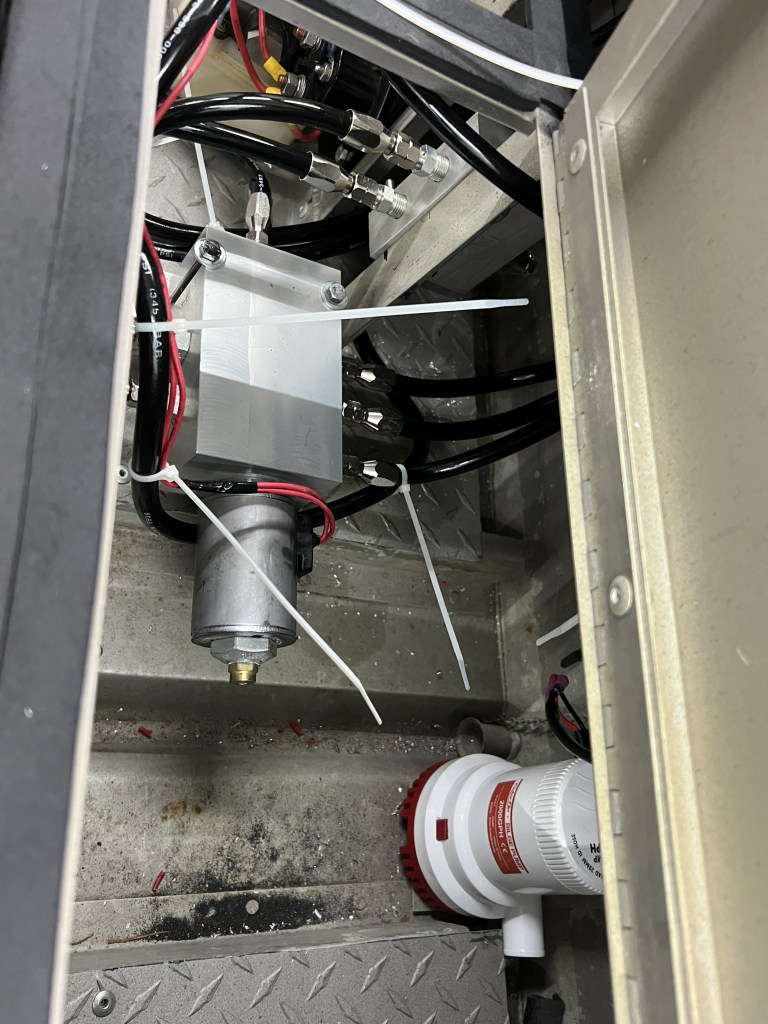
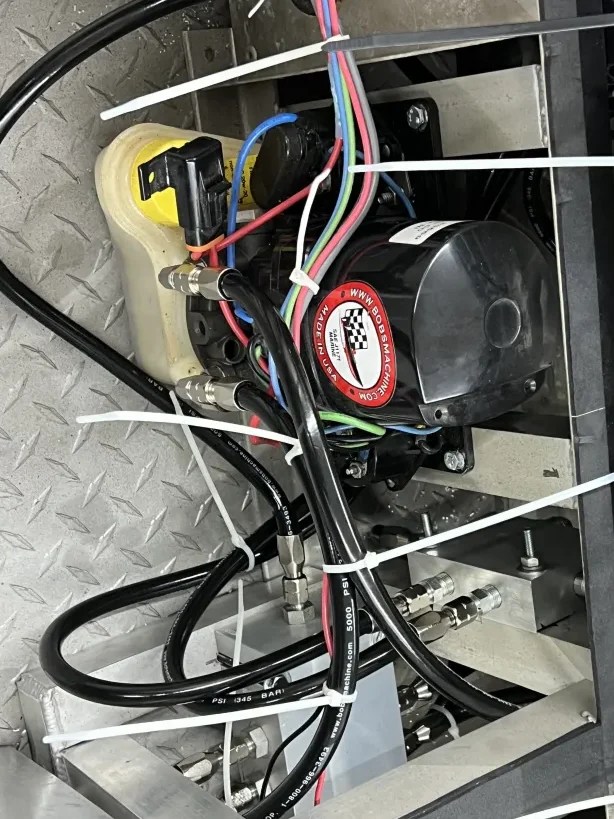
Next was to mount the the Jack Plate on the transom. I took my time and played with the placement up and down on the transom to make sure I got the motor foot in the middle of the range I wanted while on the water, and matched it up with the middle of the range of the Jack vertical displacement.
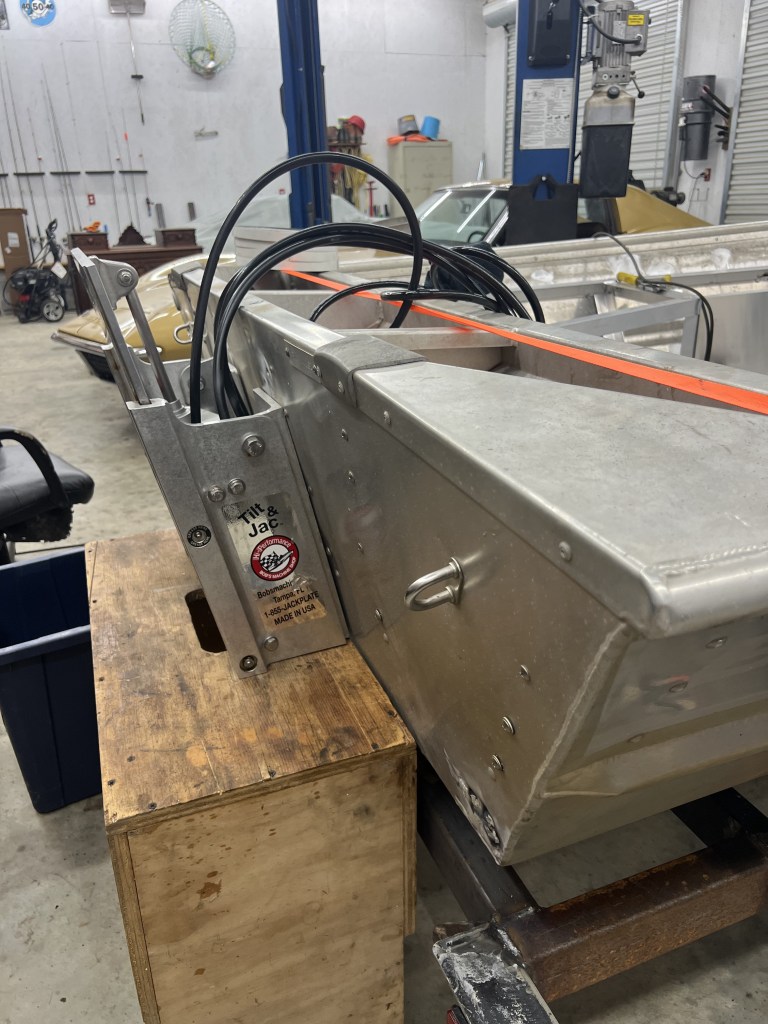
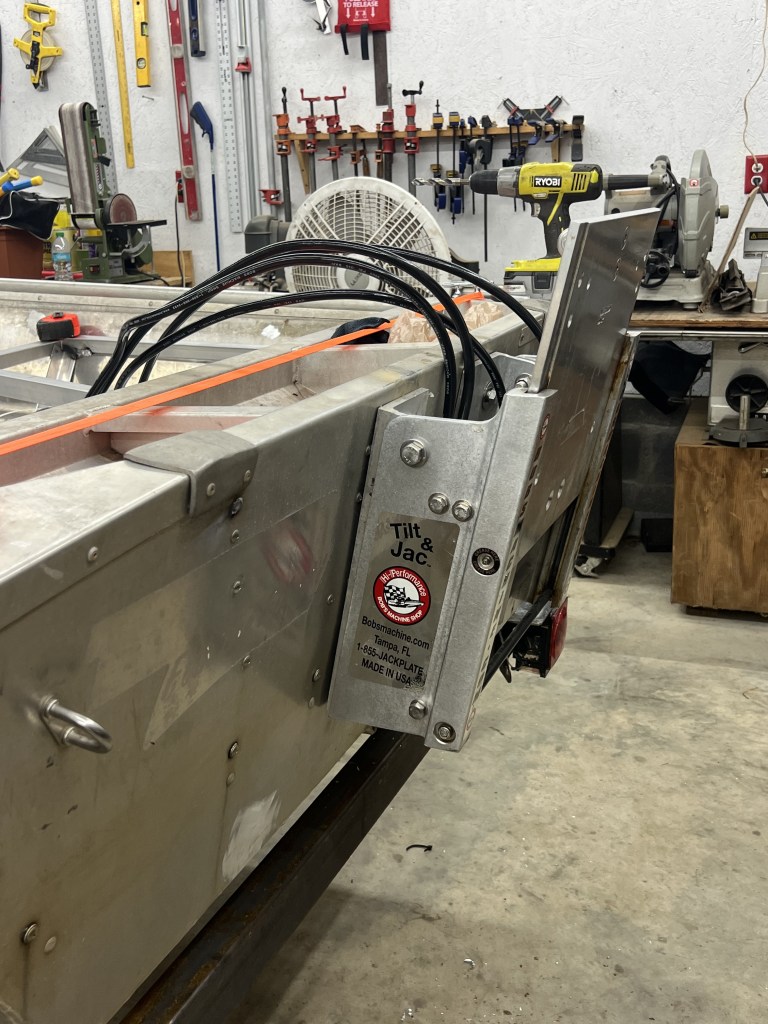
I used (4) stainless bolts to mount through the transom. It hurt a little bit to drill new holes into a perfectly sealed up hull, but it had to be done. I was glad once i got it on there and was able to mount the engine for the first time. I quickly learned that I was going to need a tiller handle extension! The Jack pushed the motor back another 6-8 inches. I had to take everything back out before painting. But the work will be done once its ready to go back in.
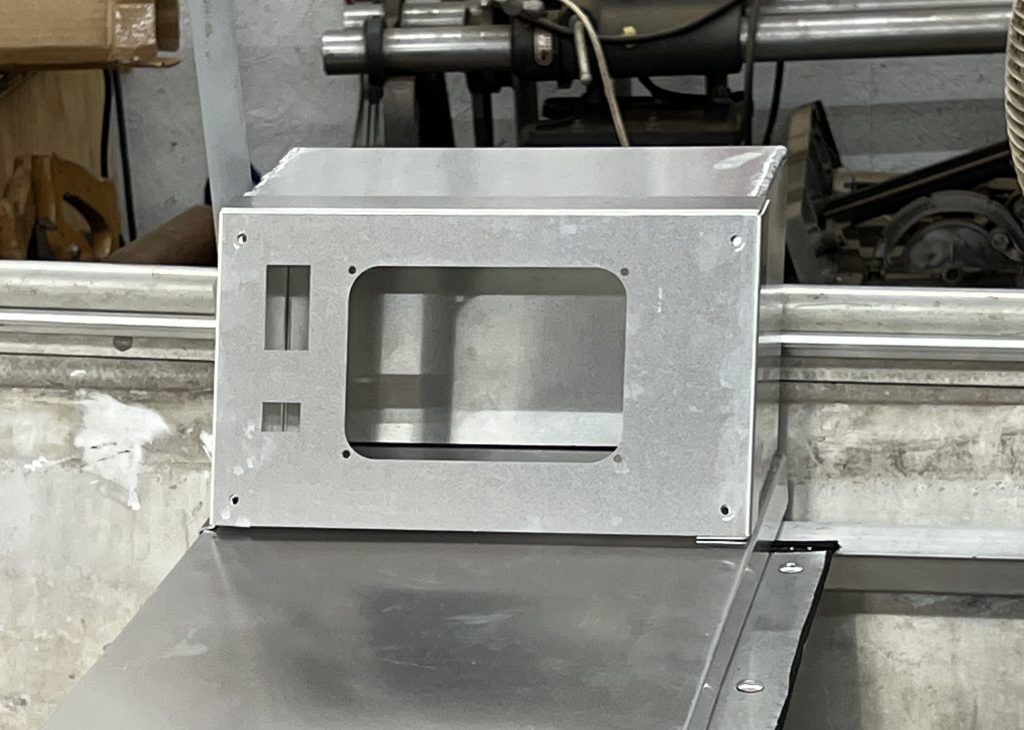
With my job, I had several perks and access to lasers and TIG welders (and actual people welders). I created a control panel that would exactly match up to the toggle switches of the tilt and jack. I also went ahead and planned an instrument cluster for switches for my many lights and bilge pump.
I went ahead and planned out my batteries, wiring harnesses, terminal blocks, and switching control locations. Since I dont have a motor starter on the battery circuit I chose to go with Lithium Ion batteries to power my bilge pump, navigation lights, back up lights, spot lights, and trolling motor.
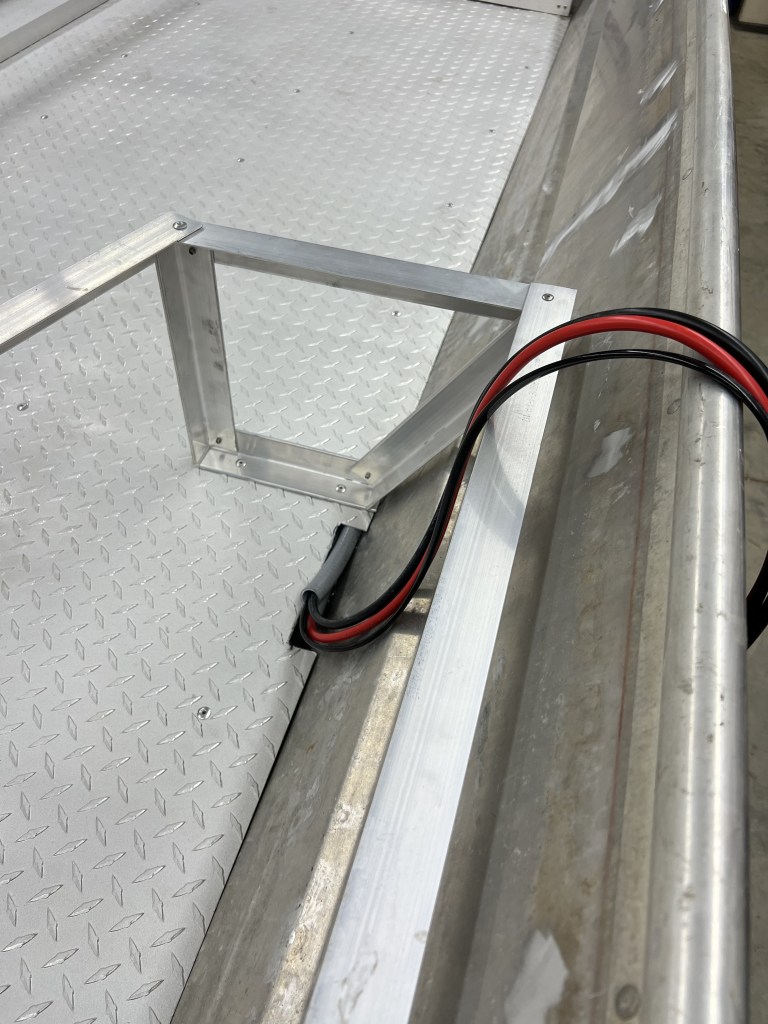
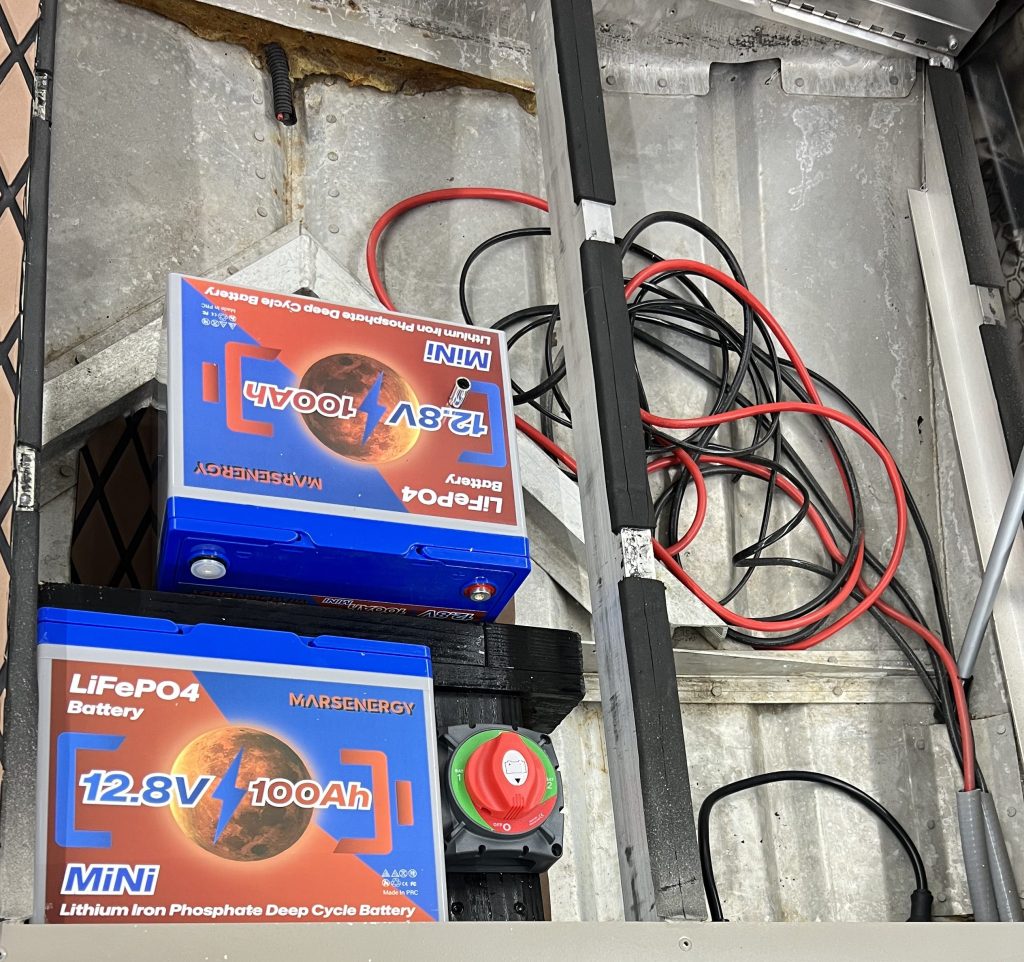
This is all that I could get done before mounting all the accessories. The next duty (and was it a BIG one) was painting. I had no idea what I had gotten my self into. Stay tuned for part 3 of The Build!

