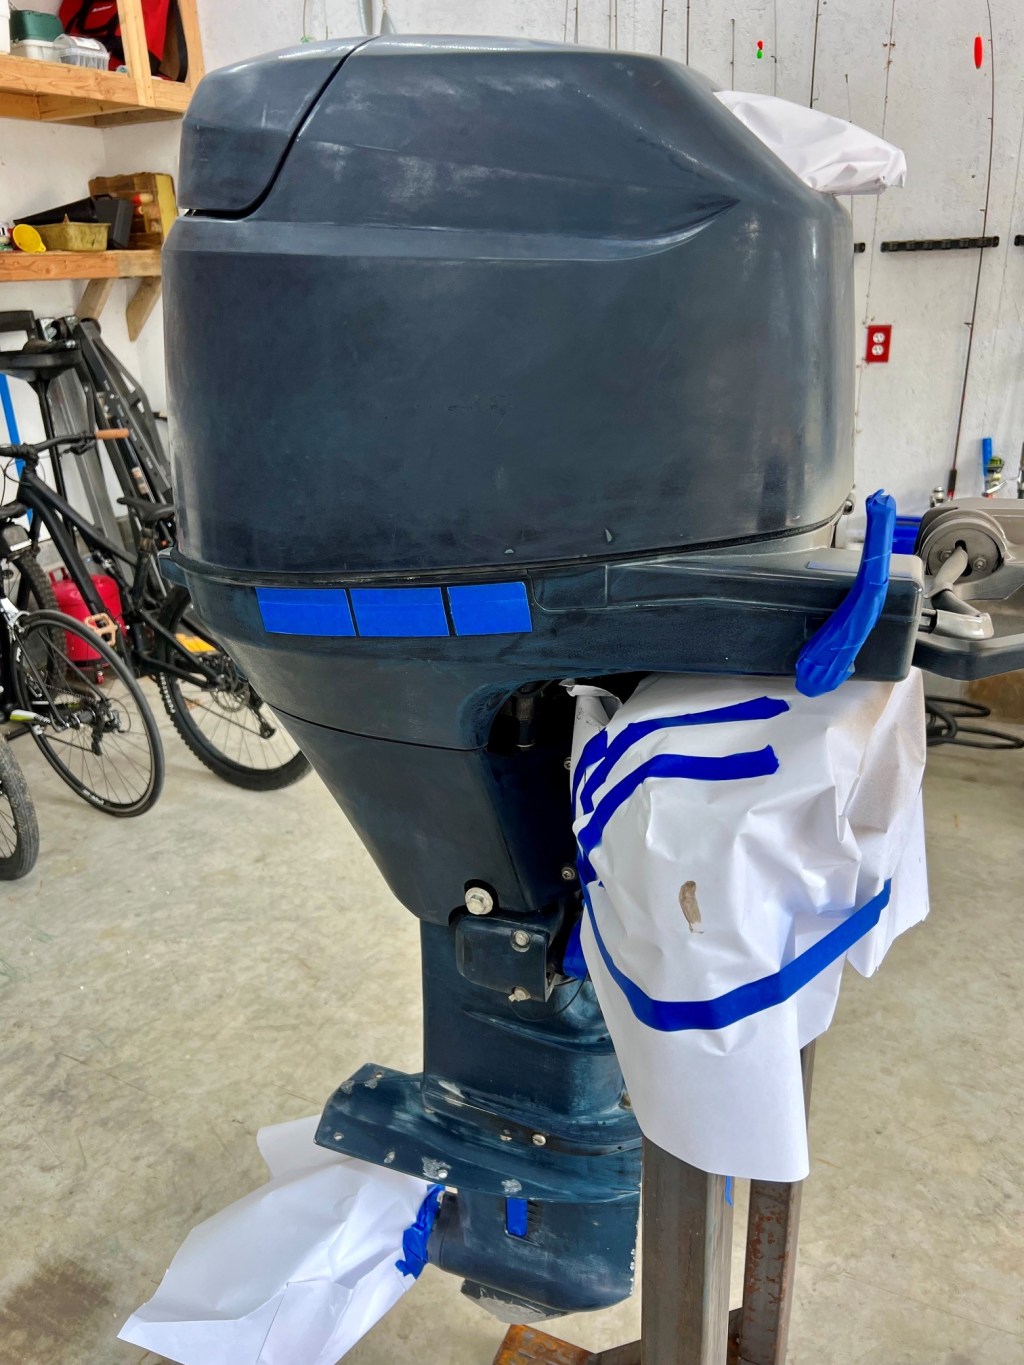
I started with the outboard engine when it came to painting. I bought used, so I had no problem painting over it. I thought it would be a good “canvas” to work on my stencil + rattle can technique. I started by cleaning it, removing oil residue, sanding down the plastic really well for the paint to adhere well. I also taped over wires, hoses, and labels.
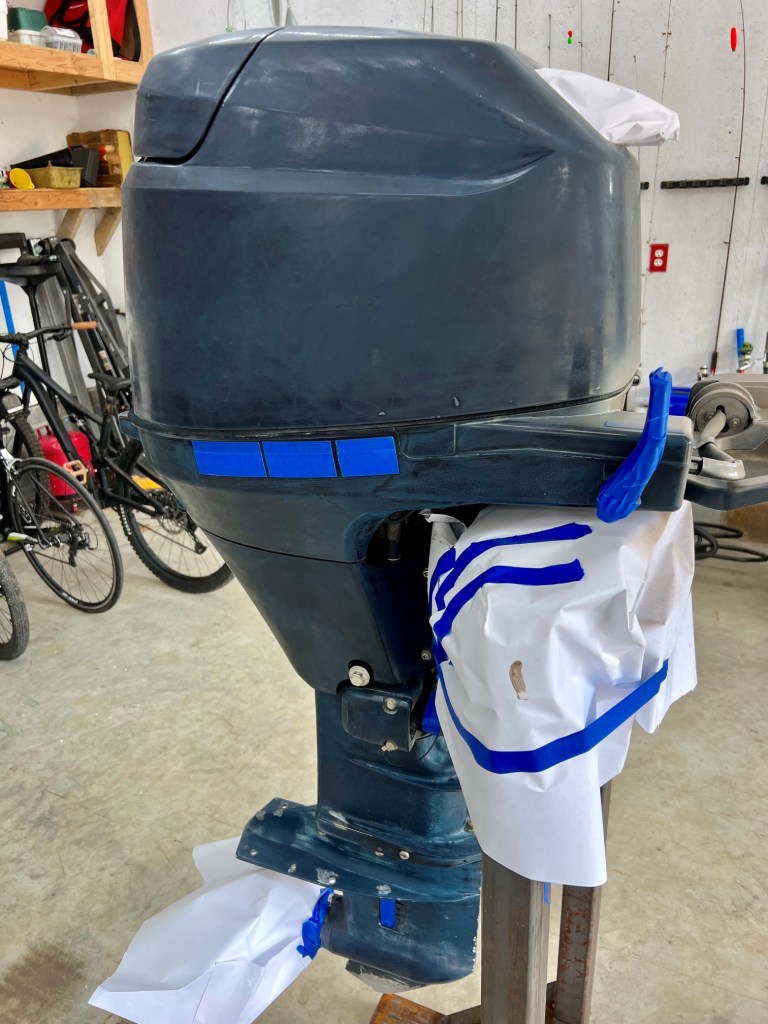
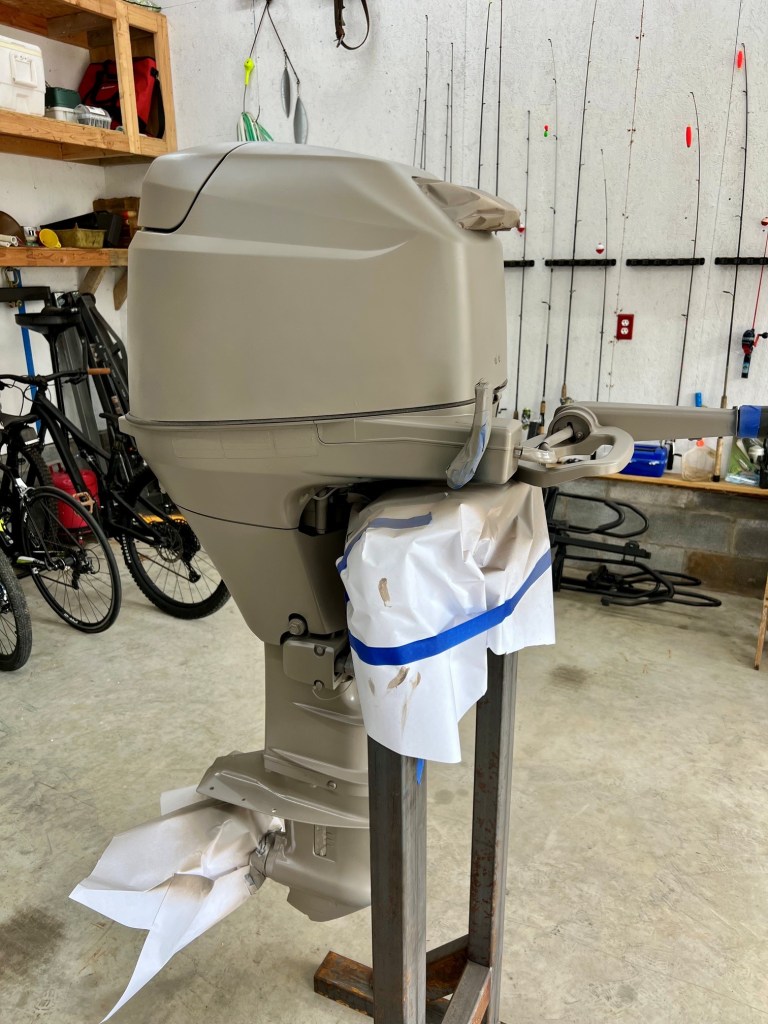
Then it was base coat. Two light layers, did the trick. This was a lighter tan color. Again Redlegcamo.com had all the custom paint you could buy in a kit. Great company.
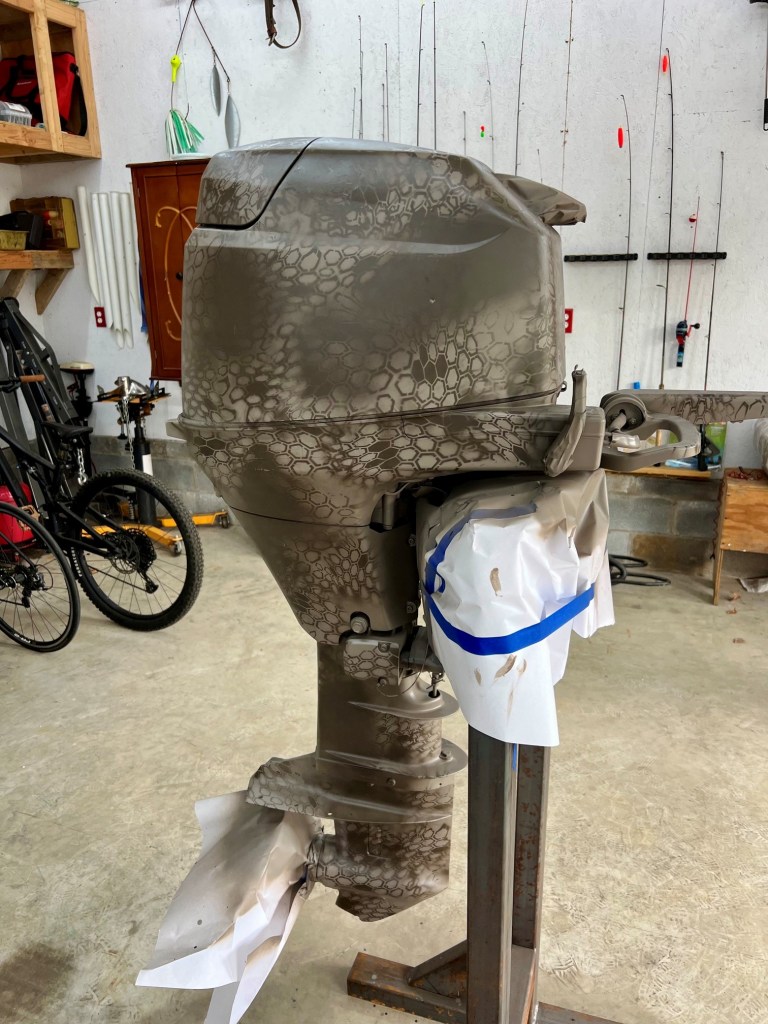
Then it was first stencil layer. This was a darker brown with the smaller “Hex”. Once the stencil was complete, I had to go back over the stencil and hit it with the rattle can to put “smudges”.
Then it was the second stencil layer. It was a matte black larger “Hex”. This was a little more difficult because it had larger openings in the stencil, so it was harder to keep crisp lines, but I finally got the hang of it.
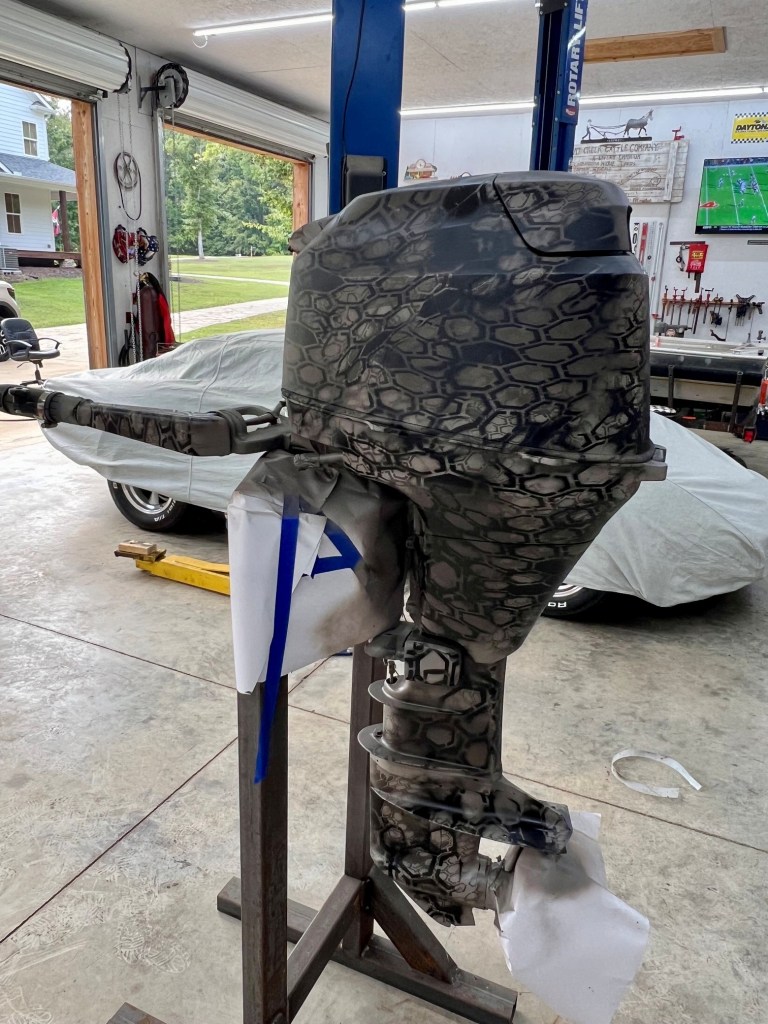
I finished the engine off with 2-3 layers of clear coat. I might have put too much, but i didn’t want the paint waring of way to quickly.
Painting…. especially Aluminum. I had no idea what I was getting myself into. I bought a boat that was unfinished aluminum, and then started researching painting. I quickly found out that painting aluminum was very difficult and if not done correctly can just peel off or roll back when scrapped with a putty knife. I watched horror stories of guys doing the exact same thing as me and the paint not sticking. I did come across several videos of guys cleaning, chemical ETCHING, and then primer. I came across a company/website Redlegcamo.com
They had everything I needed from direct to metal primer “DTM”, to sherwin williams custom paint colors, to stencils, to clear coat. So once I felt that I had come across a process that I thought would last and not come off, I ordered and got to work. Thank you to the people at Redleg, you all were a huge help.
The first thing I had to do was clean. I used a degreaser soap and hard bristled brush and got to scrubbing. I should stop to say that I painted industrial equipment back in college and what i learned there was the more you prep a surface, the more time spent cleaning, scrapping, the better finish you have. You cant take too much time prepping. You might think my crazy but what I found to work best to prep the aluminum is a brass wire brush. A ONE INCH WIDE brass wire brush. It was on a drill attachment so that helped.
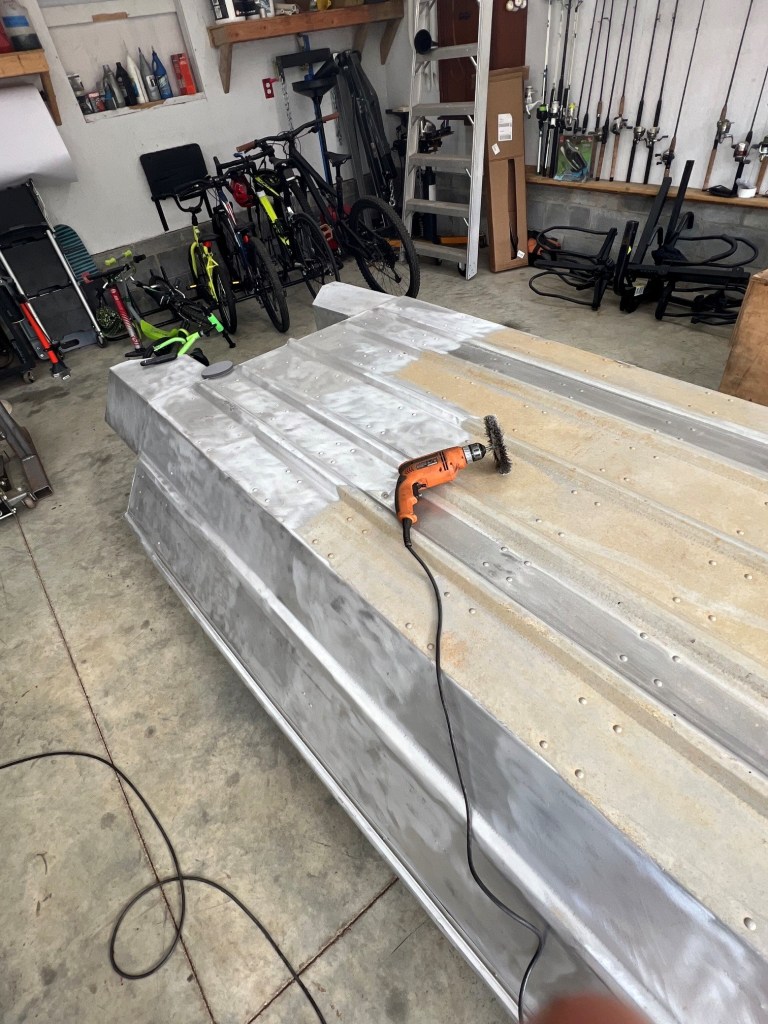
I tried a lot of things. Sandpaper (took way to long), sand blasting with aluminum oxide (pitted the aluminum. The brass wire brush on a drill etched the aluminum enough, took off dirt and build up over the years, and didn’t hurt the integrity of the metal. It just gave a rough surface for the DTM primer to adhere to.
It took FOREVER to wire brush the 16 ft aluminum boat, inside and out. But I got it done! Whew! This was the part in the project where I was getting very frustrated with the time it was taking to do this project. I was spending waaayyyy too much time. It became something that i didn’t want to go out and work on. I worked on it most nights after I ate dinner with the family, played with the kids, coached sports teams, and eventually put the kids to bed. So I would kiss my wife good night, and walk out to the shop about 9:00-9:30pm. Then work until midnight- 1:00am. Then wake up at 5:30am to get kids to school and back to my 8-5 job. Needless to say, being “over it” was an understatement, but I kept just putting my head down and grinding it out… literally.
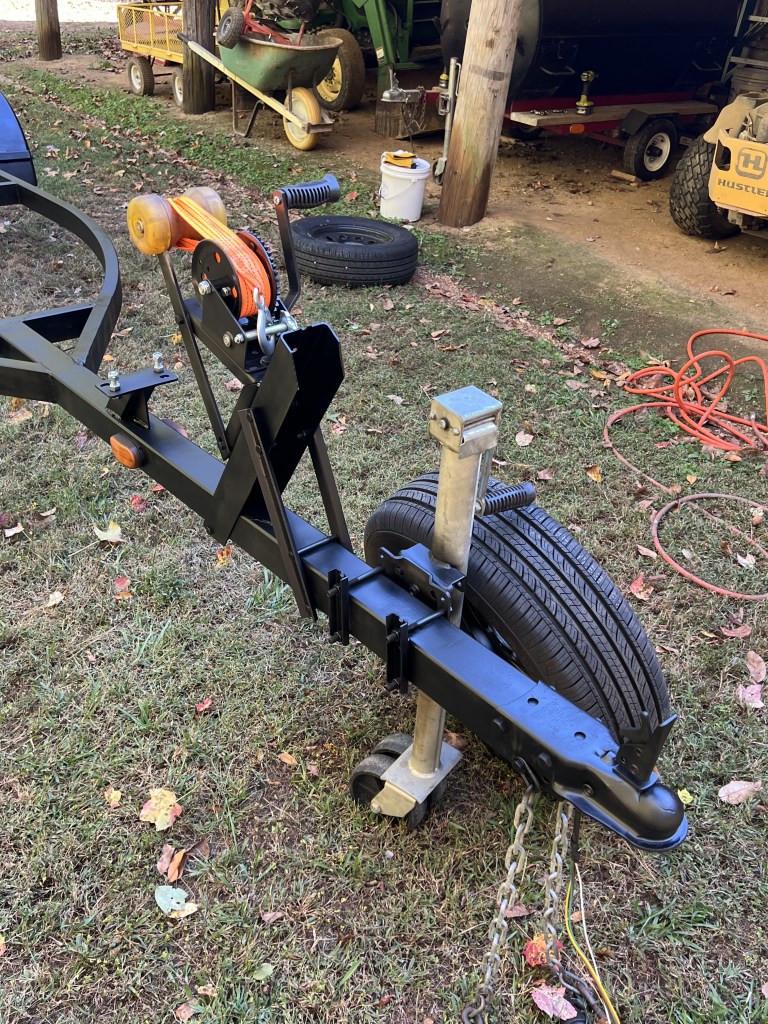
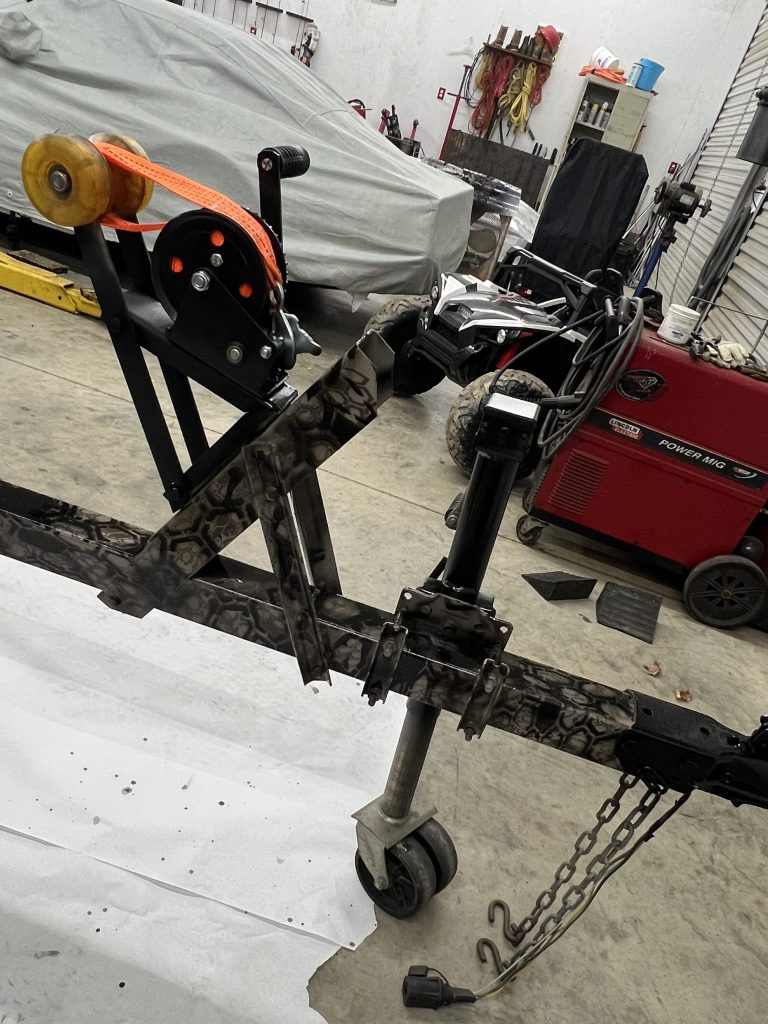
Don’t forget, I had to do something with the trailer. It was a patch job, so it had to be painted as well. I thought that once I painted the boat, I didn’t want it sitting on a trailer that wasn’t painted. And I also didn’t want to paint a trailer and get overspray on the boat. So I broke off from prepping the boat, to prepping the trailer. I used a “flapper disk” on a sander because the trailer was regular metal. It went a lot faster, and was more satisfying than the boat because I felt I was accomplishing something in decent time. Once sanded and cleaned, I started with a black primer for regular metal.
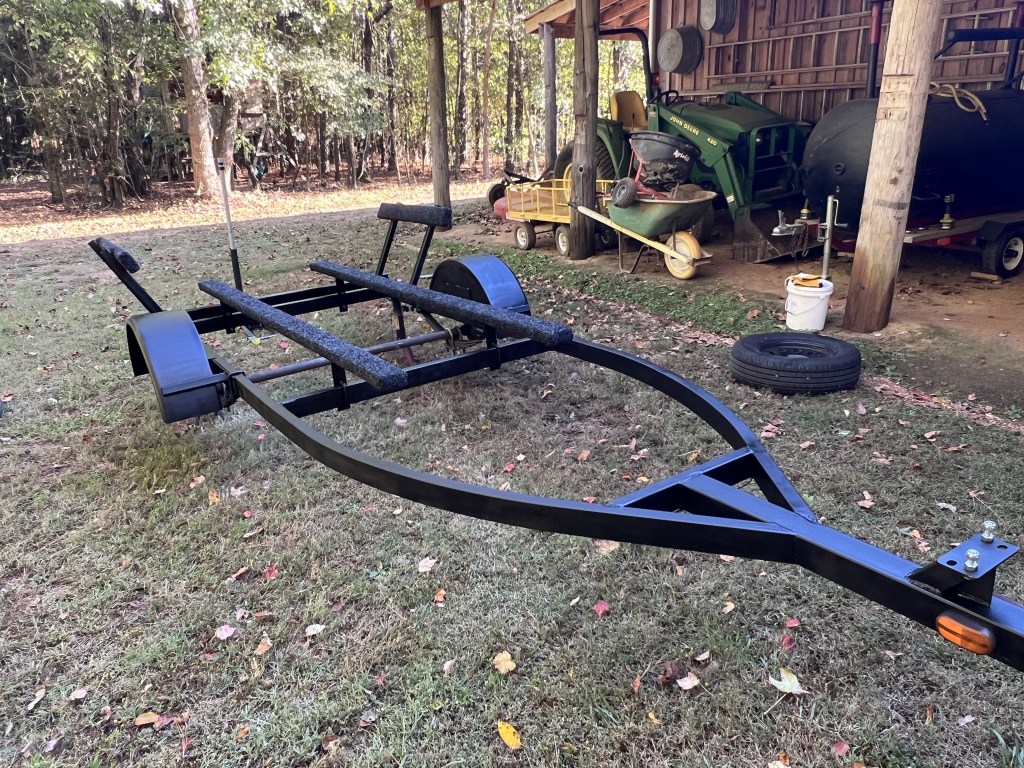
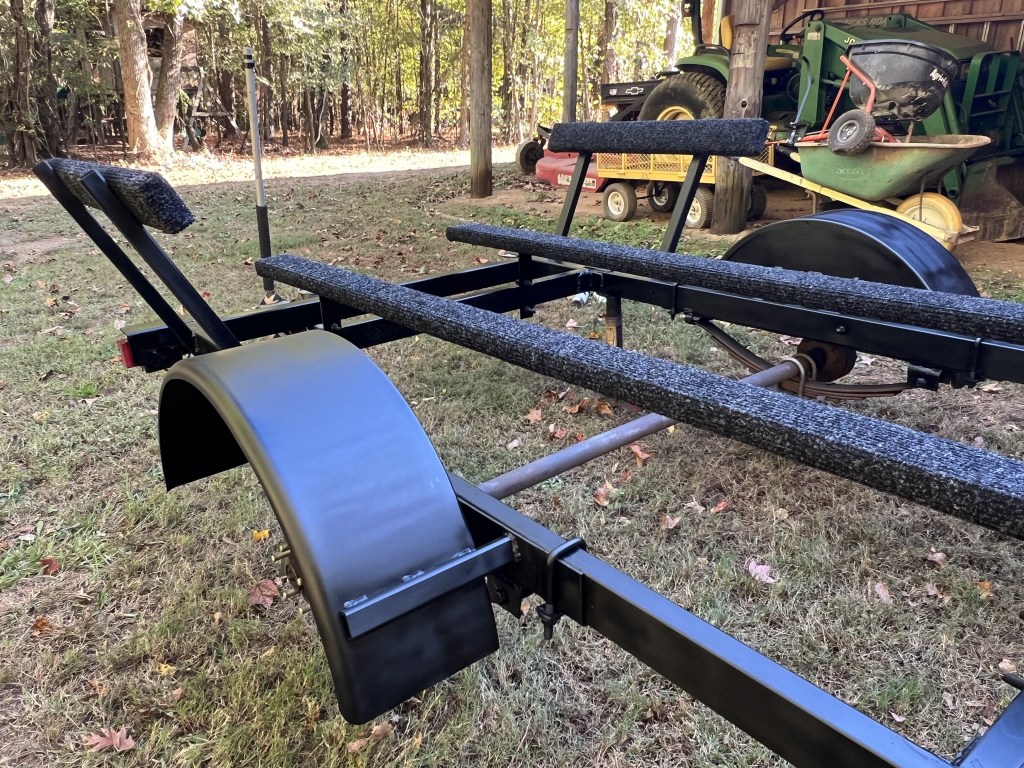
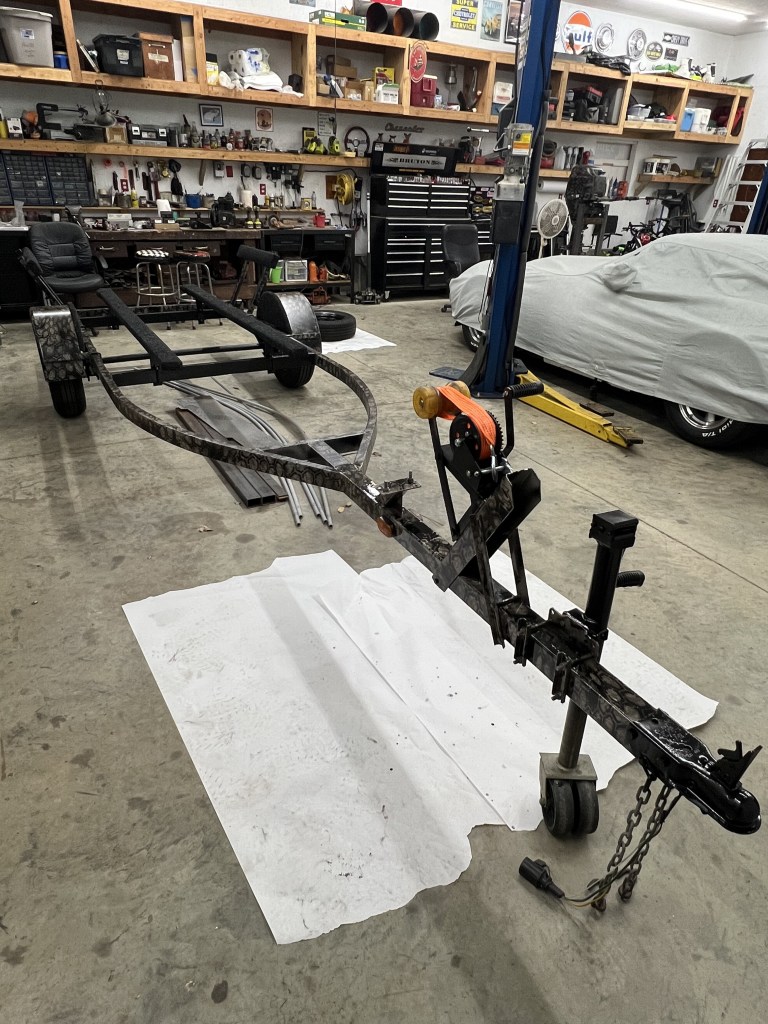
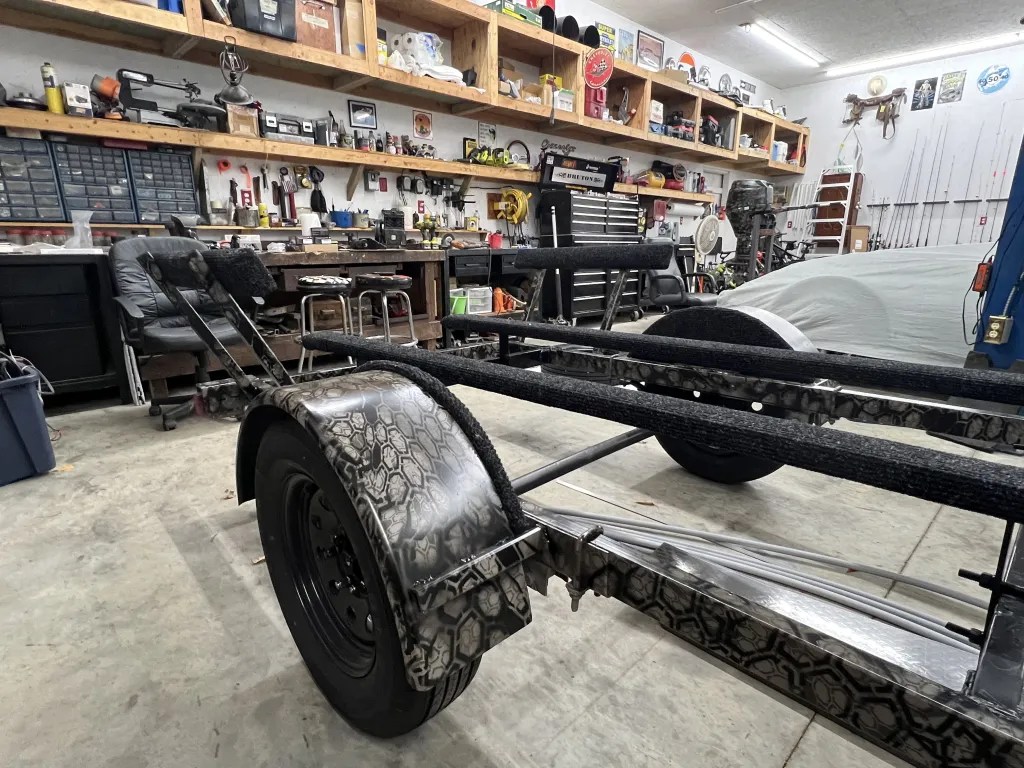
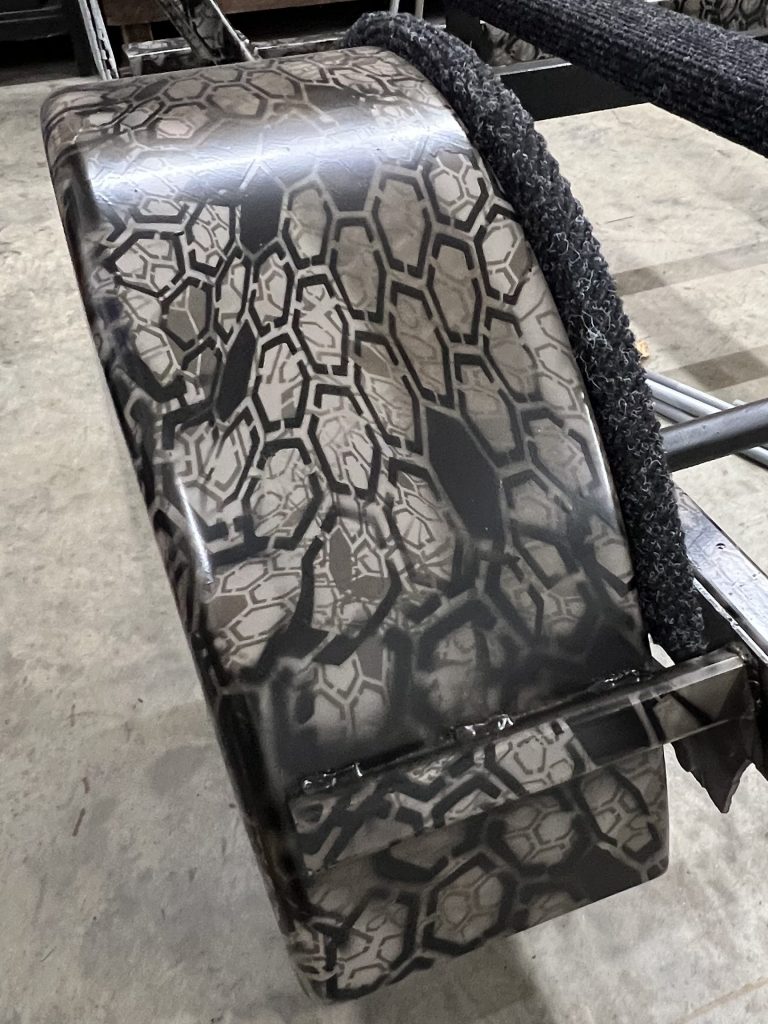
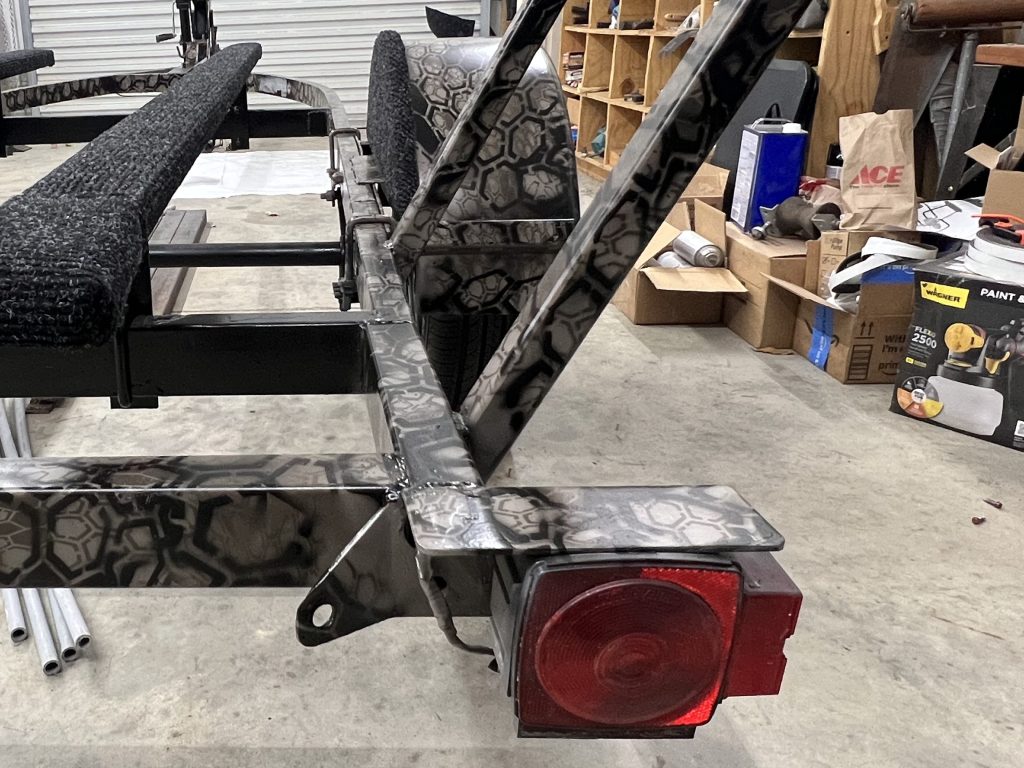
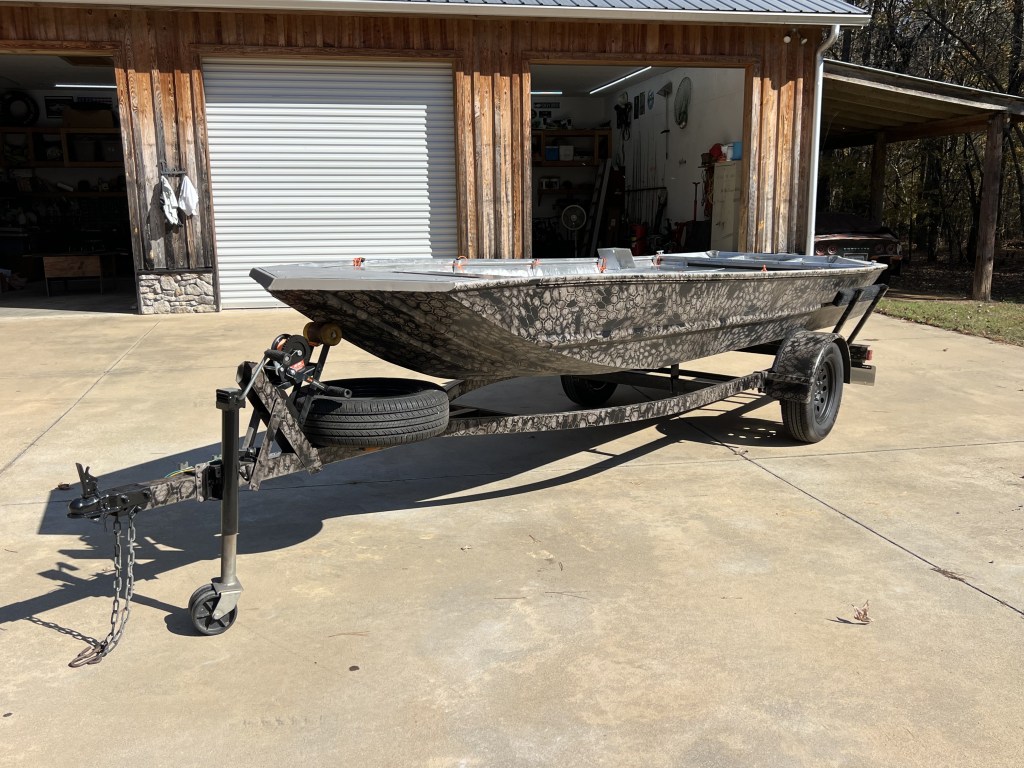
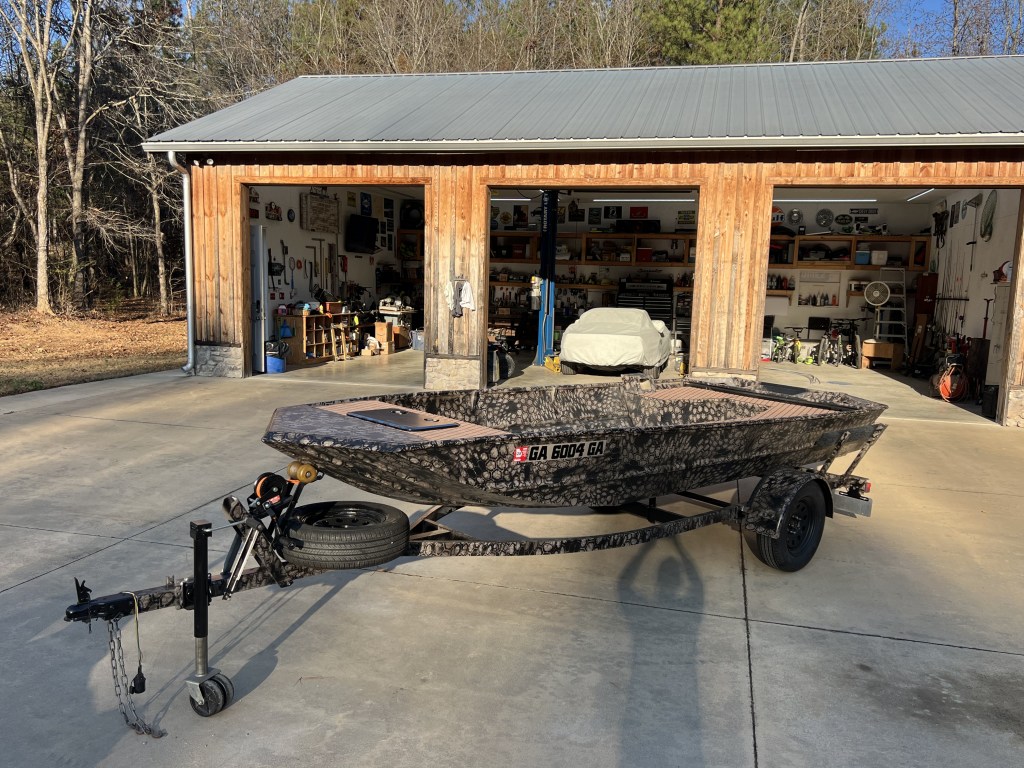
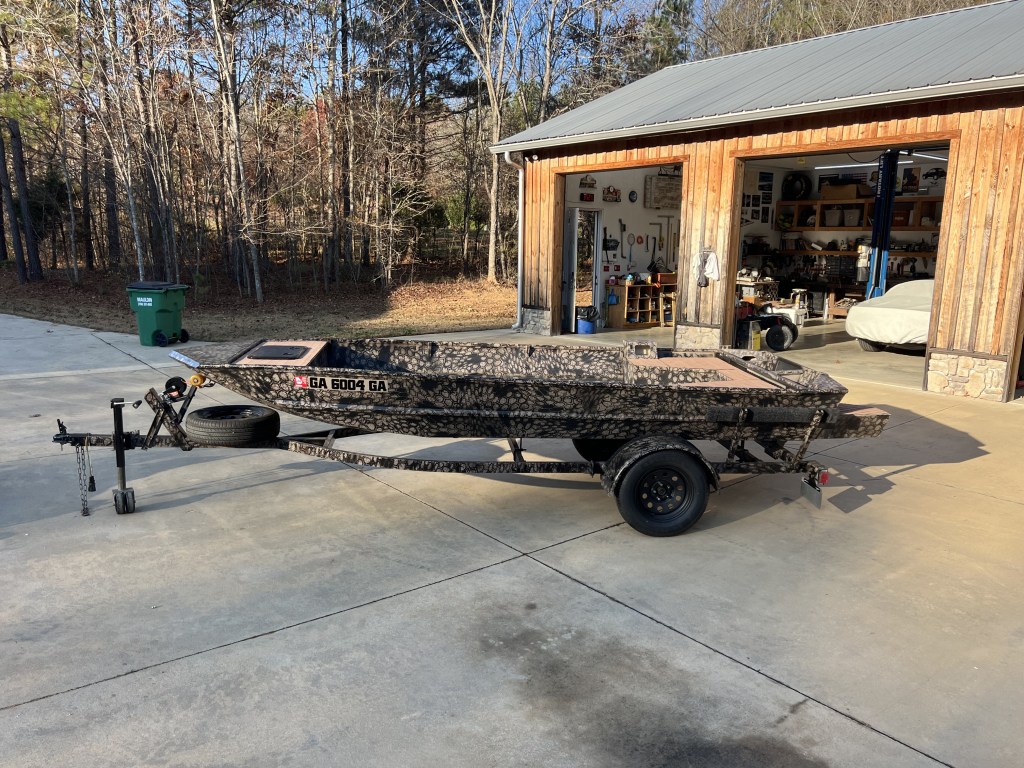
I chose the “Hex” stencil kit. I fell in love with the colors and the distorted Hexagonal shapes that overlapped. I thought it would also hide any of the welds, repair work, and amateur fabrication work that I did. I proceeded with the base tan color and painted the whole trailer over again. Then it was the first stencil layer with darker brown. Then a second stencil layer with matte black. Redleg Camo has videos of how to apply the stencil kits. It took all worry or concern out of doing it myself.
After a couple of layers of clear coats, the trailer was finished. And it only fueled me to get back to the boat, to complete it as well. That speck of light at the end of the tunnel made its presence known for the very first time. I fell in love with the look of the paint scheme and honestly couldn’t believe I had made it look as good as it was!
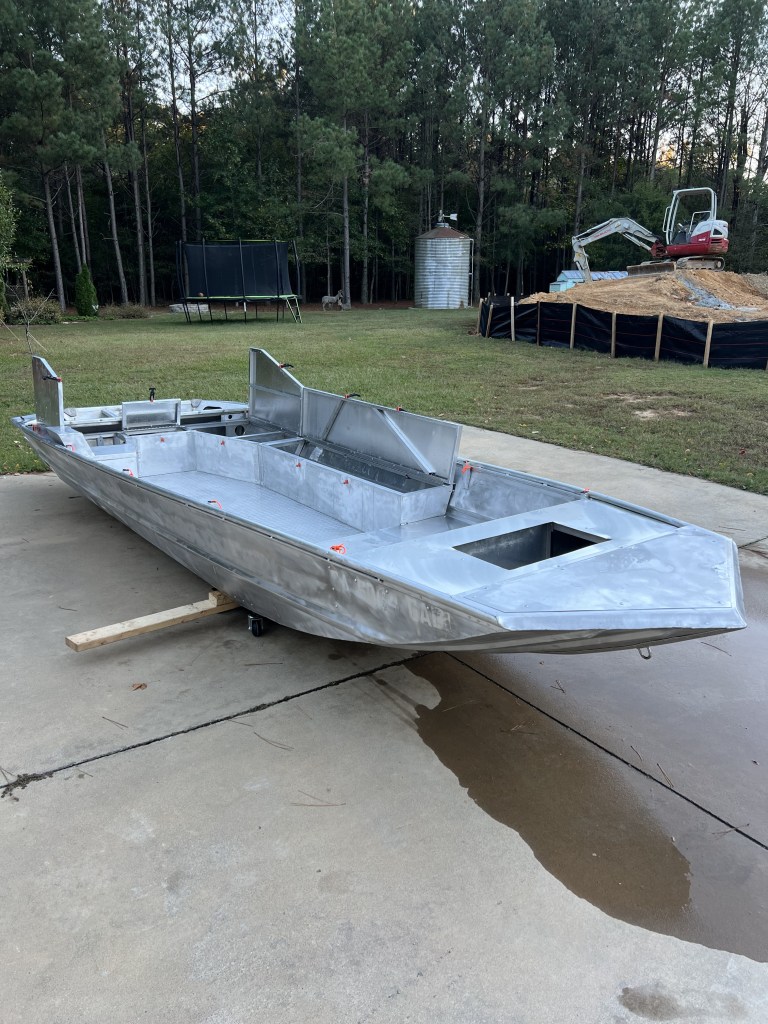
Ok, so back to the boat. I thought about the process long and hard. I would first paint the bottom, sides, and back of the boat completely. Let that sit and cure several days. Then load it onto the trailer as it would not hurt the paint. Then tape drape paper curtains around the boat and trailer off so as to not let overspray get onto the parts of the boat and trailer I had already painted.
I have a front end loader on a John Deere tractor to it was very helpful to rig some ropes and move the boat around and/or flip it. Sometimes I just had my wife and called in a neighbor to help flip the boat. This is the boat in my shop where I painted the bottom, sides, and back of the boat. I had it on dollies so I move it around on the floor easier.
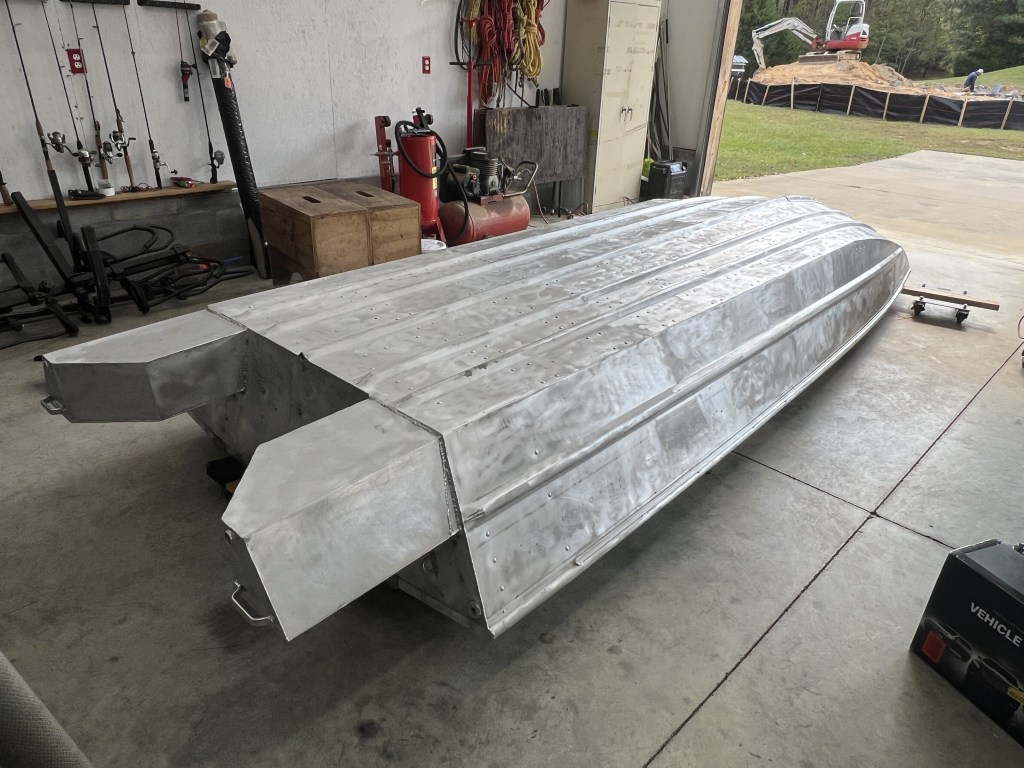
So first step of the process was to apply the specific primer (DTM) to the clean and prepped aluminum. I used an airless Wagner paint gun that actually did the job beautifully. I thinned it a little with a Lacquer thinner. Don’t use mineral spirits is what I researched.
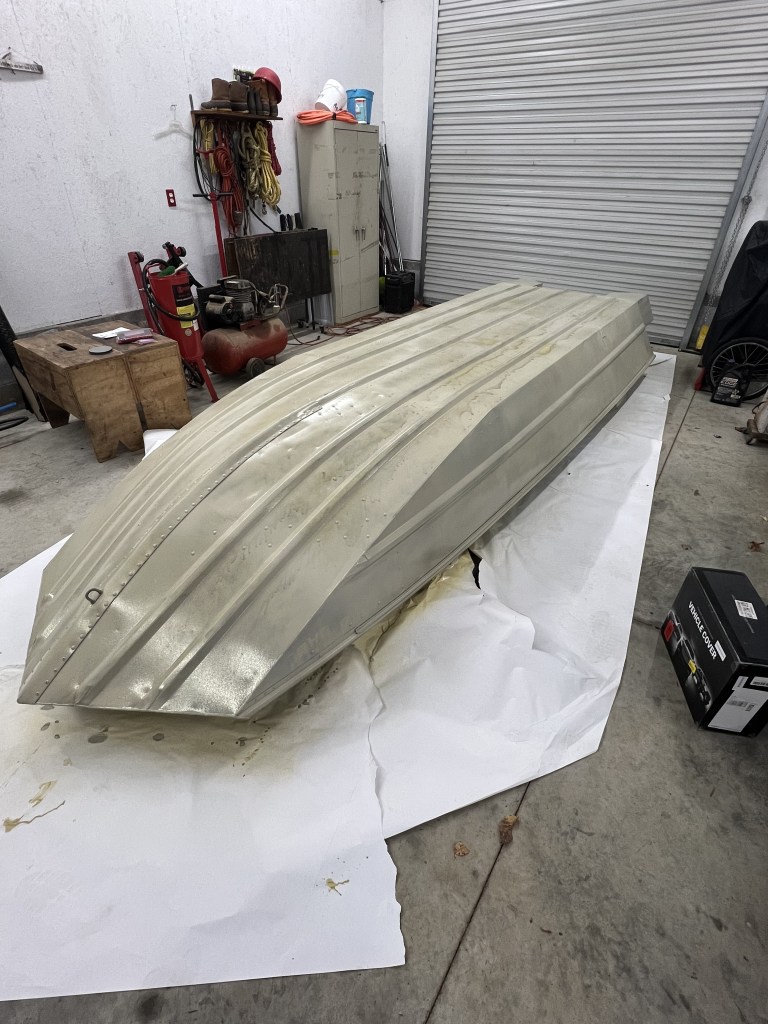
This type of primer was thinner than I was expecting. It showed “runs” but it wasn’t built up at all and still flat to the touch. I did two coats to make sure it was applied heavily. I waited 24 hours and did the tan base coat for the Stencil kit.
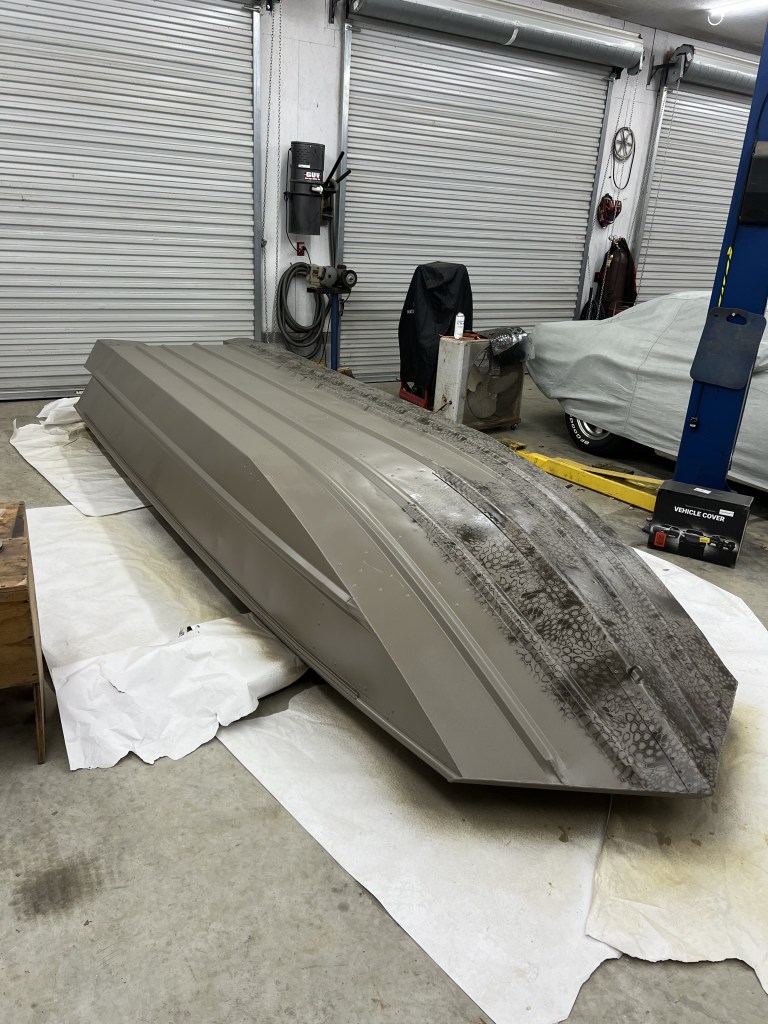
The previous picture shows the first stencil layer over the base tan color. This shows it about halfway done. All of the “ribs” on the boat make it very difficult to keep the stencil on the metal flat. This is paramount to keep lines crisp. I was always battling myself to slow down, and take my time. The faster i went, the worse it looked. Again, one great thing about this Hex pattern, is that it is so busy that it hides a lot of inconsistencies!
After the first stencil layer, and then again going back over it and creating “smudges” by spraying a rattle can. Then it was the second stencil layer with the matte black.
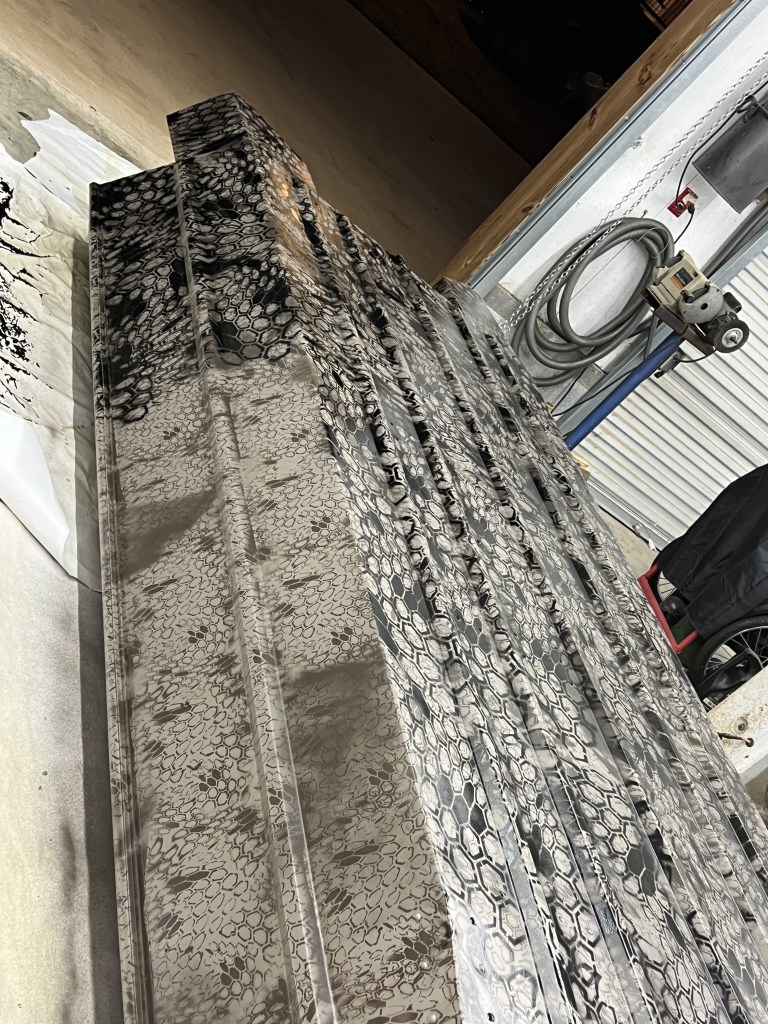
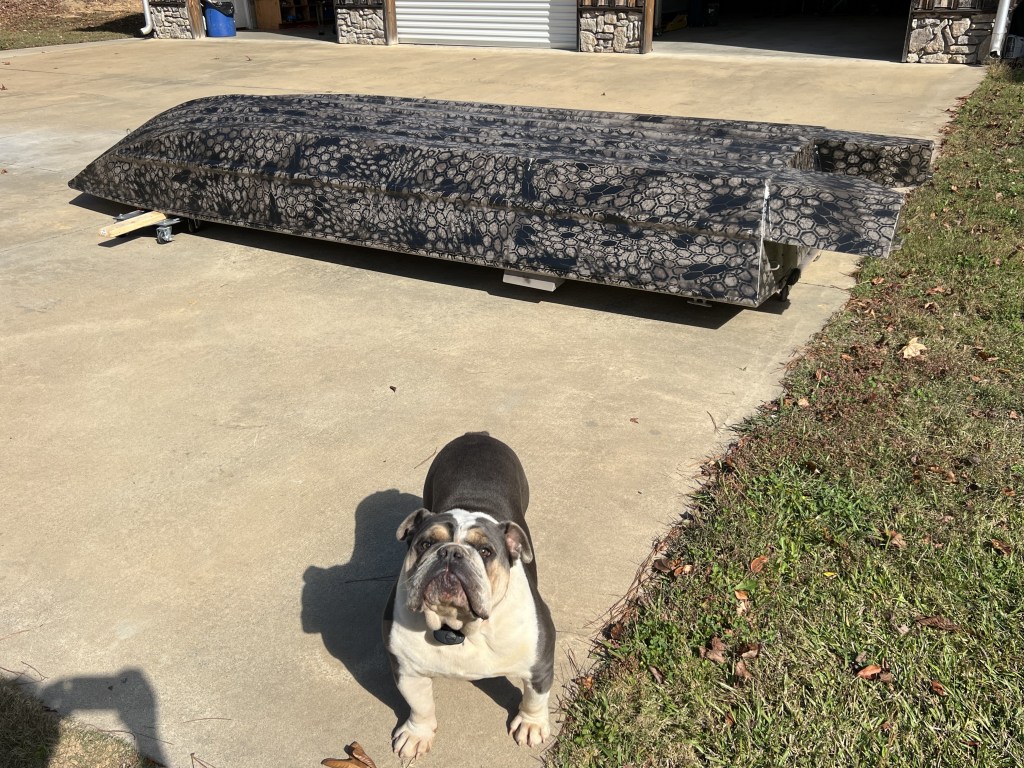
My dog gets honorable mention. Because he was the one that I would talk to most nights. He would hang out in the shop with me while I worked. Kirby was the one who kept me sane at 1:00am…
The underside of the boat was done. The trailer was done. Now it was to the top side and inside of the boat.
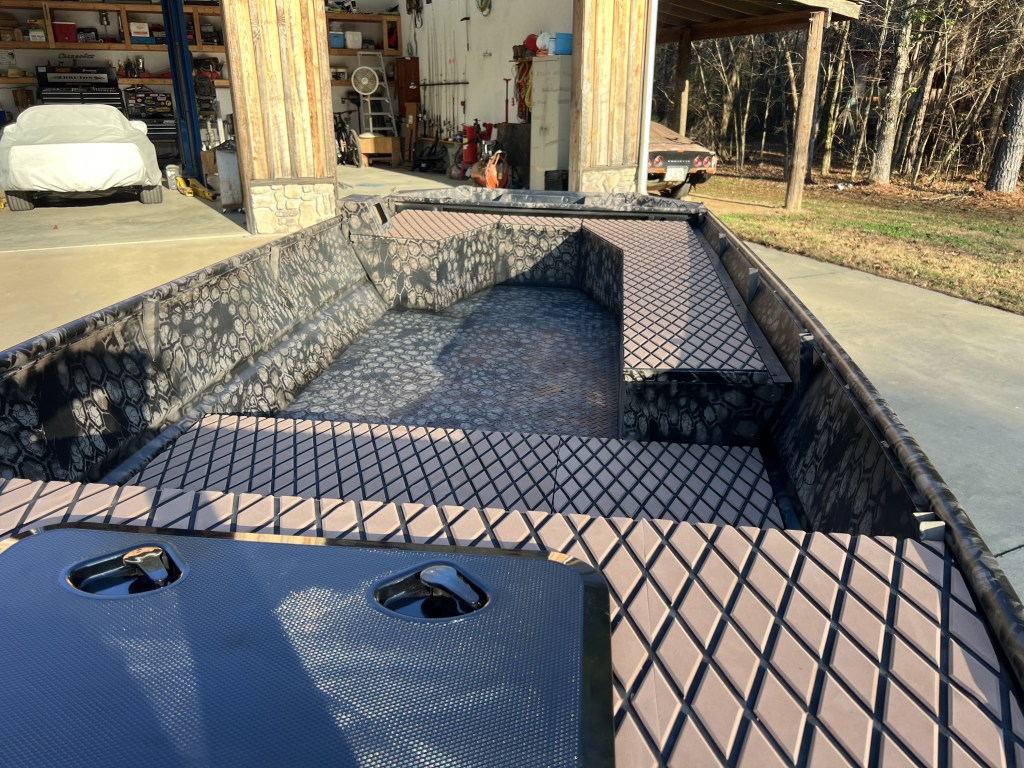
Inside the boat was more difficult than the bottom and sides of the boat. I had to cut stencils so that I had the ability to hold it up against a joining panel and keep it laying flat. I should also say at this point that I had order an additional stencil kit. All stencil kit painting was done with rattle cans and the build-up of paint on the stencils got alot, and a clean stencil was needed.
I had already cleaned the interior surfaces well, so i just went back with a damp cloth, and then dried it off really well. I also elected to not paint inside the boxes. I left them unpainted. I didn’t see the need to do them. First I had to tape off and drape thick paper rolls to protect the sides of the boat, and the trailer. Again, prep work is everything!
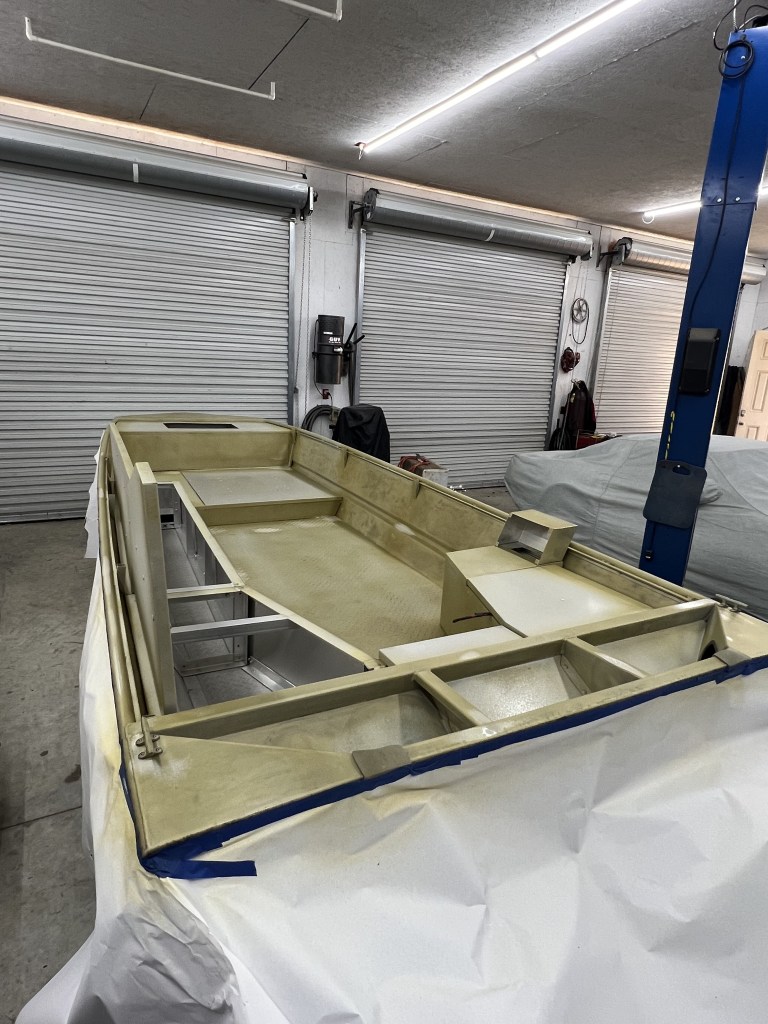
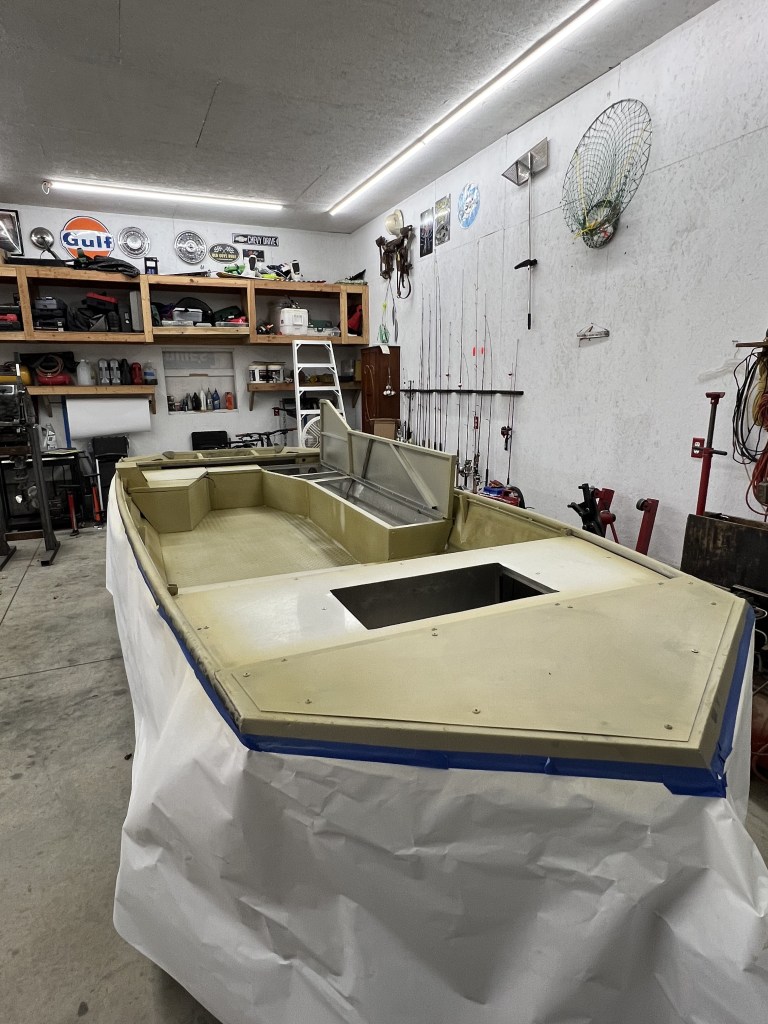
The previous picture shows the DTM primer as well. I was still using the wagner airless spray gun for the DTM and base coat. I also didn’t focus on the areas where I had decided to lay down epdm deck foam. More on that later. After 2 coats of DTM, and 24 hours, it was time for base coat. Another 24 hours, and it was time for stencil layers.
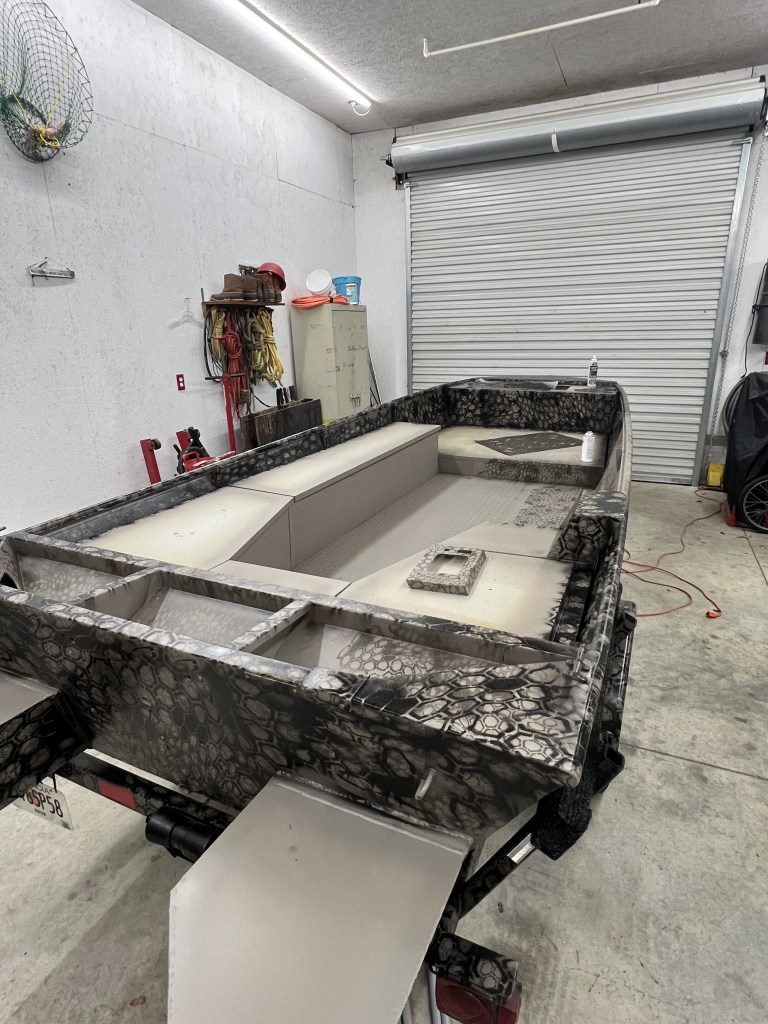
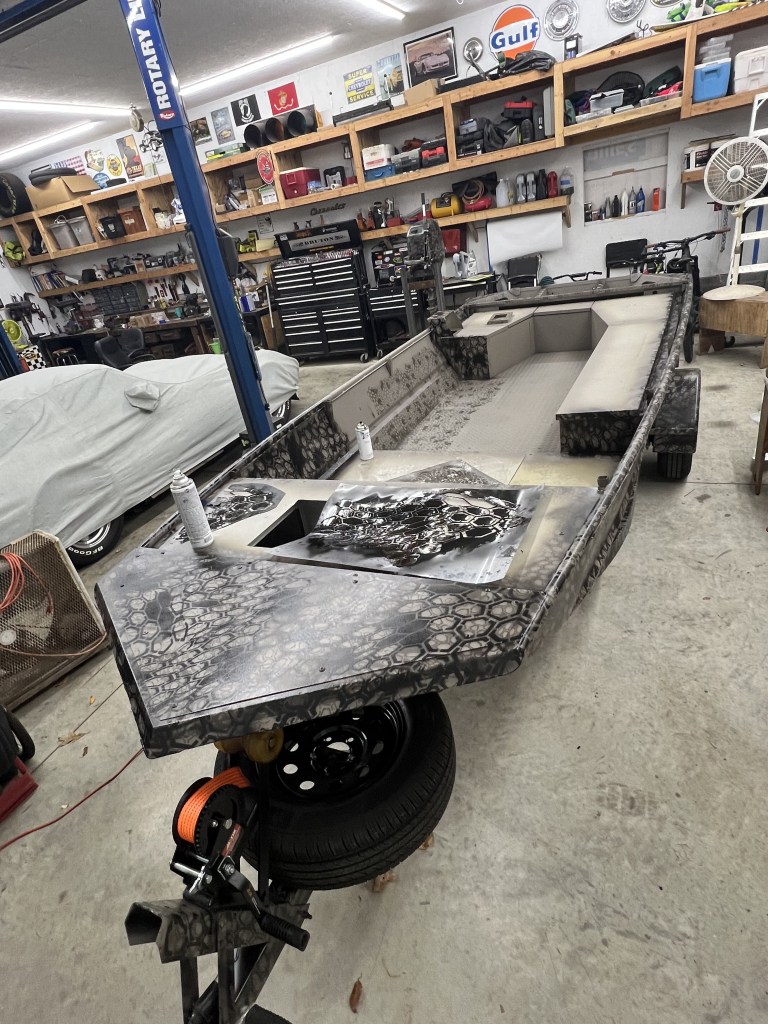
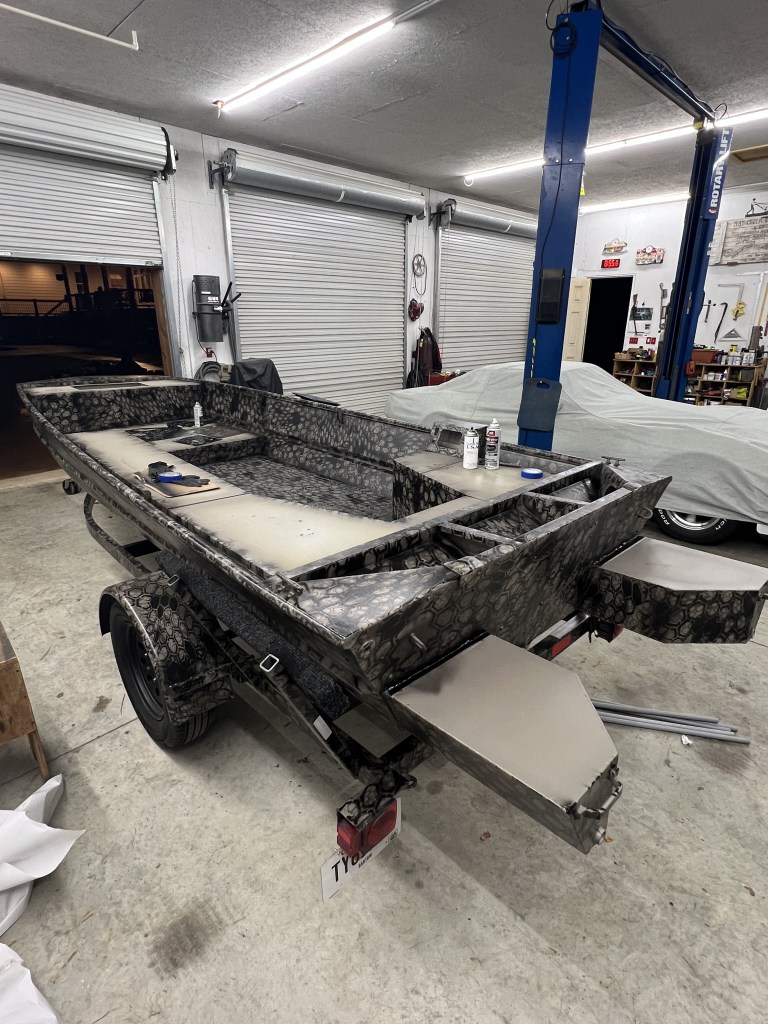
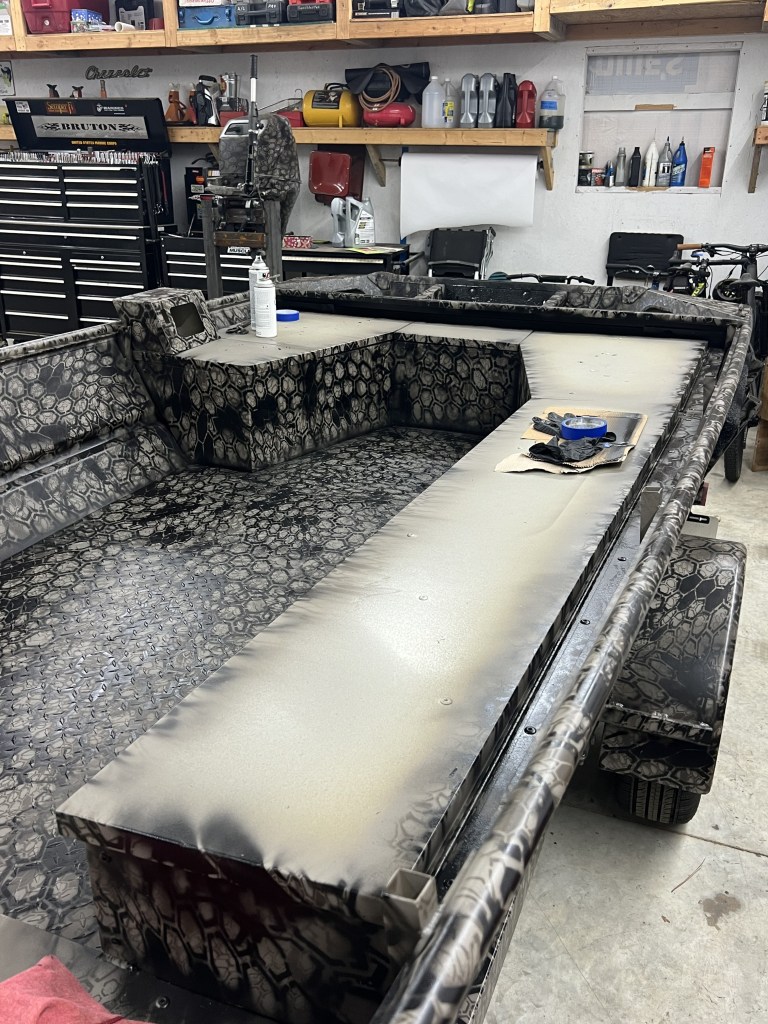
After the second stencil kit, i sprayed 2-3 layers of clear to protect it. I really didn’t want it coming off easy.. After that, I just let it sit a few days. I rolled it in and out of the shop in the sun to let it “bake”. Whether or not that made a difference, I have no idea. But it sounded good, also, I needed a break. The tips of my fingers had a dark hue to them from scrubbing brown and black spray paint off of them for many days.
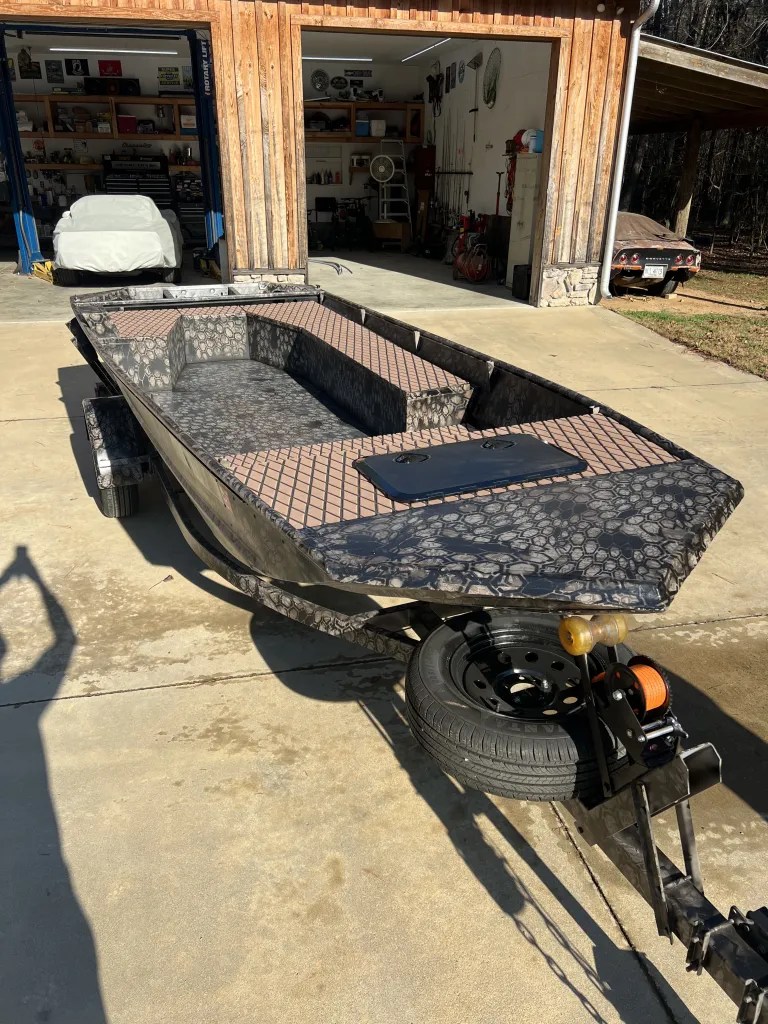
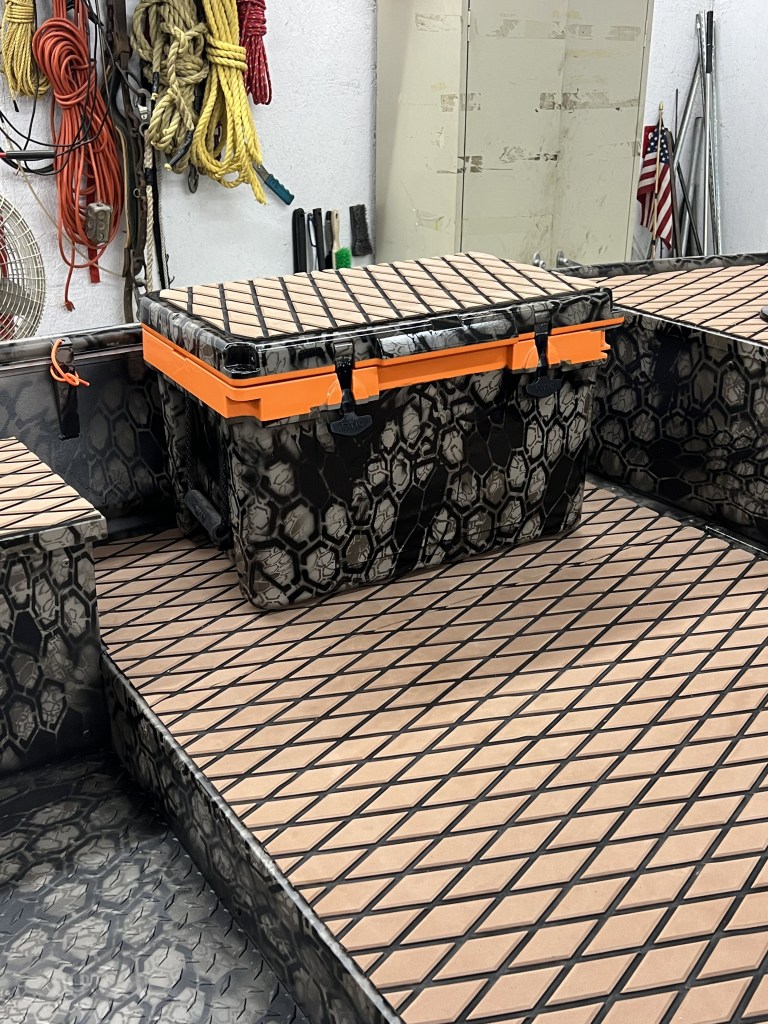
After it sat for a few days, I added the deck foam. A lot of people might think I cheezed on the foam, but I bought some off of Amazon that had a great rating. The stuff did amazing. Easy peel and apply. And it has lasted and not tried to peel up.
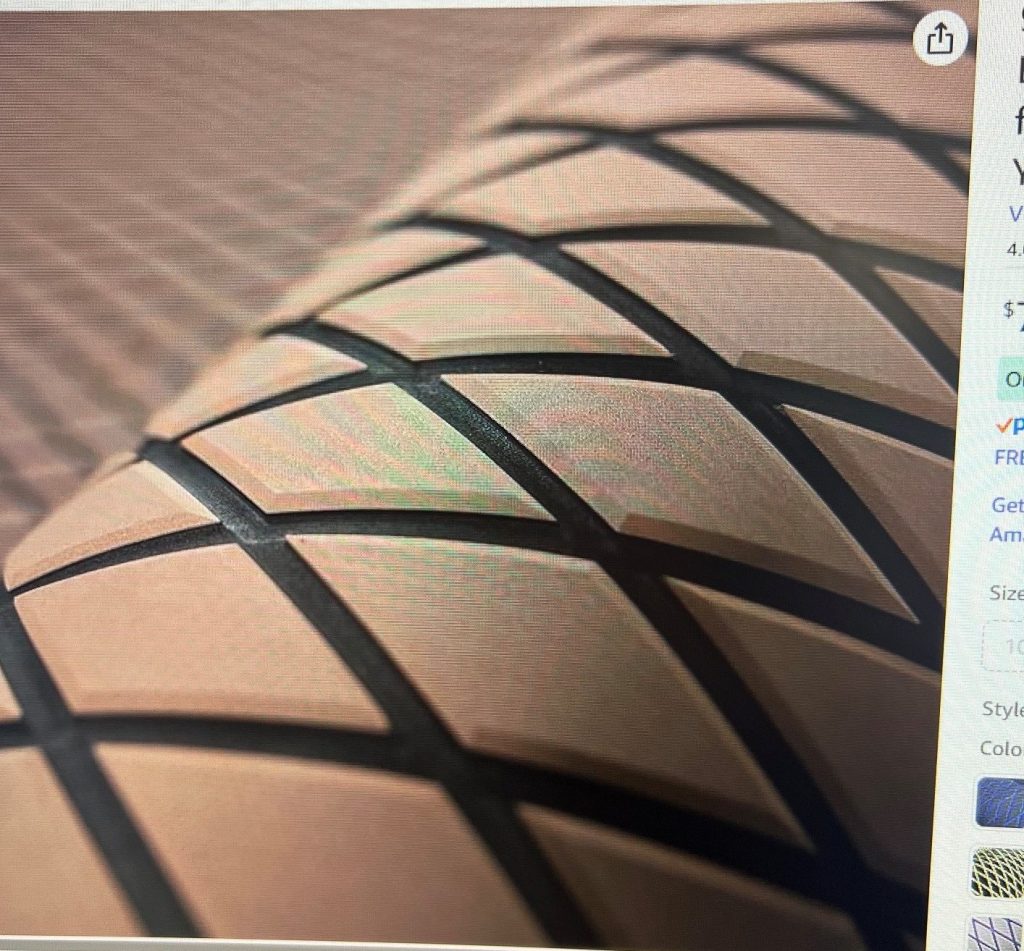
So, the boat ended up looking AMAZING! I took my time and bought extra foam so that I could make sure the diamonds lined up from front to back lying all in the same direction. I also painted a cooler and added foam just for the fun of it!
Stay tuned for The Build Part 4 which will be the mounting of the motor, lights, instrument panel, and trolling motor!

