Welcome back! I know these posts are long but I am trying to get everything in that I did and my thought processes. Maybe this helps someone in the future with their build..
So the motor and accessories.. The motor had to be mounted on a Bob’s Machine Tilt and Jack. In part 2 the fit up of the Tilt and Jack was completed. So now it was just time to install it all over again, and then do the wiring of the pump and solenoid (switch from tilt to jack). Once that was back in, I got to mount the cleaned up and painted engine to the boat!! One other thing to mention was that the Jack was very thin. So I bought some 1.5″ solid aluminum bar stock (off of Amazon) and bolted it to the Jack plate. This allowed me to use the traditional hand screw down mounts on the motor, and get really good tension onto the bar stock. Then I bolted the motor to the Jack plate as well.
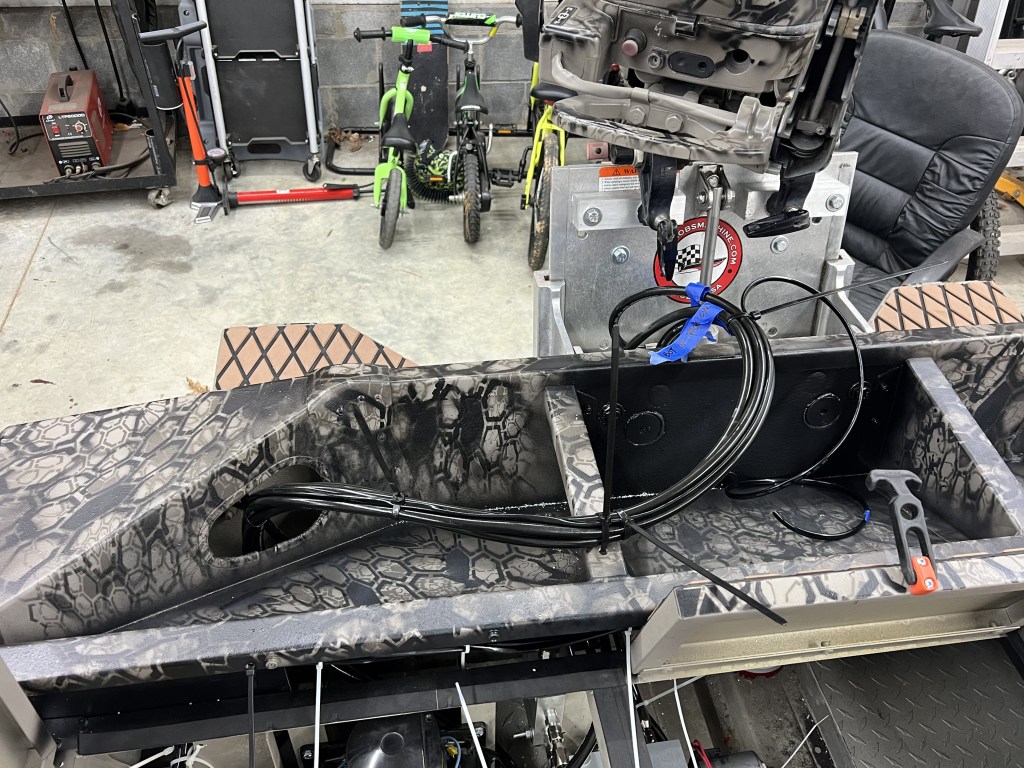
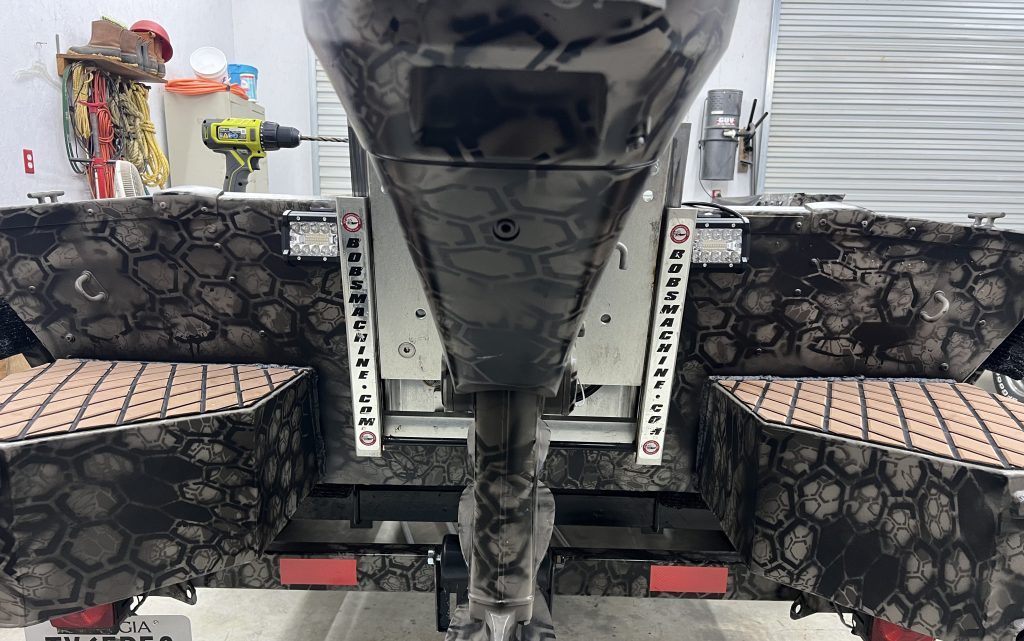
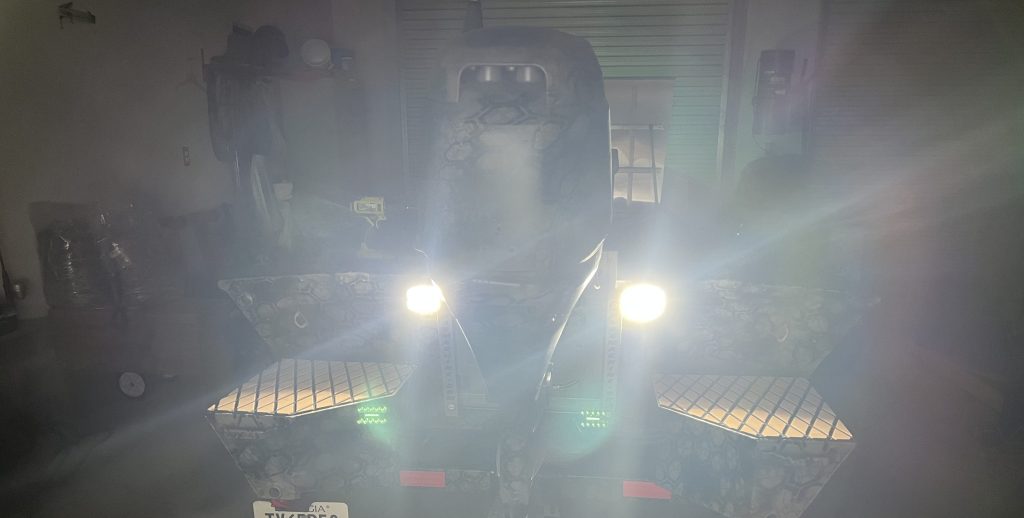
Next was to wire up the light accessories. When I did the floor in the boat, I already had run wires for the battery and lights front the front to the back of the boat. In the previous picture you can see the back up lights that I Installed on either side of the engine. These were lights I found on Amazon again (I know sorry for cheezing). It was a “Nilight” LED Light bar kit. The back 4″ LEDs are 60W each. They work great out on the water. These also work as my “Navigation back lighting. I know its supposed to be higher above the boat, but I couldn’t think of a way to make it work any better than what I have.
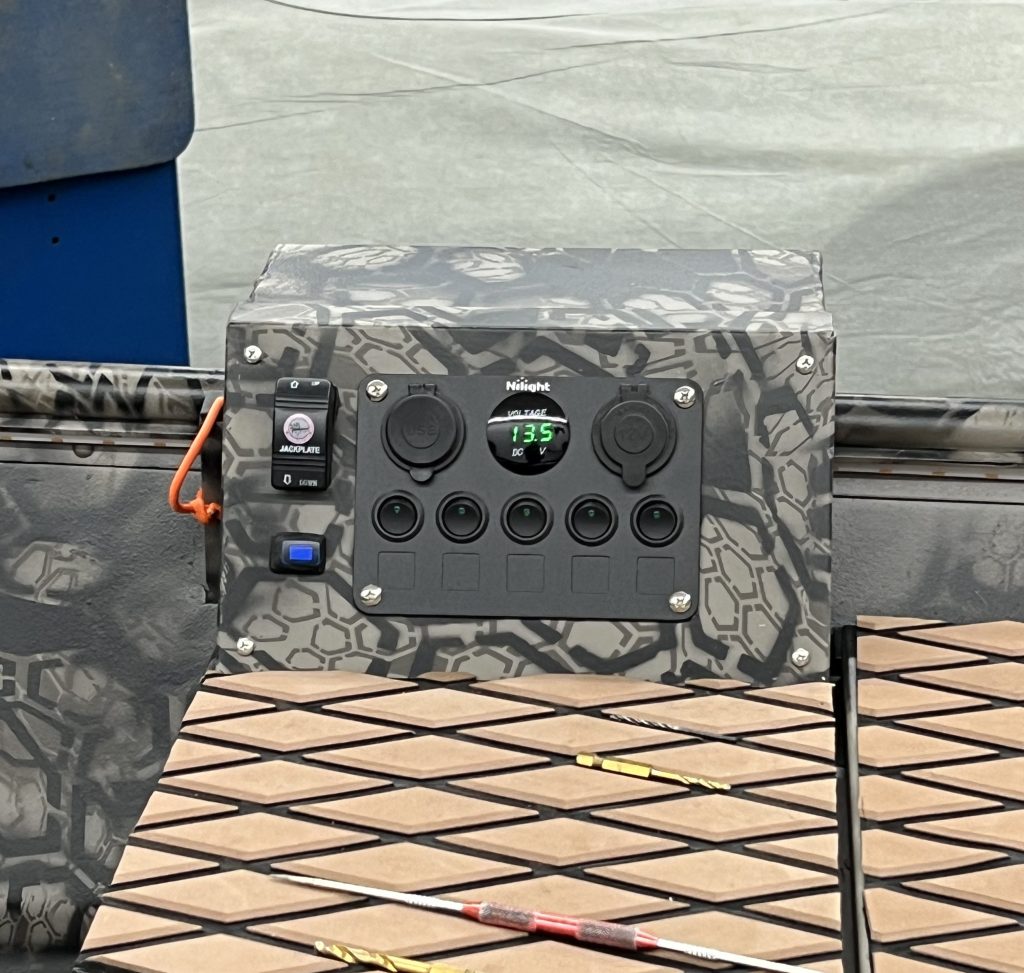
Next was the front navigation lighting and the front spots. The front 12″ light bar is 300W and then I mounted the same 4″ LED 60W on either side at an angle. I found an LED strip for the green and red on the nose of the boat. The front spots (12″ and (2) 4″ LEDs) are wired together and turn on with the flip of a switch on my instrument panel. The front green and red LED strip navigation lights and the rear back up/navigation LEDs are wired together and turn on with a different switch on the instrument panel.
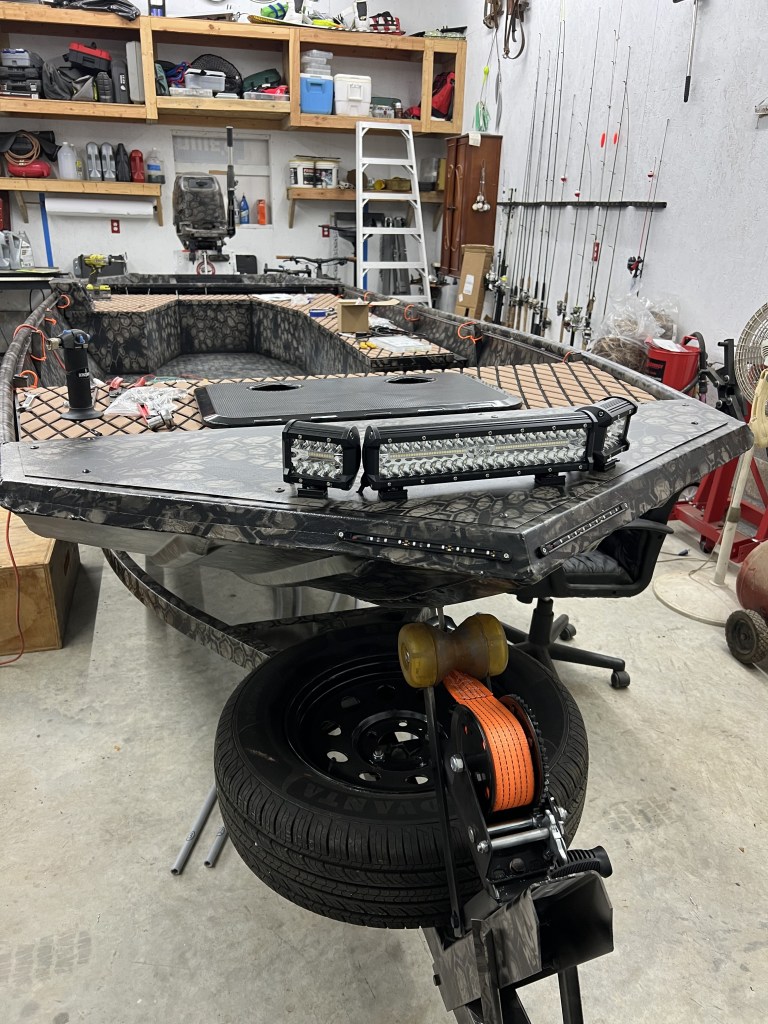
Next were the interior and exterior LED strips. We will start with the exteriors. I selected a waterproof, self adhesive, Gold “COB LED”. I didn’t want the LED strips that are a bunch of mini spots. The “COB” style has a covering over the LEDs that make it look like a solid line. It is much more pleasing to the eye. I went with Gold because of the traditional fishing at night color trying to attract fish. Plus in the early mornings putting our decoys, it gives a nice glow. Enough for seeing and doing what needs to get done. I ran them on the outside of the boat on the 1/2″ aluminum angle that I had stich welded just under the upper hand rail of the boat.
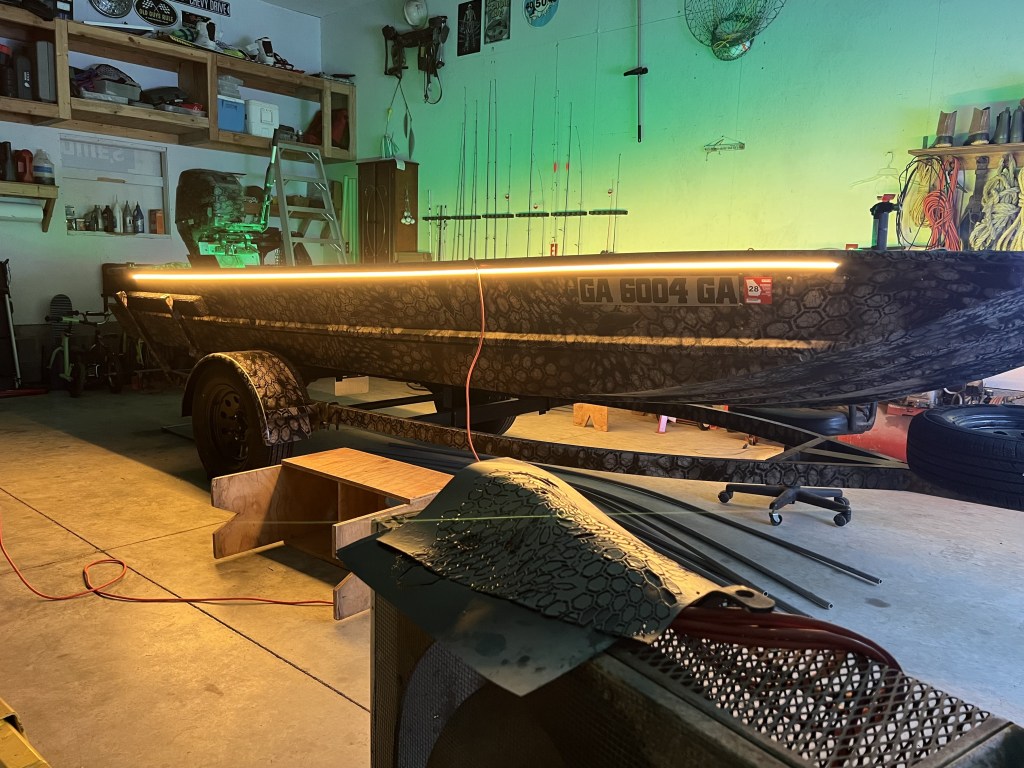
Next the interior lights were done much of the same way. I selected green because that is what I saw most other boats using! I chose to keep it simple and make it to where they cant change color. That just seemed over the top.
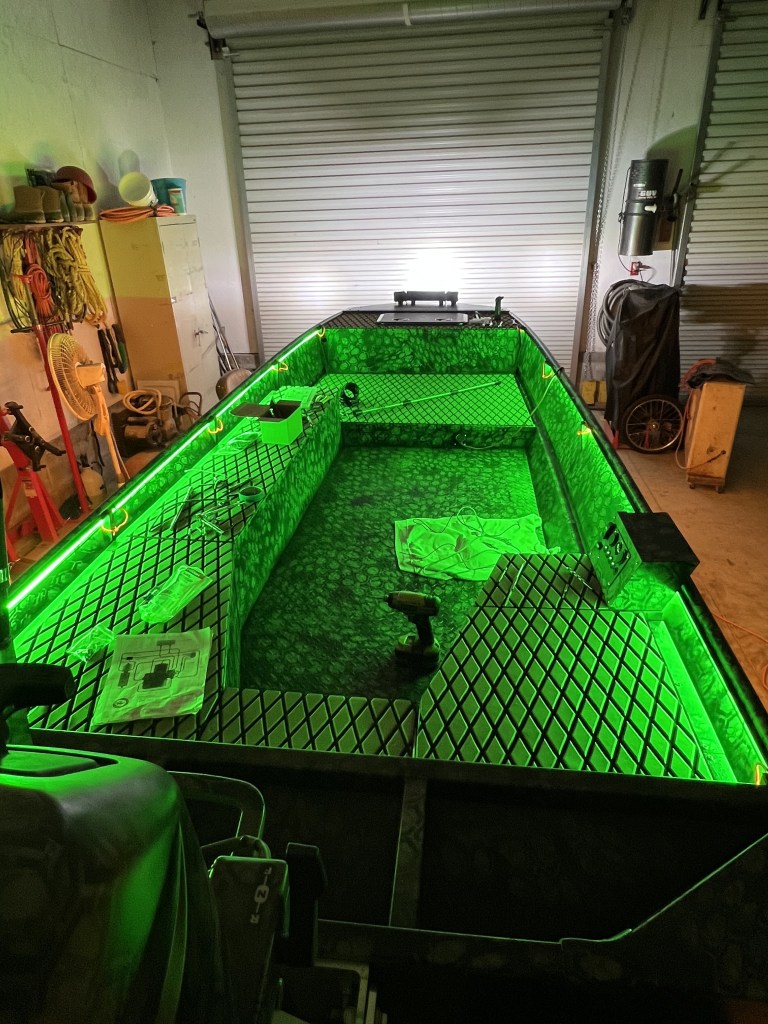
The pictures show the lights on. So a lot of other wiring had to be done. The batteries had to be installed back, the terminal strips had to be mounted behind the instrument cluster, the instrument cluster had to be wired up. It was time consuming making wiring connections with waterproof butt connectors, and then drilling holes in framework to be able to zip tie wires up out of the way.
At this point, It was time for a test run out on the water!!

